Yesterday I decided to make my own rear hatch cargo cover. I have a sub and don't want to advertise it, and after not finding an oem one for a decent price, I thought why not? So here's a bunch of pictures and instructions on how you can make your very own...
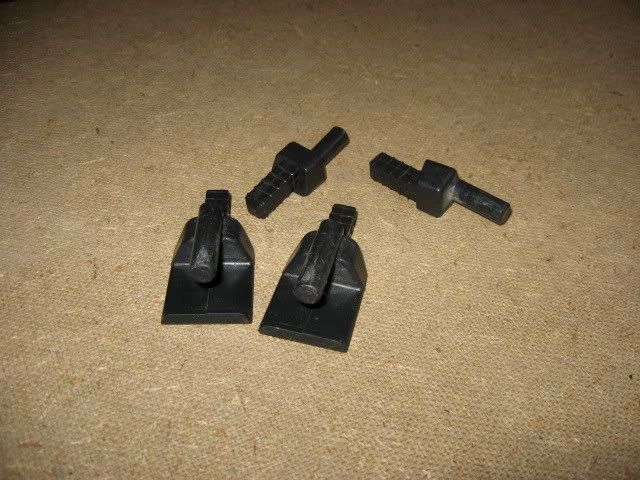
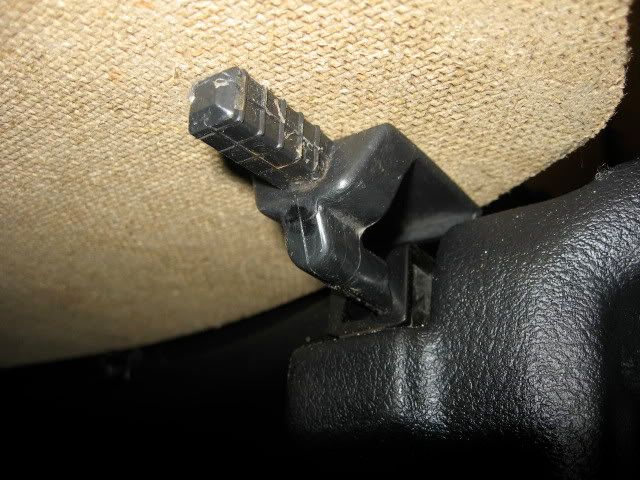
First you need to go to pick and pull and find some rear hatch cover brackets from any Honda really, I got mine from an Acura integra. I just ripped the brackets that snap into the slots off of the original Integra cargo cover, and used those.

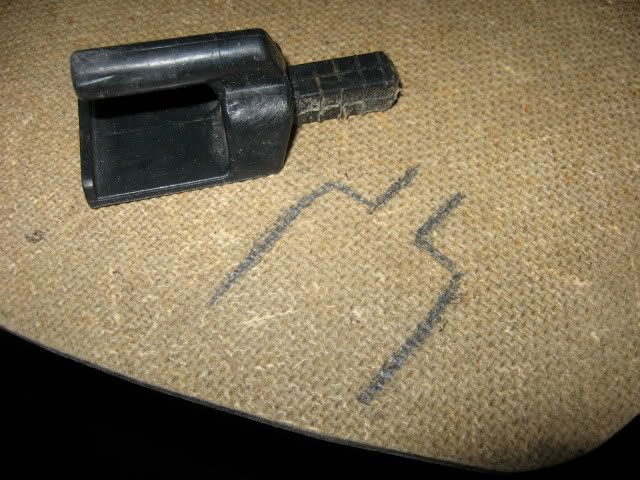
Then you need to buy some hardboard from a local hardware store. A quarter sheet, 1'x4' is enough. I bought the thicker stuff so it would not bow or bend. Then you also need some black felt to cover it with. 1.2 meters worked for me, it's super wide, so you just need the 1.2 meter length, and the brackets like mentioned before. (Ignore that metal tube, I was going to use it as a mid support but it wasn't strong enough.)
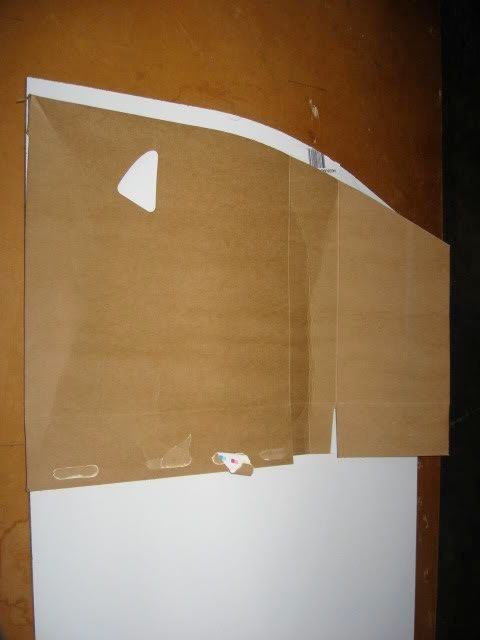
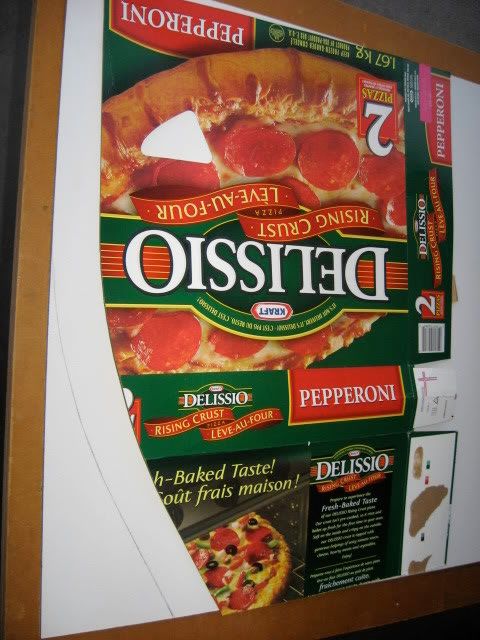
Then you need to cut the board to the right length, it was 45 3/8" for my hatch. After that you can mark out the rough curve and the width and cut it out with a jigsaw. Do one side of the curve first, then make a carboard stencil to do the other side becuase both sides are semetrical.
Then flip the stencil over and cut the other side
Then you will need to cut the right grooves along the rear of the hatch. We did one side rough and made sure it fit, then made another stencil and did the other side.
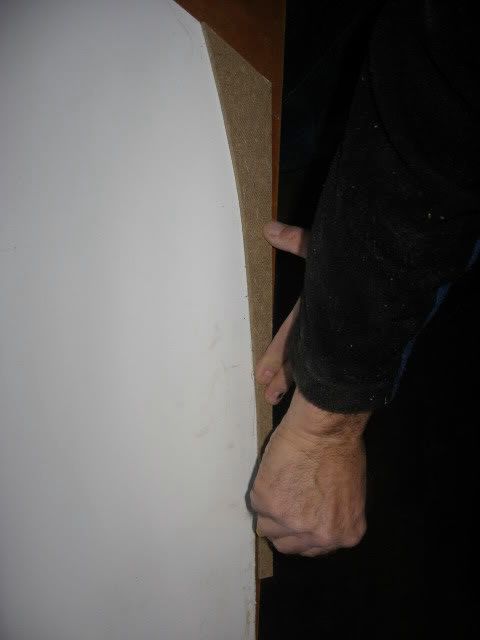
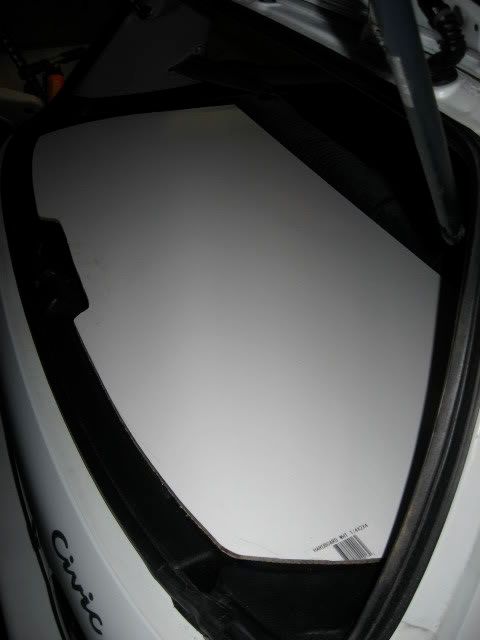
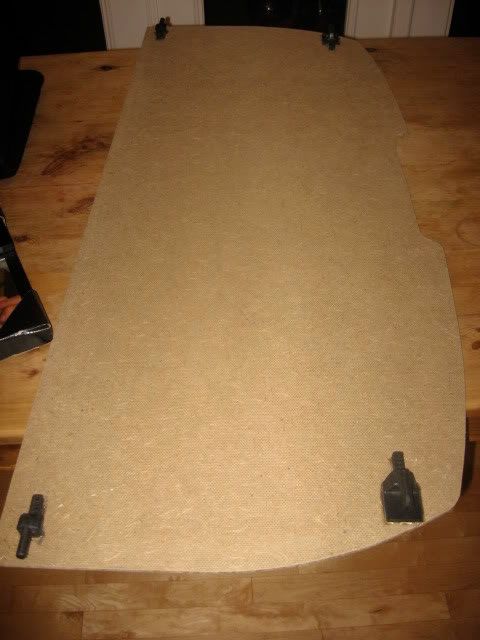
Then once you have it fully cut it should look something like this
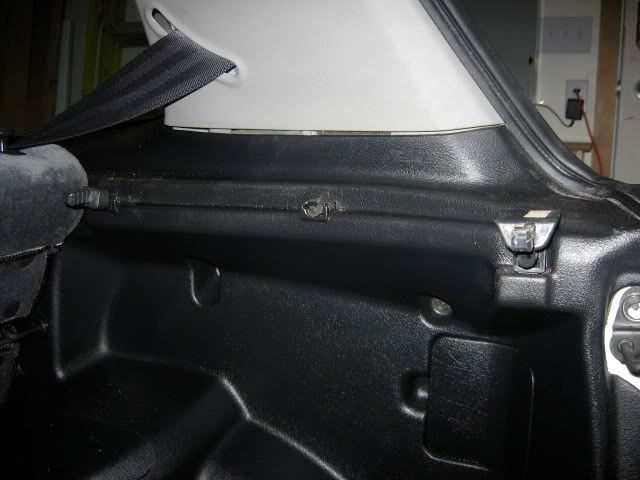
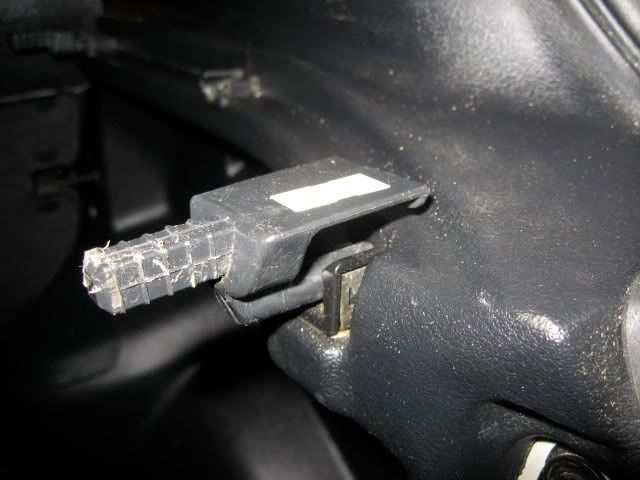
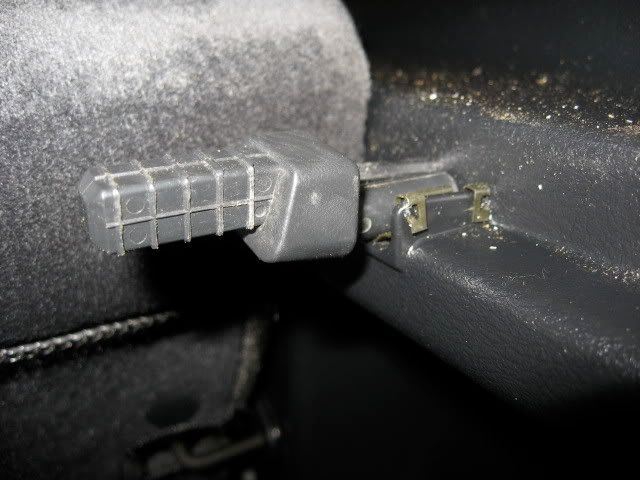
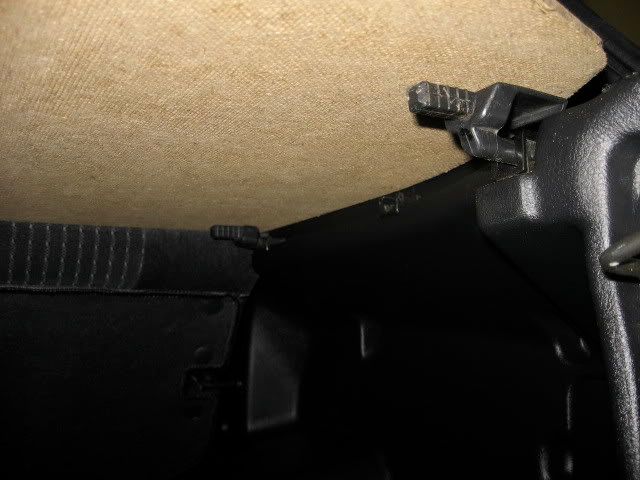
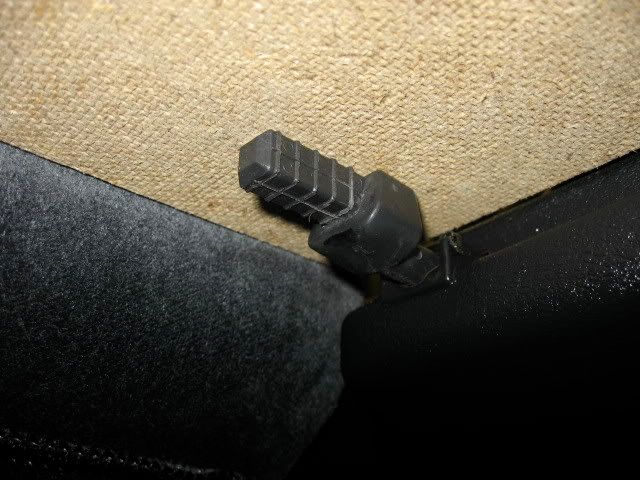
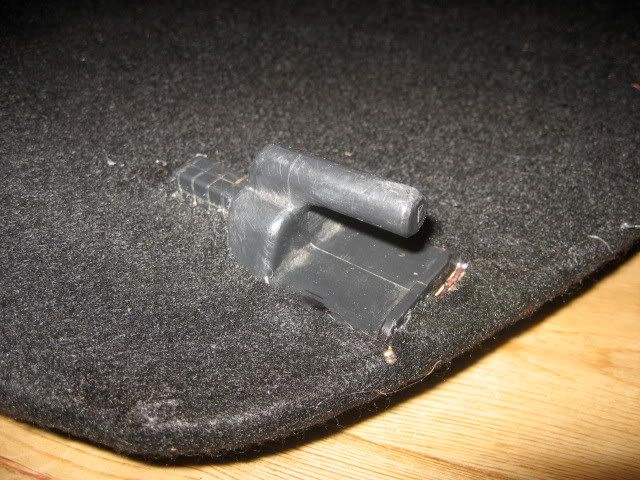
Once you've test fit the cover, make sure it's perfect. It might take a bit of planing, or electrical sanding to get the lines just like you want them. The rear hatch bottom part has a slant at the top, you want the cover to sort of rest halfway on that, as well as the grooved out lines on the side of the hatch, near the windows. You'll see when you take a detailed look at your car. So now that you've test fit it and are happy, you can put in the clips you got like so
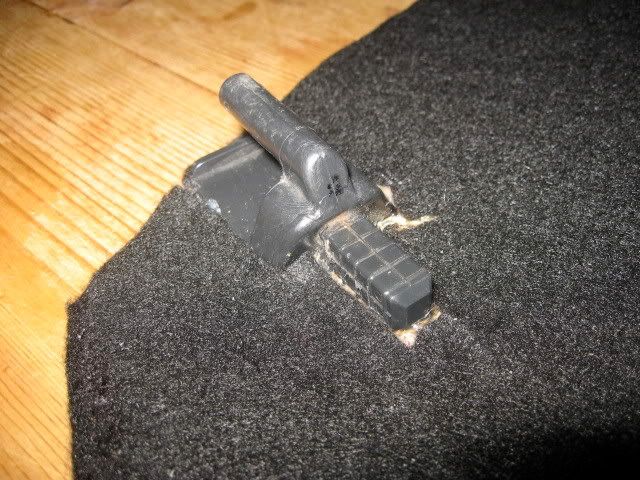
Then put the brackets on the other side, and lay down your cover on top of them. Now you are ready to mark where the brackets fall in place on the underside of your cover.
Then once you have them lightly marked, you can make the line more bold so you know exactly where they fall in place. Now that you have your lines bolded, you can then hotglue the brackets in place on the underside of the hardboard. Make sure you roughly sand up the brackets so the glue can adhere best to it.
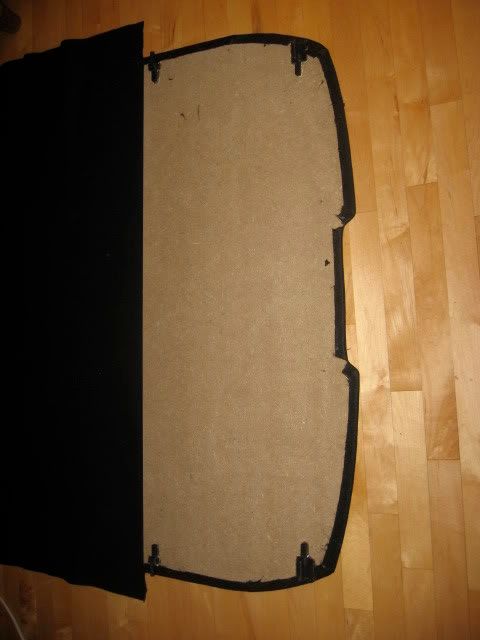
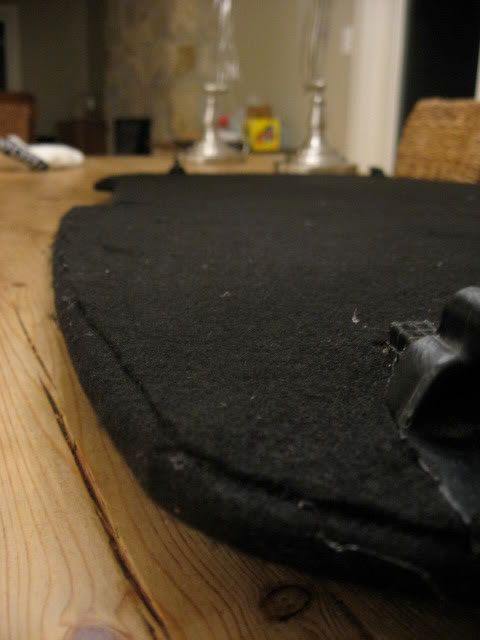
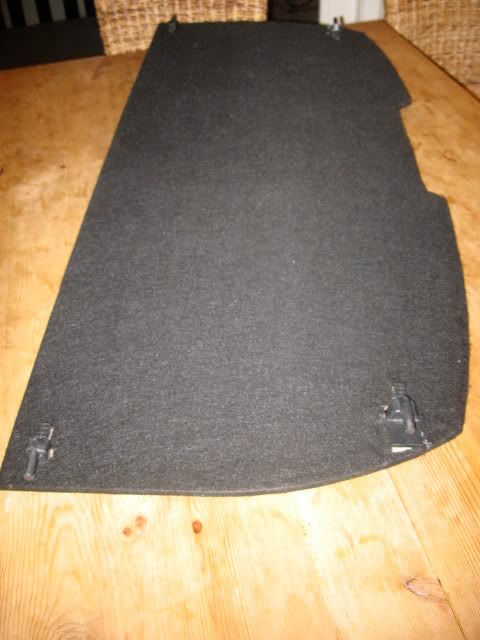
Now that you have all your brackets glued on, you can put the felt on it. Flip the board upside down so your top piece of felt is totally solid with no lines or cuts. Then go around 3 sides of the board and fold the felt over about 1 inch or so, stretching it evenly, and hot glueing it in sections of 5-6 inches. Don't press too hard when you glue it becuase the heat of the glue can penetrate the felt. A light press will work fine and will keep it on there good. I cut mine nice and neat so all the folds were similar. Here's your almost finished cover...
Then stretch the long piece over the bottom of the cover. Basically you're going to make the seem around the edges, just covering what you originally pulled over. You also have to cut around the brackets. I glued them to the board first becuase of strength, I didn't think they would adhere too well to the felt if you pre-upolstered it. It's not going to be perfect, but it's the underside, so it doesn't really matter.
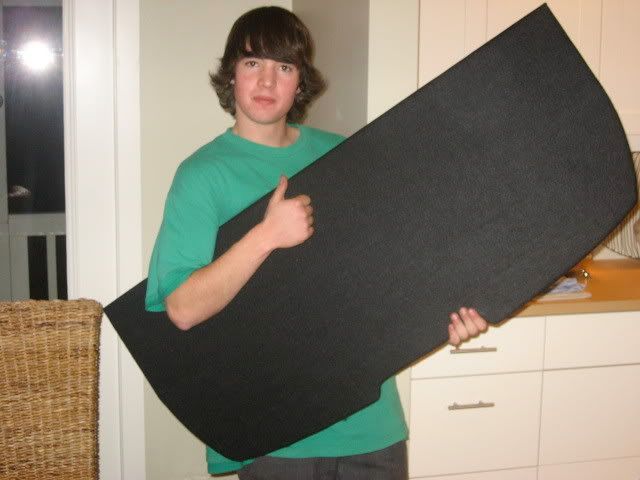
Look at that good lookin' kid
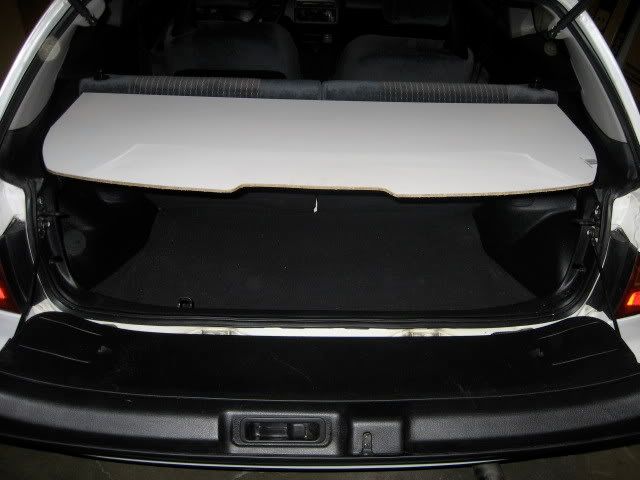
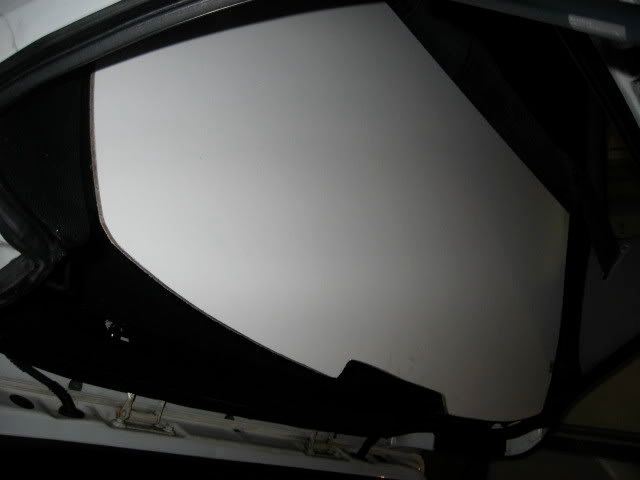
Finally, here's some pictures of the cargo cover installed in the car.
Sorry, some pictures are dark, but I did this in the evening. This was my first write up so sorry if some parts are confusing or misleading. Overall it's a pretty easy project, cheap and serves a pretty decent purpose if you don't want to advertise what you are storing in your easily broken into truck. It's not super strong, so I wouldn't put anything heavy on top of it, but it looks pretty.
First you need to go to pick and pull and find some rear hatch cover brackets from any Honda really, I got mine from an Acura integra. I just ripped the brackets that snap into the slots off of the original Integra cargo cover, and used those.
Then you need to buy some hardboard from a local hardware store. A quarter sheet, 1'x4' is enough. I bought the thicker stuff so it would not bow or bend. Then you also need some black felt to cover it with. 1.2 meters worked for me, it's super wide, so you just need the 1.2 meter length, and the brackets like mentioned before. (Ignore that metal tube, I was going to use it as a mid support but it wasn't strong enough.)

Then you need to cut the board to the right length, it was 45 3/8" for my hatch. After that you can mark out the rough curve and the width and cut it out with a jigsaw. Do one side of the curve first, then make a carboard stencil to do the other side becuase both sides are semetrical.
Then flip the stencil over and cut the other side
Then you will need to cut the right grooves along the rear of the hatch. We did one side rough and made sure it fit, then made another stencil and did the other side.
Then once you have it fully cut it should look something like this
Once you've test fit the cover, make sure it's perfect. It might take a bit of planing, or electrical sanding to get the lines just like you want them. The rear hatch bottom part has a slant at the top, you want the cover to sort of rest halfway on that, as well as the grooved out lines on the side of the hatch, near the windows. You'll see when you take a detailed look at your car. So now that you've test fit it and are happy, you can put in the clips you got like so
Then put the brackets on the other side, and lay down your cover on top of them. Now you are ready to mark where the brackets fall in place on the underside of your cover.
Then once you have them lightly marked, you can make the line more bold so you know exactly where they fall in place. Now that you have your lines bolded, you can then hotglue the brackets in place on the underside of the hardboard. Make sure you roughly sand up the brackets so the glue can adhere best to it.
Now that you have all your brackets glued on, you can put the felt on it. Flip the board upside down so your top piece of felt is totally solid with no lines or cuts. Then go around 3 sides of the board and fold the felt over about 1 inch or so, stretching it evenly, and hot glueing it in sections of 5-6 inches. Don't press too hard when you glue it becuase the heat of the glue can penetrate the felt. A light press will work fine and will keep it on there good. I cut mine nice and neat so all the folds were similar. Here's your almost finished cover...
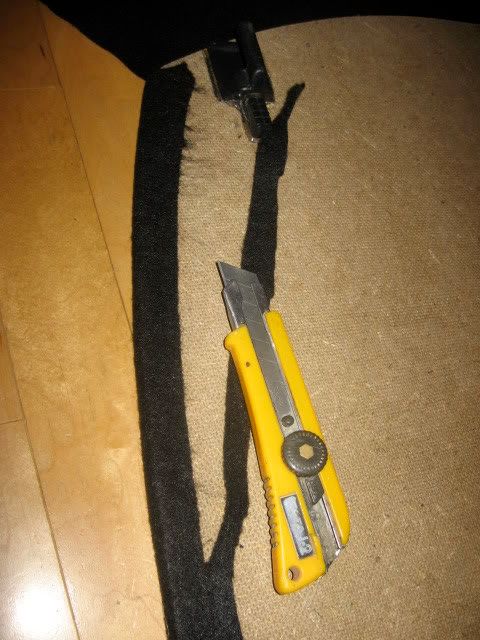
Then stretch the long piece over the bottom of the cover. Basically you're going to make the seem around the edges, just covering what you originally pulled over. You also have to cut around the brackets. I glued them to the board first becuase of strength, I didn't think they would adhere too well to the felt if you pre-upolstered it. It's not going to be perfect, but it's the underside, so it doesn't really matter.
Look at that good lookin' kid
Finally, here's some pictures of the cargo cover installed in the car.
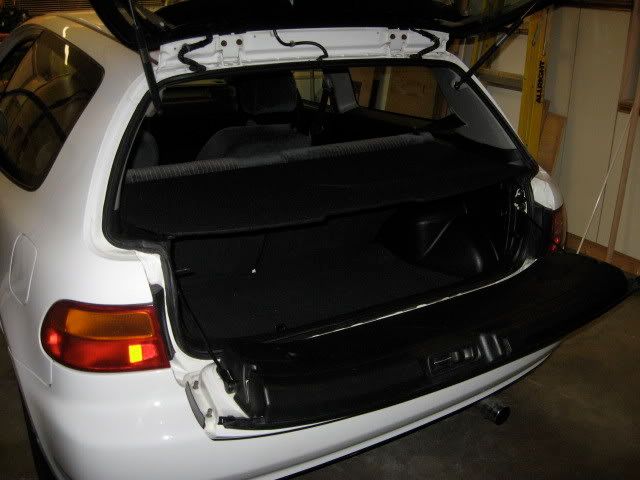
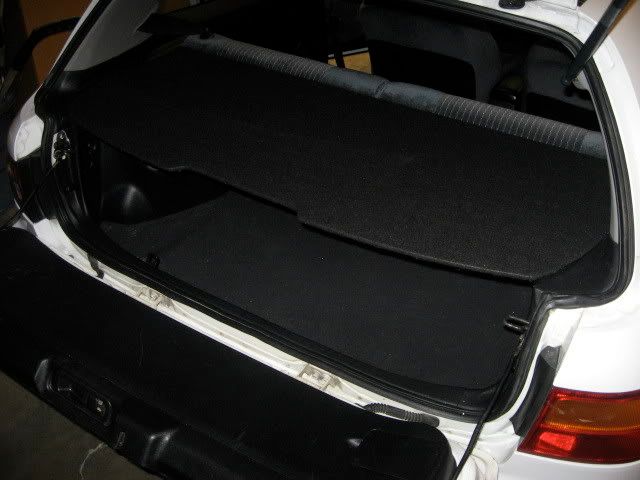
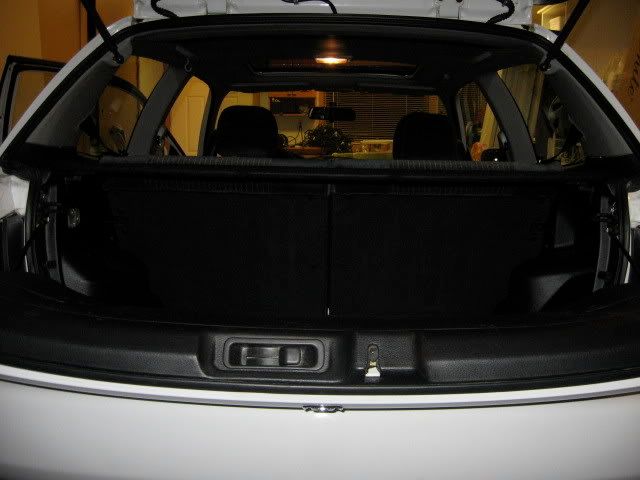
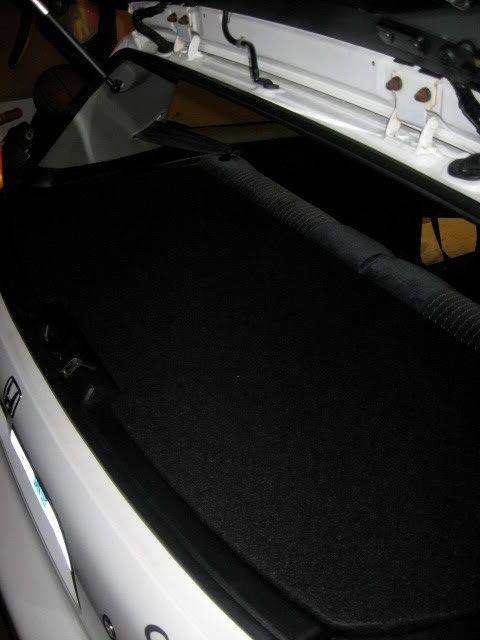
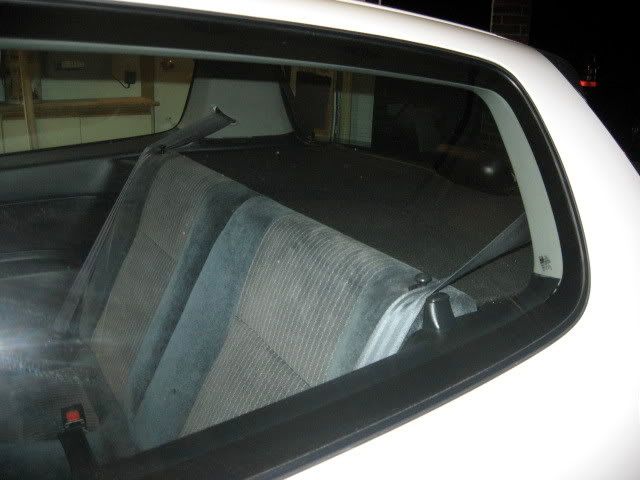
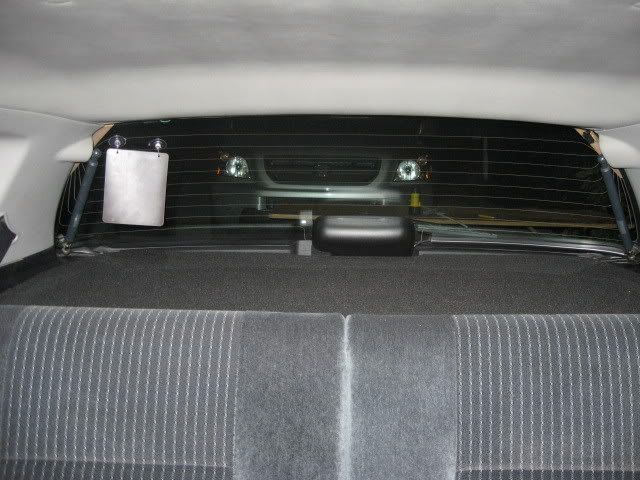
Sorry, some pictures are dark, but I did this in the evening. This was my first write up so sorry if some parts are confusing or misleading. Overall it's a pretty easy project, cheap and serves a pretty decent purpose if you don't want to advertise what you are storing in your easily broken into truck. It's not super strong, so I wouldn't put anything heavy on top of it, but it looks pretty.


