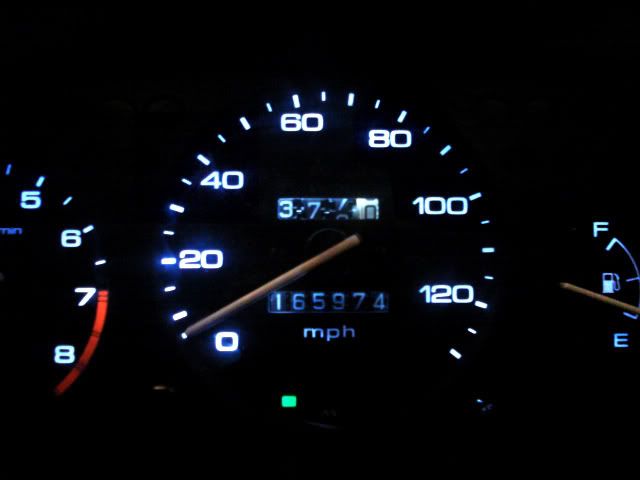
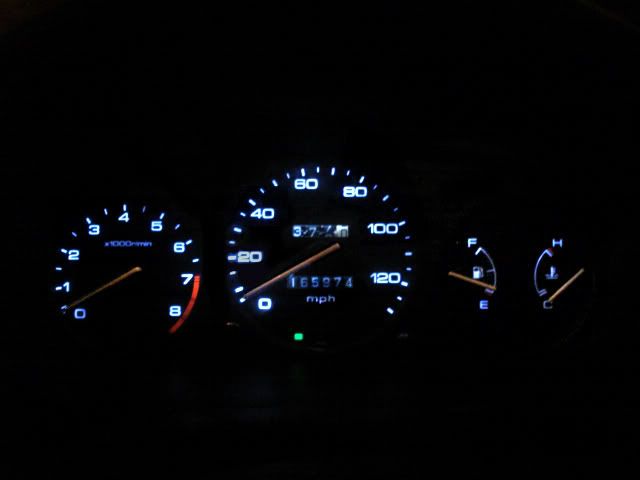
How To: Change Stock Gauge Cluster Bulbs 96-00 Civic(MANY PICS)
This is for a STOCK Honda Gauge
How to change your gauge cluster bulbs in a 1996-2000 civic
Tools Needed:
-1 Phillips screwdriver
- 1(one) #194 bulb
- 4 (four) # 74 bulbs
-Patience and Time
All 5 bulbs can be found at Pepboys or autozone.
*I AM NOT RESPONSIBLE FOR YOUR ERRORS. IF YOU MESS SOMETHING UP THAT IS NOT MY FAULT. I AM WRITING THIS HOW TO IN ORDER TO ASSIST PEOPLE. DO THIS AT YOUR OWN RISK!!!!*
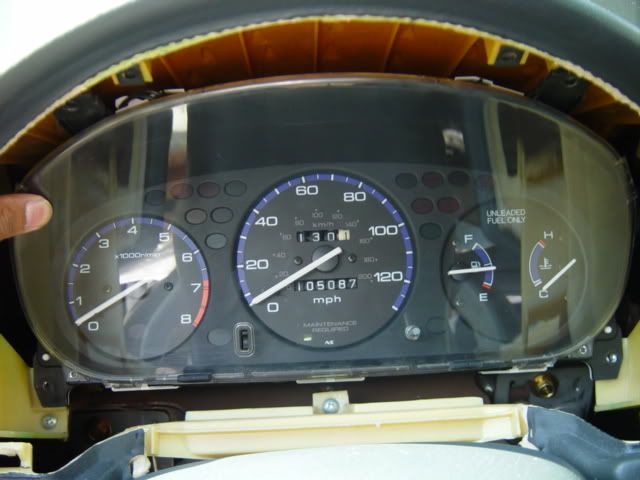
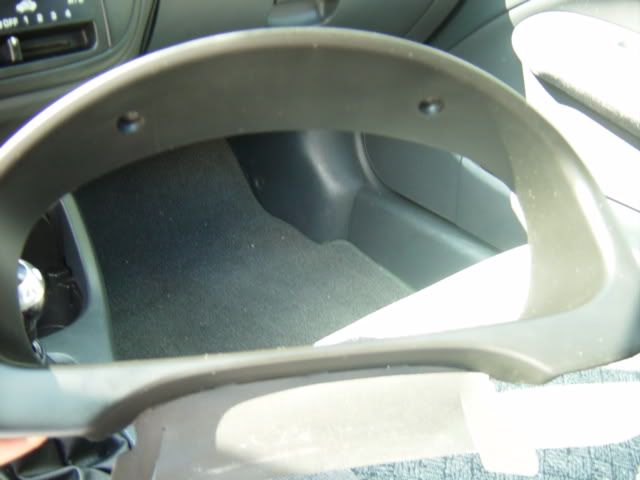
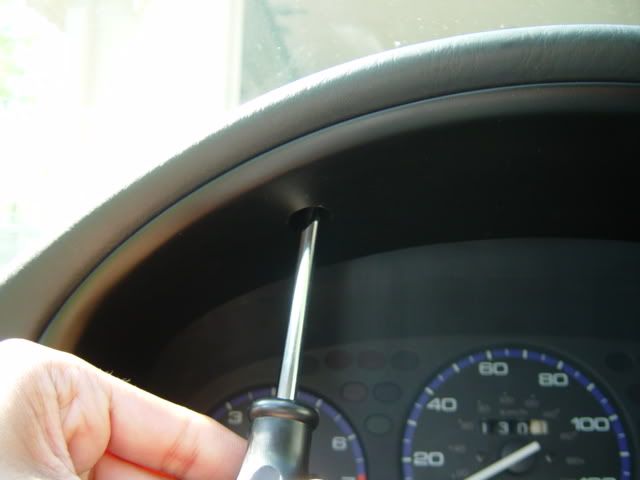
There is your gauge. Lowering your steering wheel all the way down helps alot. Now there are two screws up on that black piece thats behind your steering wheel.


Remove them both.


Here they are

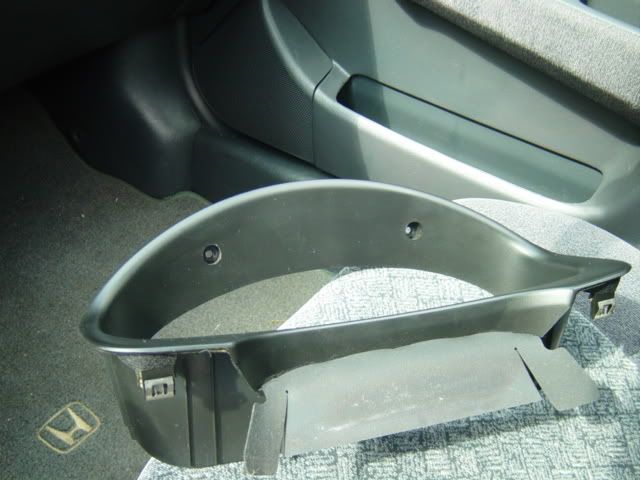
Now pull on that black piece until it comes out. You might have to pull on it hard because there are two clips holding it in position.


Here it is pulled out


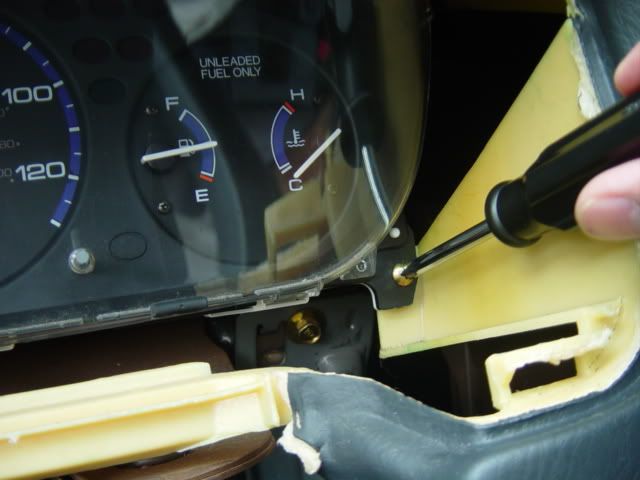
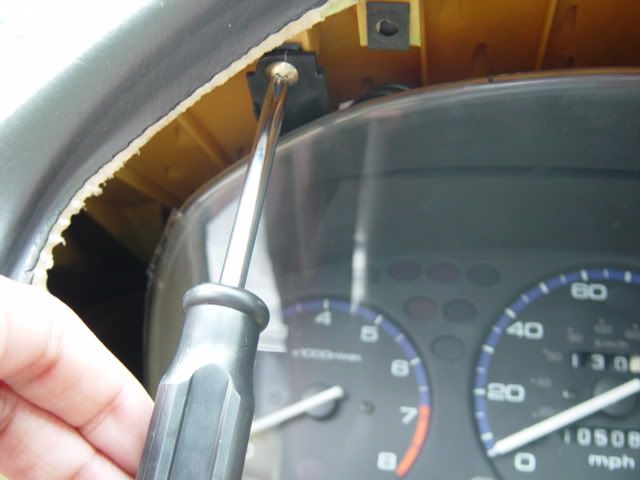
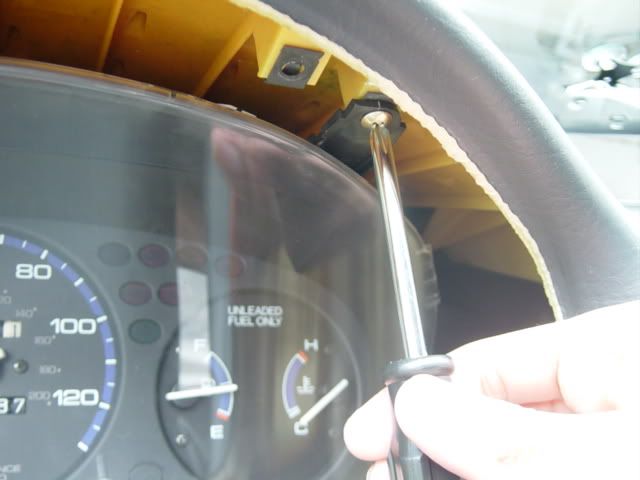
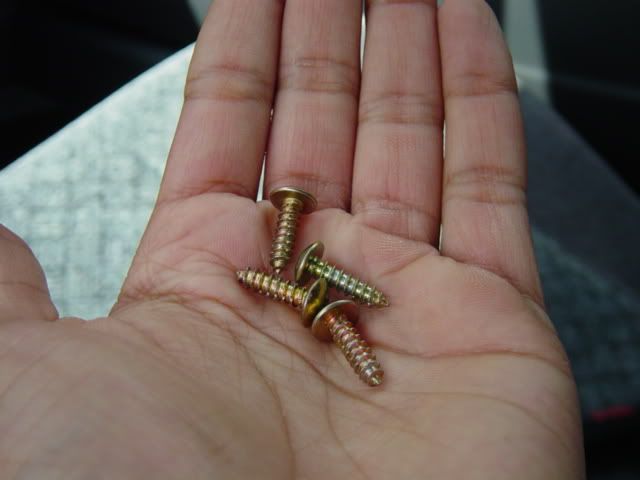
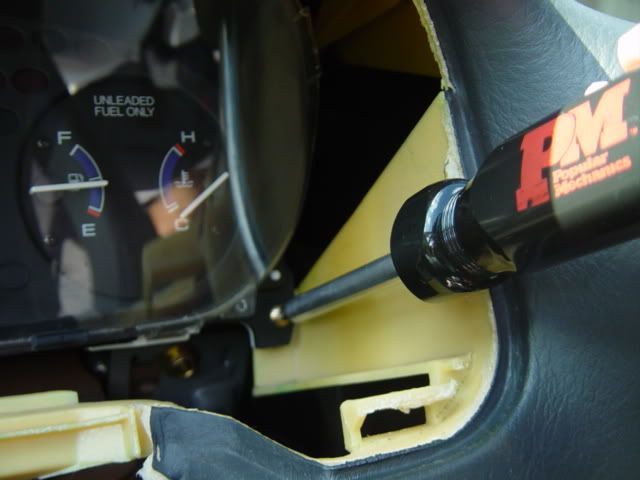
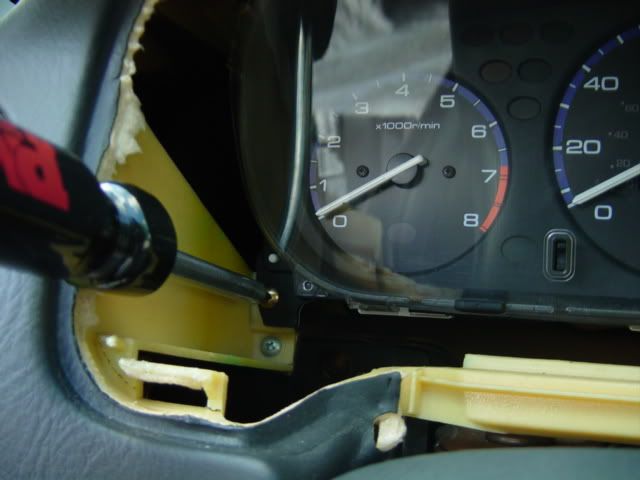
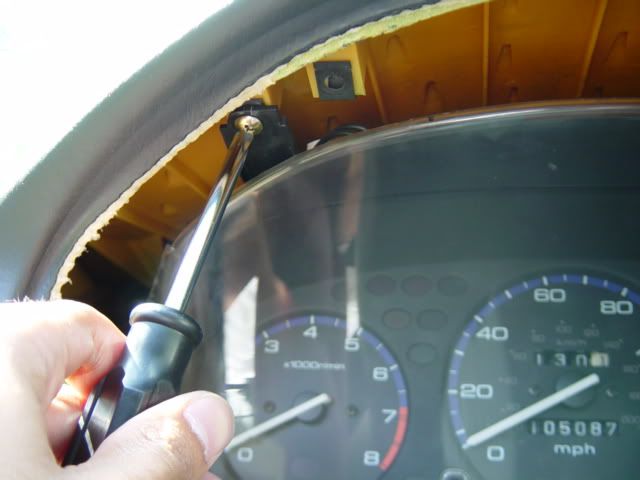
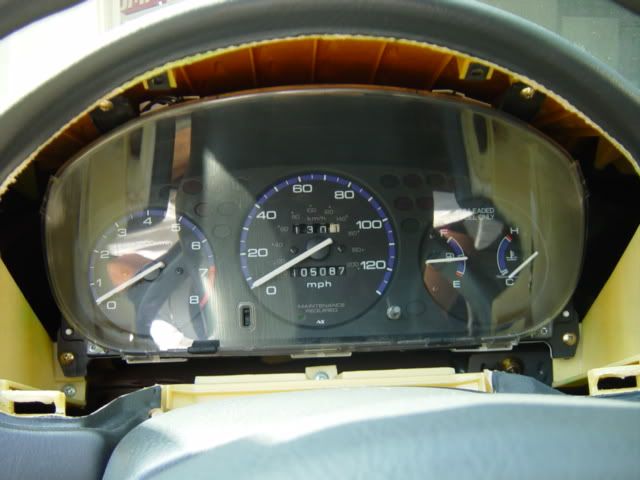
Now there are 4 screws that hold down the gauge cluster once inside. Remove all 4


Now here comes a tricky part. You have to manage to pull the cluster out of where it rests. This can take some time if you aren't sure so just be patient and DON'T pull too hard and fast because you might rip out a wire. The way I do it is to tilt the top part of the cluster down, and then pull it from the sides towards you slowly.


Once you manage it to get it closer to you, you have to remove it from that place where it is. This can also be hard because the steering wheel gets in the way. Keep the top tilted down and pull out towards you.

Once you get the cluster out, tilt the whole thing to the LEFT.


*BE CAREFUL ON THIS NEXT PART BECAUSE IF NOT DONE RIGHT YOU WILL RIP WIRES AND THAT WILL CAUSE MANY MANY PROBLEMS*
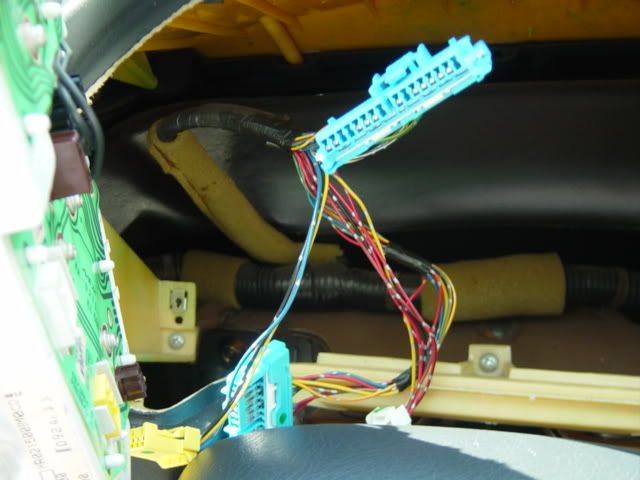
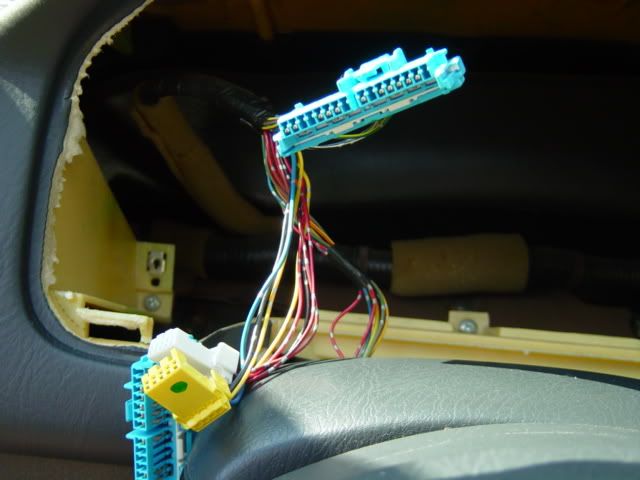
Now turn it a little towards your door, slowly. You should see some wires plugged in.

First there is big blue one attached. Remove that slowly by pressing on the clip at the top of the plug and wiggle the plug out.


There are 3 wires left. One is a yellow plug, one is white and one more blue one. Do the same procedure for all three. BE CAREFUL!!!


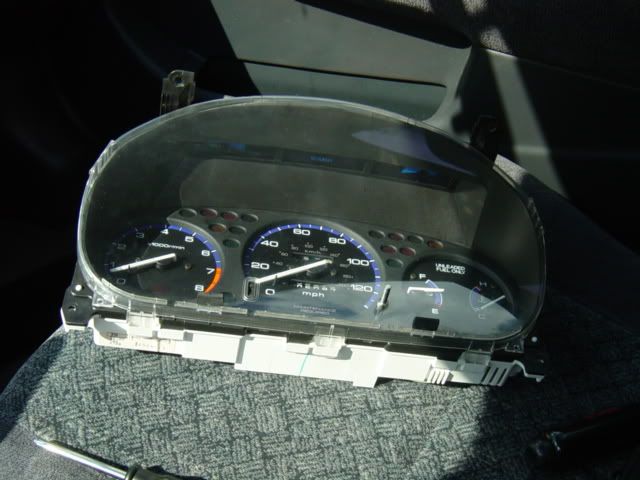
Ahh finally the cluster is out. Good job for getting this far.

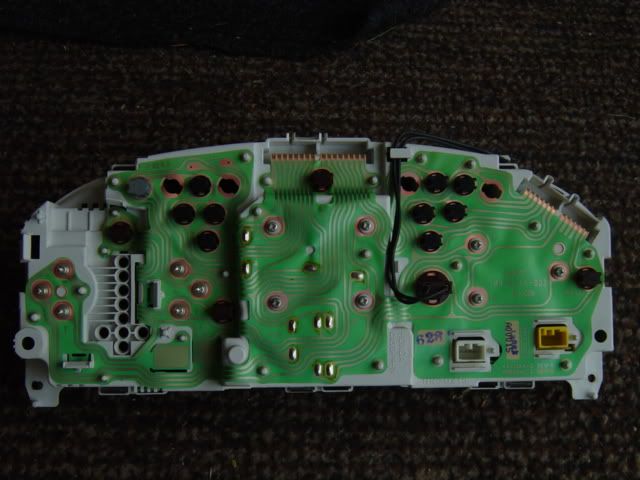
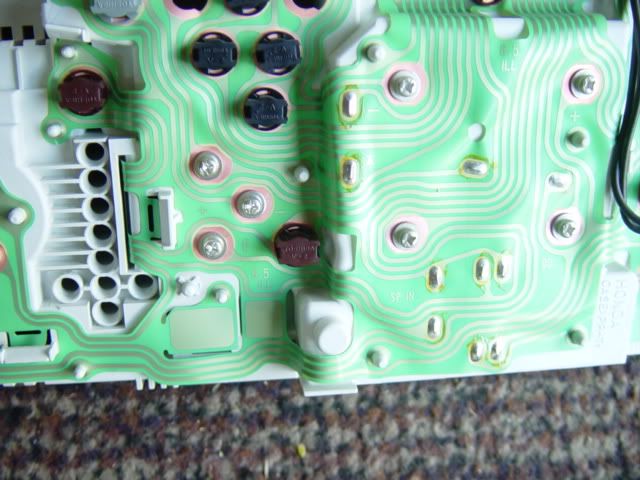
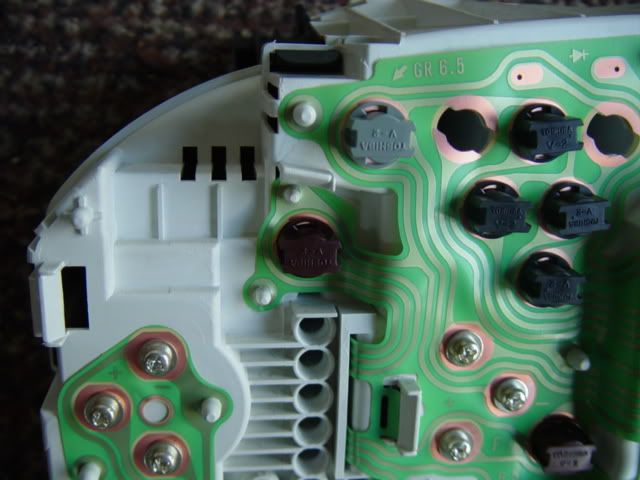
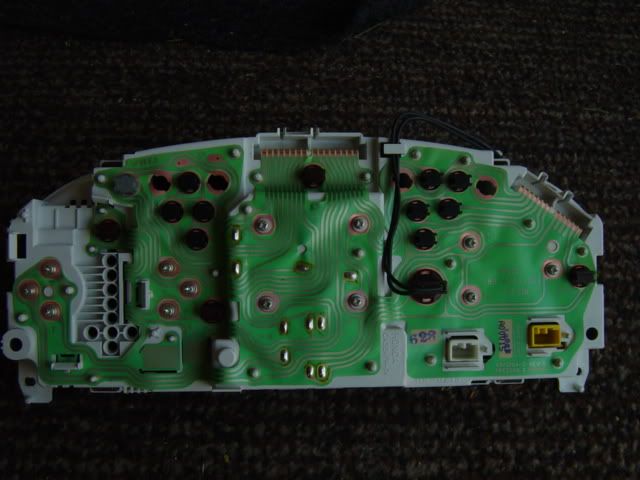
Now if you turn the cluster around, you should see something like this.

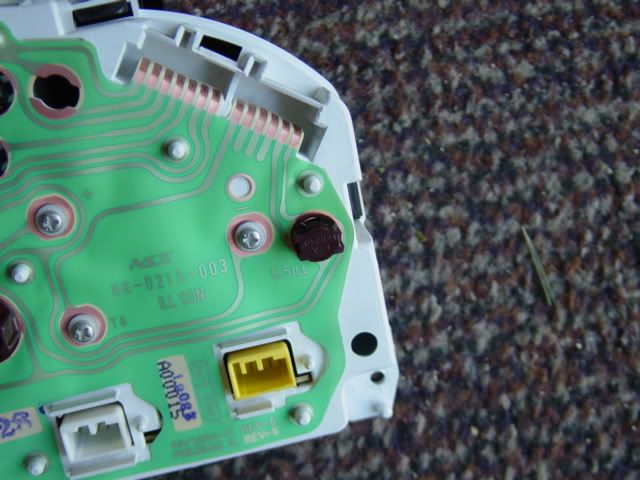
Don't try to mess with any of it. Anything that you see with a brown colored thing is a bulb.

To take them out, just twist them gently to the left and pull it out.

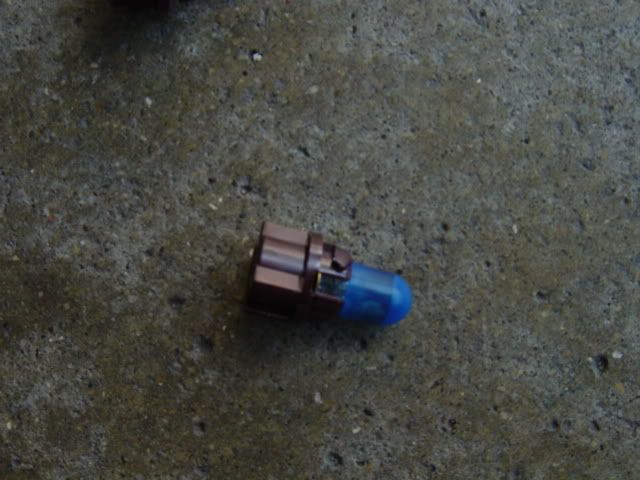
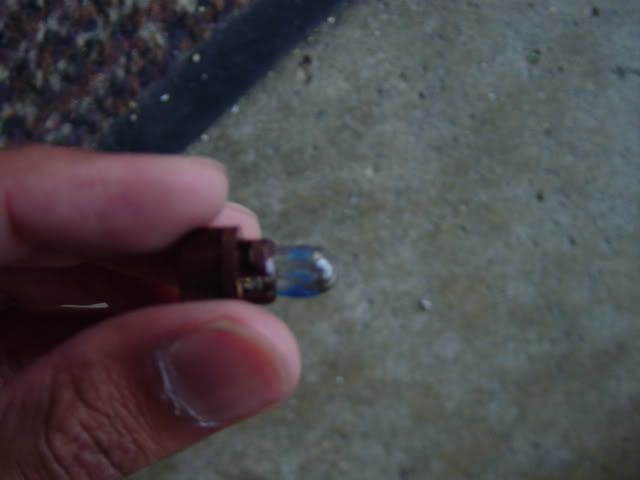
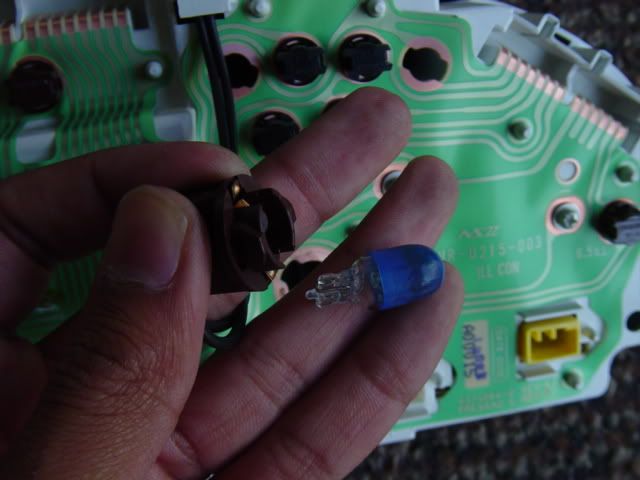
That is what it looks like taken out. The blue thing on the bulb is a sleeve that Honda puts on to make the light "whiter". If you rip it by accident then it is no big deal.

To take out the bulb, wiggle it left and right until it comes out. Don't do it too hard or you could break it. This is a #74 bulb.

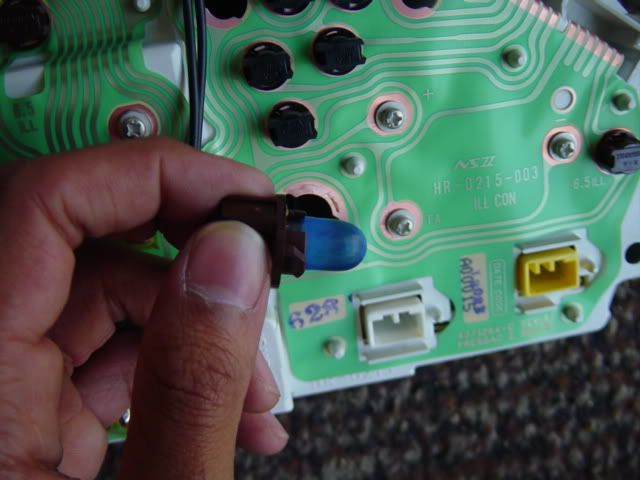
Get your new bulb, and push it back into the holder.

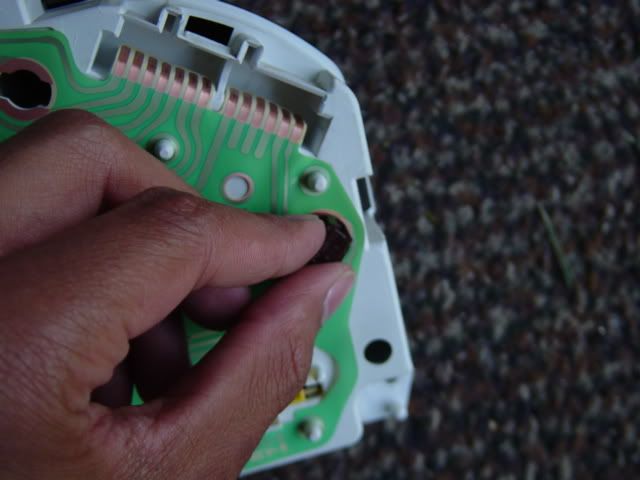
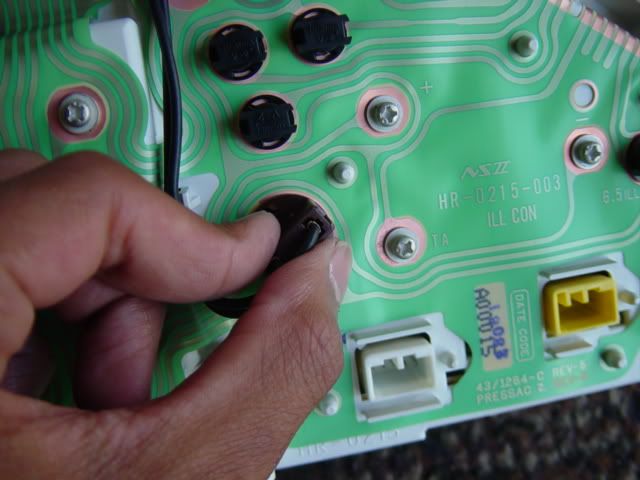
Now put it back on the gauge and this time twist it to the right to secure it.


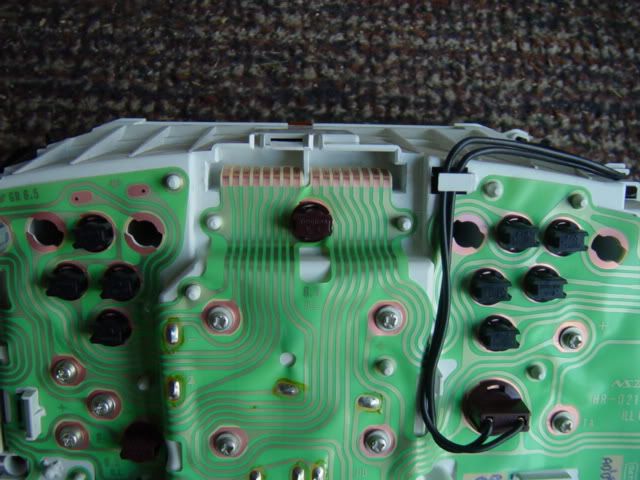
Do this for these 3 other bulbs the same way.


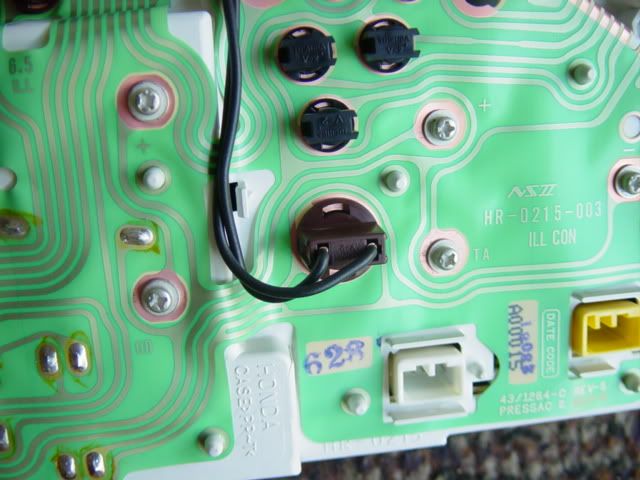
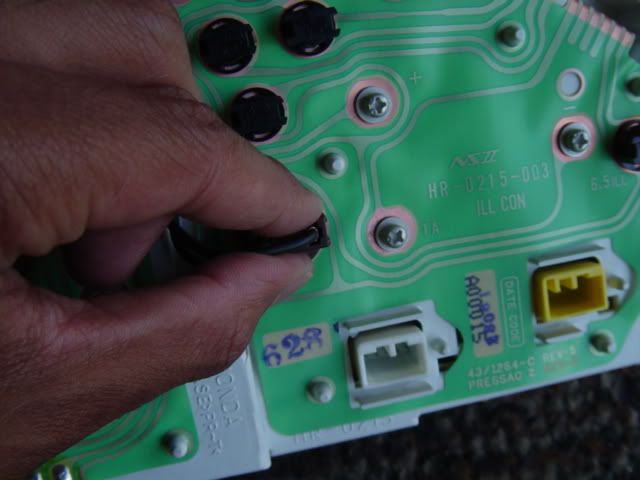
Now there is one more bulb left. The big one. This one is attached to a wire so watch out. Twist the holder to the left and it comes out.


Wiggle the bulb until it comes out. This is the #194 bulb.

Pop in the new bulb and place the holder back in. Twist it to the right to secure it.


All done with the bulbs.

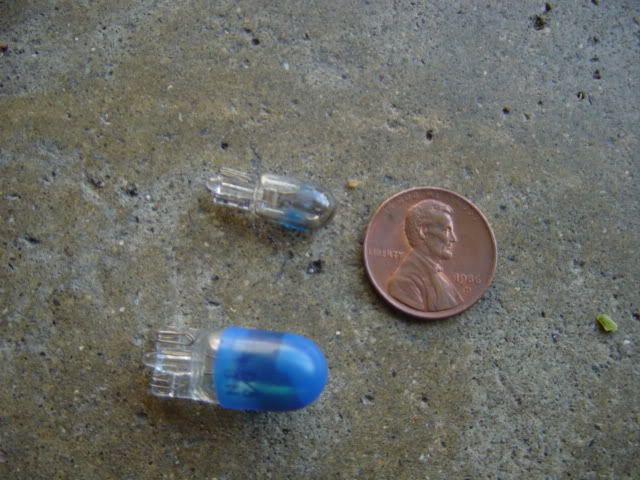
BTW this is how big the bulbs are.

Time to put this back in

Hold you gauge so its upright like this

Find the big blue plug and plug that in first.


Then the little blue one.

Then yellow.

Finally white. It doesnt matter what order you put them in either, thats just how I do it.

All the wires in? Ok good.

Now work the cluster back into the holding spot.

The bottom part of the cluster should go above this.


Tilt the top part towards the bottom.

And work the cluster in slower. This can be frustrating but just take it easy.

Once you manage that, its time to put the screws back on.


Now take that black piece and turn it over so you can see the back


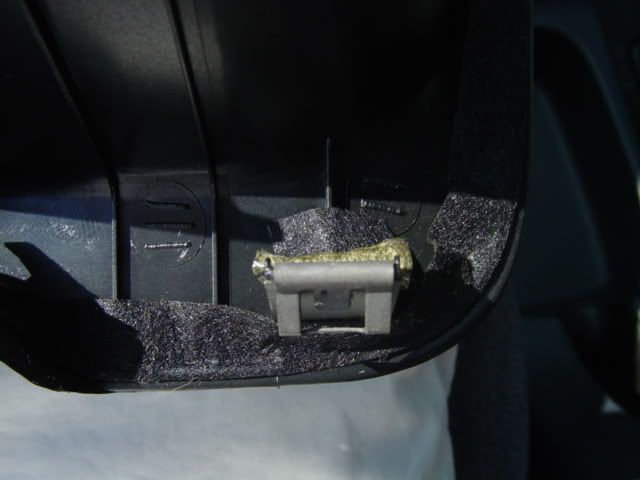
There are 2 clips like these that need to be pushed into a socket in order to make the piece stay.


Once you put the clip on top of the socket, push it in with your thumb with some force, but make sure you dont stick the clip somewhere else because it could break. Both sides


Now push the top portion back in. It should click right into place. If you are having trouble with it, then pull the piece out and push it in before you push in the two clips at the bottom.


Now put in those 2 screws


And you are finished
Turn on your car and make sure everything is OK!
This is for a STOCK Honda Gauge
How to change your gauge cluster bulbs in a 1996-2000 civic
Tools Needed:
-1 Phillips screwdriver
- 1(one) #194 bulb
- 4 (four) # 74 bulbs
-Patience and Time
All 5 bulbs can be found at Pepboys or autozone.
*I AM NOT RESPONSIBLE FOR YOUR ERRORS. IF YOU MESS SOMETHING UP THAT IS NOT MY FAULT. I AM WRITING THIS HOW TO IN ORDER TO ASSIST PEOPLE. DO THIS AT YOUR OWN RISK!!!!*
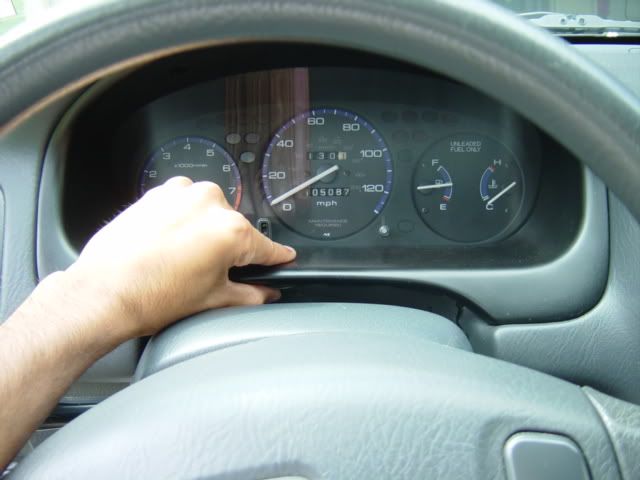
There is your gauge. Lowering your steering wheel all the way down helps alot. Now there are two screws up on that black piece thats behind your steering wheel.


Remove them both.


Here they are

Now pull on that black piece until it comes out. You might have to pull on it hard because there are two clips holding it in position.
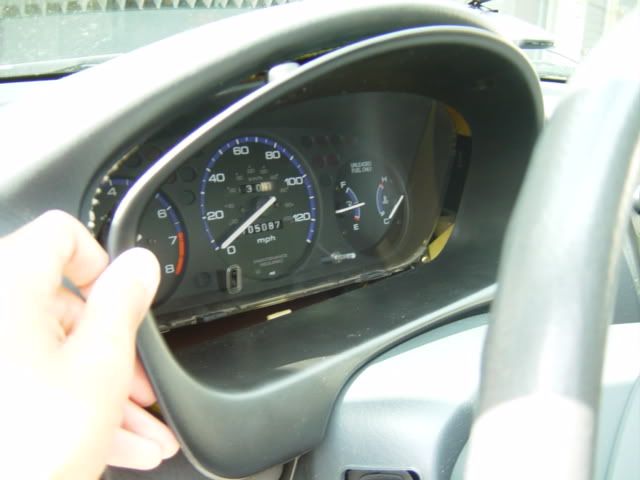
Here it is pulled out
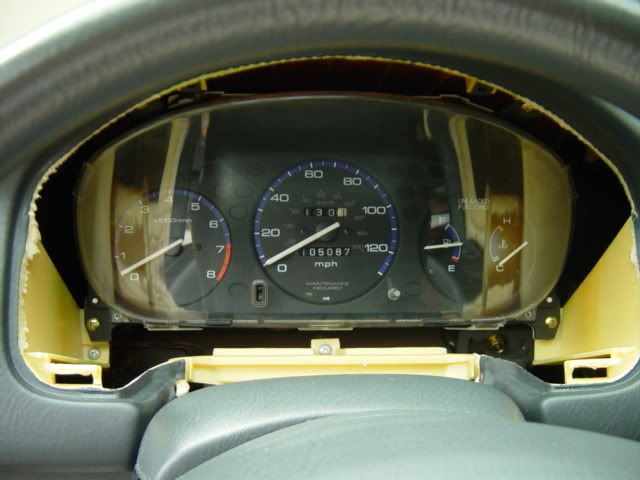
Now there are 4 screws that hold down the gauge cluster once inside. Remove all 4
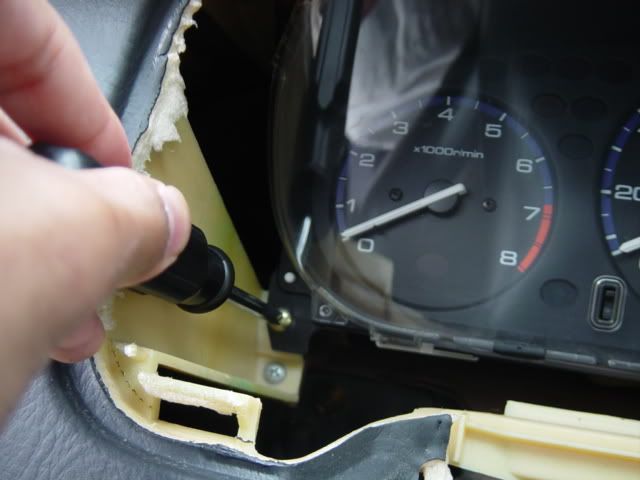
Now here comes a tricky part. You have to manage to pull the cluster out of where it rests. This can take some time if you aren't sure so just be patient and DON'T pull too hard and fast because you might rip out a wire. The way I do it is to tilt the top part of the cluster down, and then pull it from the sides towards you slowly.

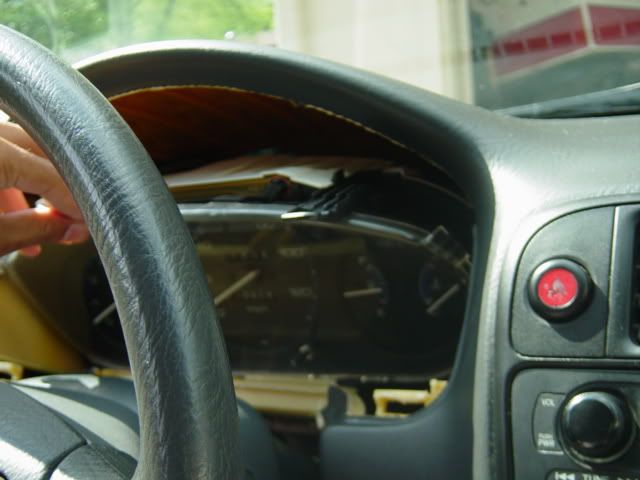
Once you manage it to get it closer to you, you have to remove it from that place where it is. This can also be hard because the steering wheel gets in the way. Keep the top tilted down and pull out towards you.
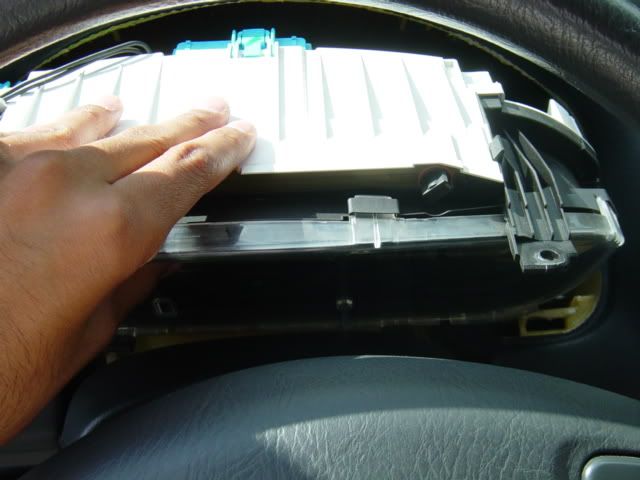
Once you get the cluster out, tilt the whole thing to the LEFT.
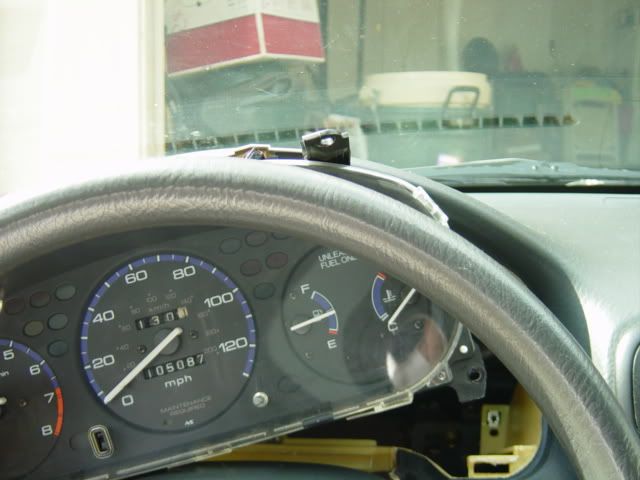
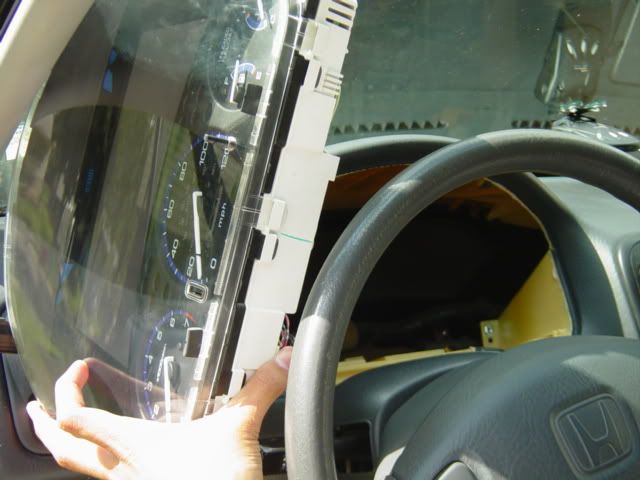
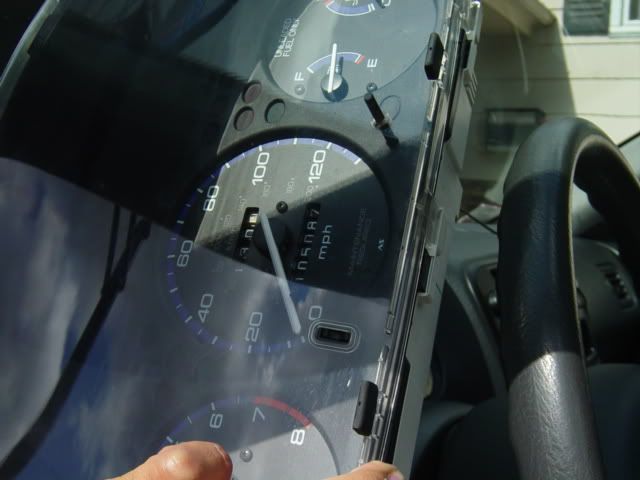
*BE CAREFUL ON THIS NEXT PART BECAUSE IF NOT DONE RIGHT YOU WILL RIP WIRES AND THAT WILL CAUSE MANY MANY PROBLEMS*
Now turn it a little towards your door, slowly. You should see some wires plugged in.
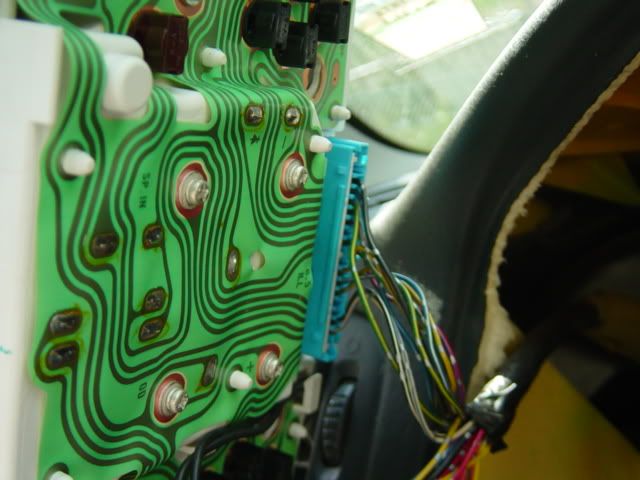
First there is big blue one attached. Remove that slowly by pressing on the clip at the top of the plug and wiggle the plug out.
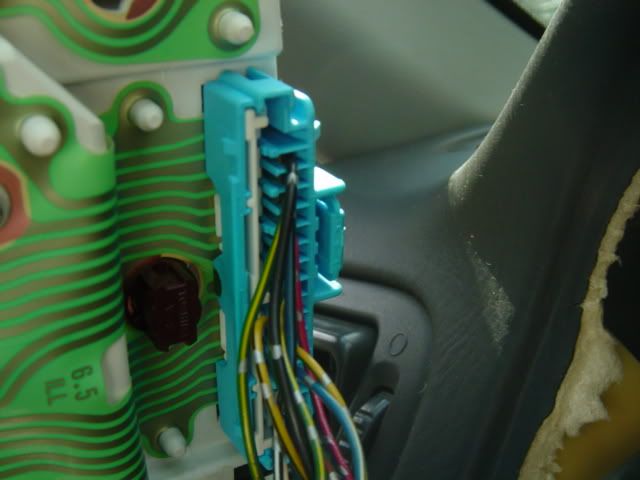

There are 3 wires left. One is a yellow plug, one is white and one more blue one. Do the same procedure for all three. BE CAREFUL!!!
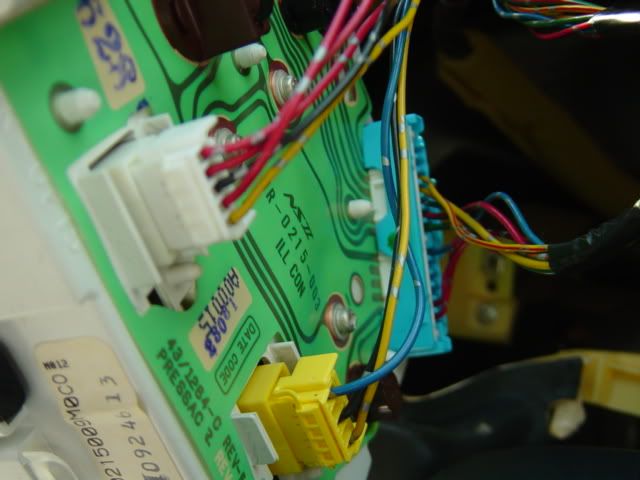
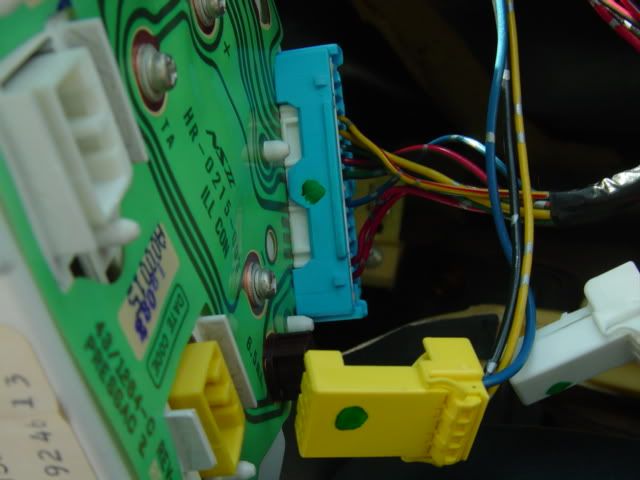
Ahh finally the cluster is out. Good job for getting this far.
Now if you turn the cluster around, you should see something like this.
Don't try to mess with any of it. Anything that you see with a brown colored thing is a bulb.
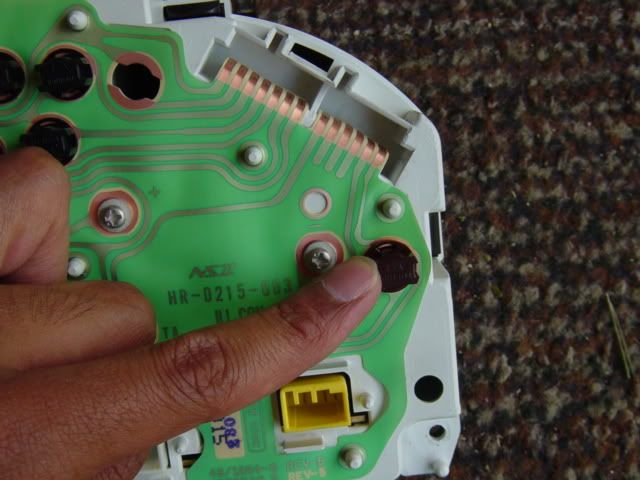
To take them out, just twist them gently to the left and pull it out.
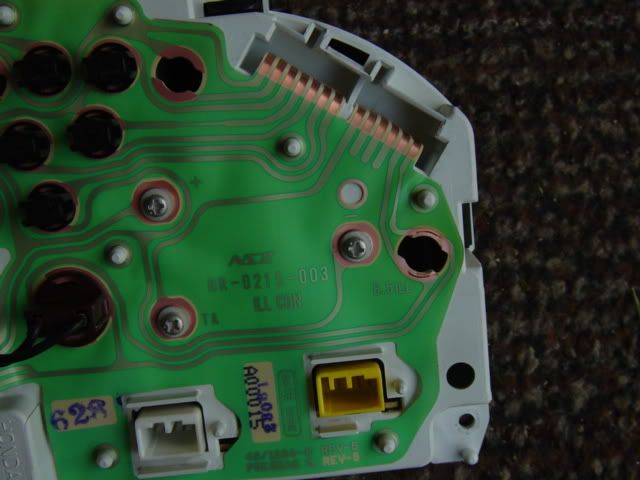
That is what it looks like taken out. The blue thing on the bulb is a sleeve that Honda puts on to make the light "whiter". If you rip it by accident then it is no big deal.
To take out the bulb, wiggle it left and right until it comes out. Don't do it too hard or you could break it. This is a #74 bulb.
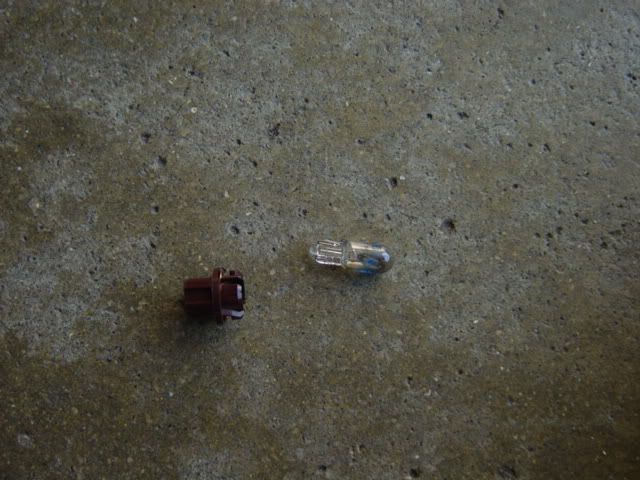
Get your new bulb, and push it back into the holder.
Now put it back on the gauge and this time twist it to the right to secure it.
Do this for these 3 other bulbs the same way.
Now there is one more bulb left. The big one. This one is attached to a wire so watch out. Twist the holder to the left and it comes out.
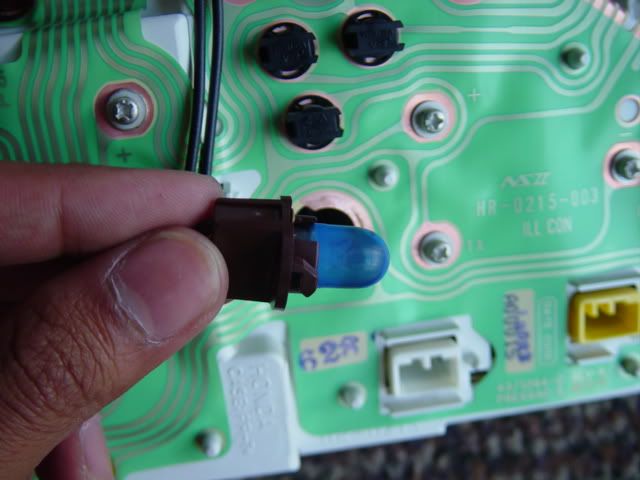
Wiggle the bulb until it comes out. This is the #194 bulb.
Pop in the new bulb and place the holder back in. Twist it to the right to secure it.
All done with the bulbs.
BTW this is how big the bulbs are.
Time to put this back in
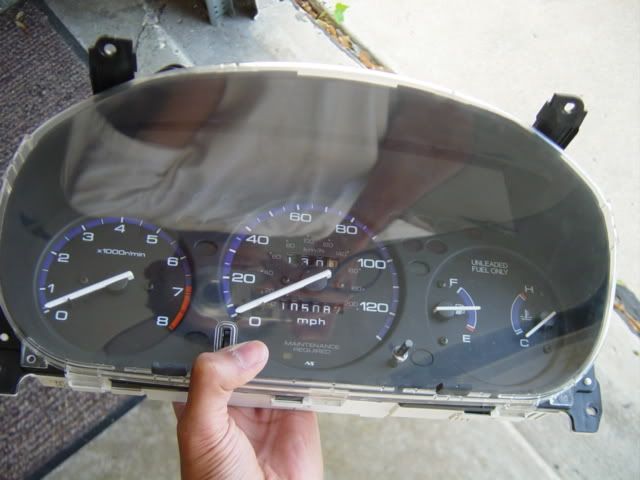
Hold you gauge so its upright like this

Find the big blue plug and plug that in first.
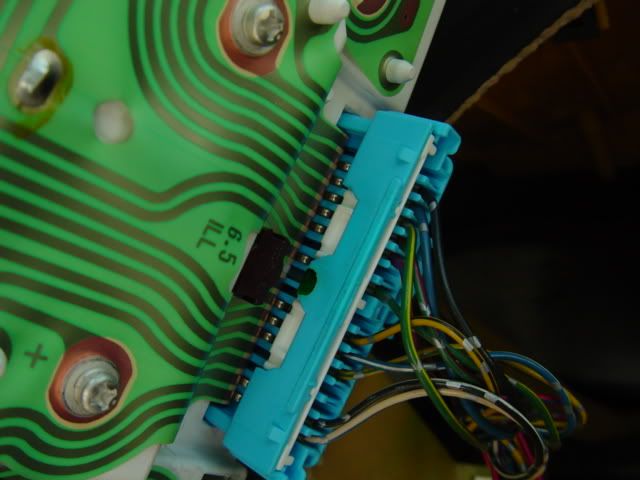
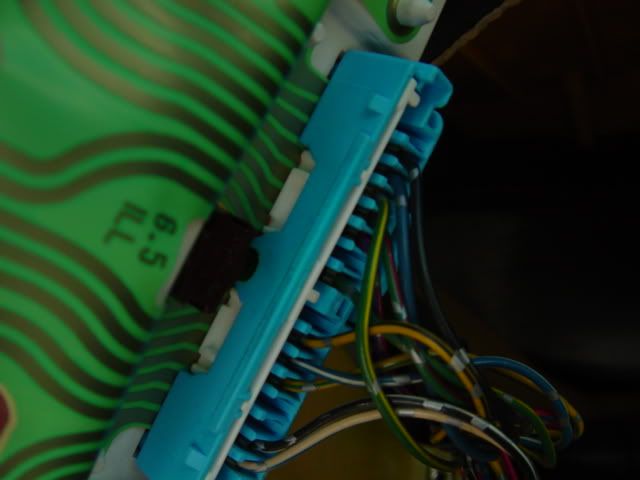
Then the little blue one.
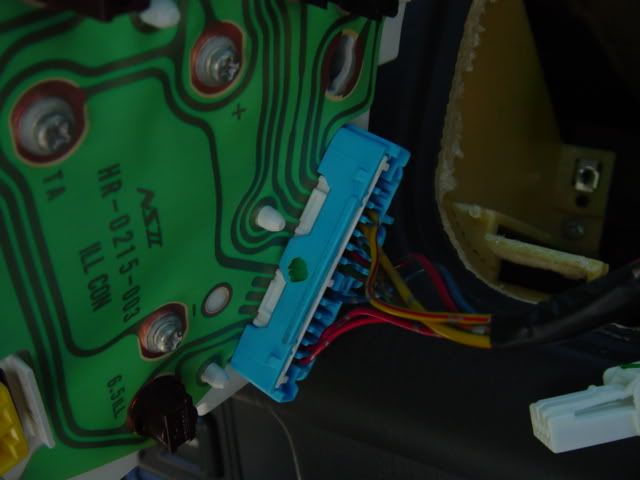
Then yellow.
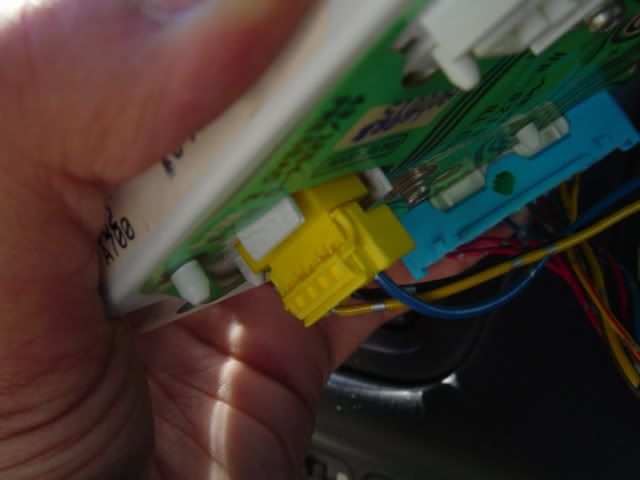
Finally white. It doesnt matter what order you put them in either, thats just how I do it.
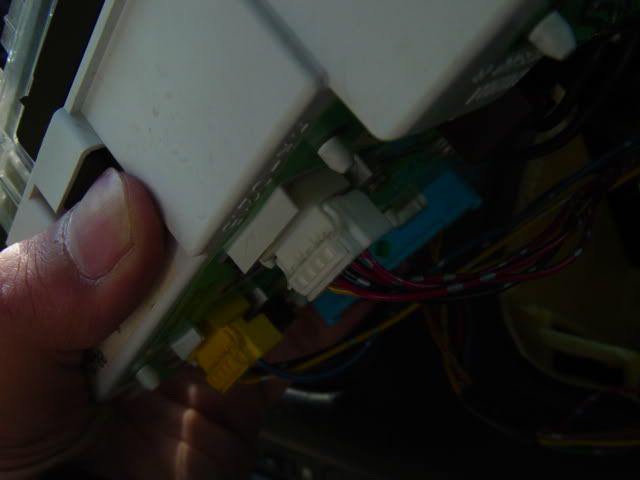
All the wires in? Ok good.
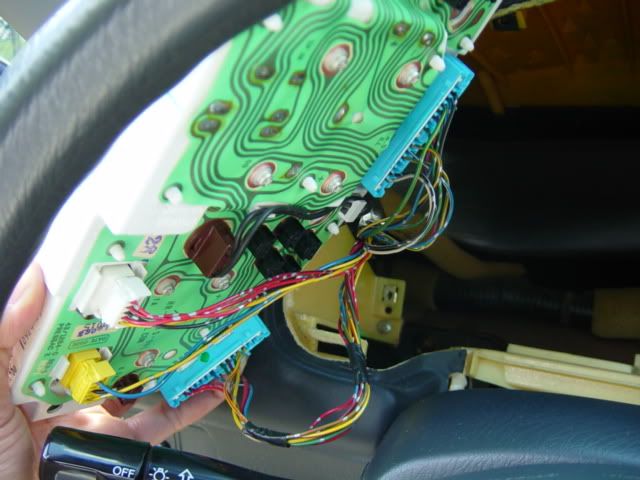
Now work the cluster back into the holding spot.
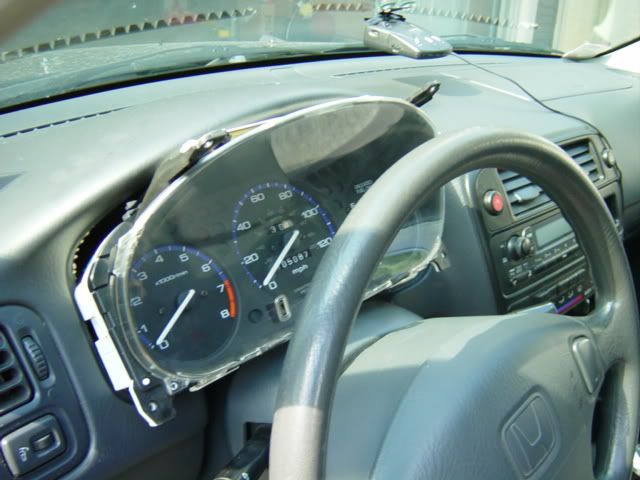
The bottom part of the cluster should go above this.

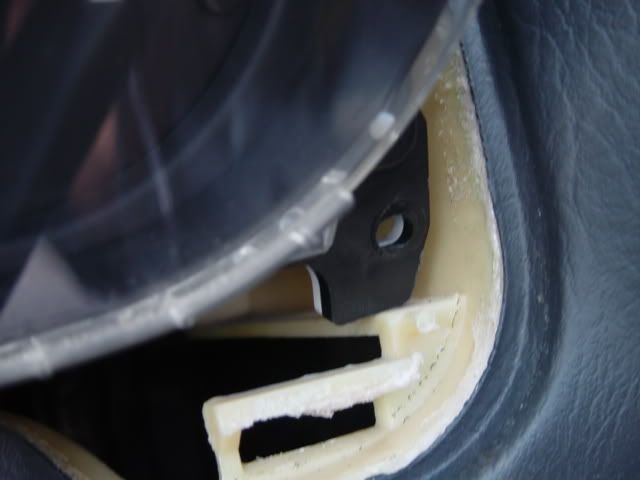
Tilt the top part towards the bottom.
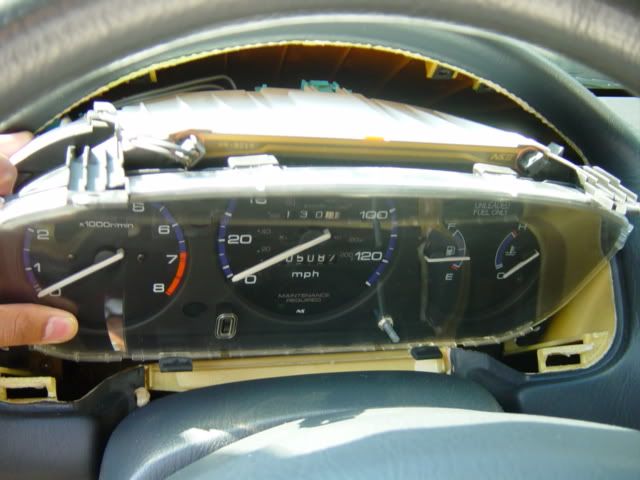
And work the cluster in slower. This can be frustrating but just take it easy.
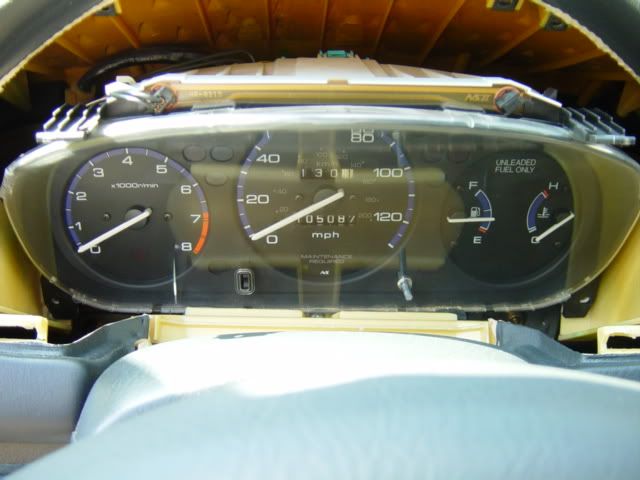
Once you manage that, its time to put the screws back on.


Now take that black piece and turn it over so you can see the back
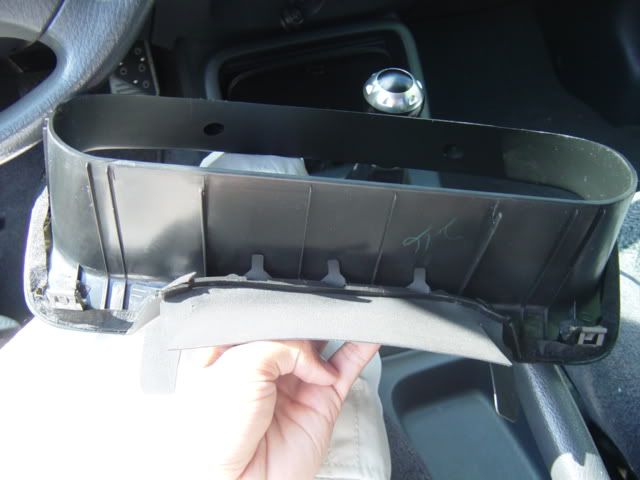
There are 2 clips like these that need to be pushed into a socket in order to make the piece stay.
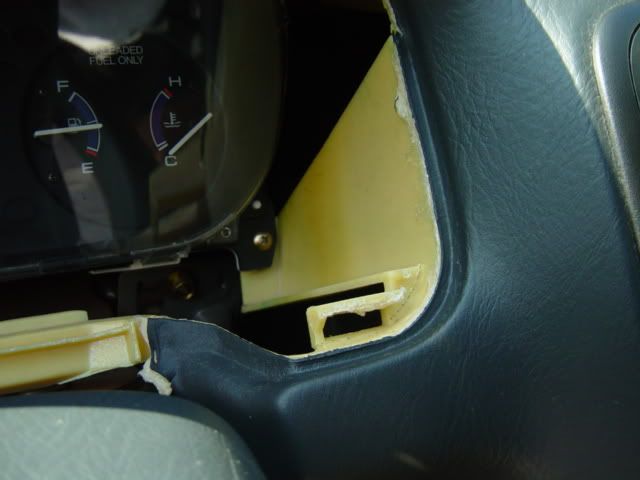
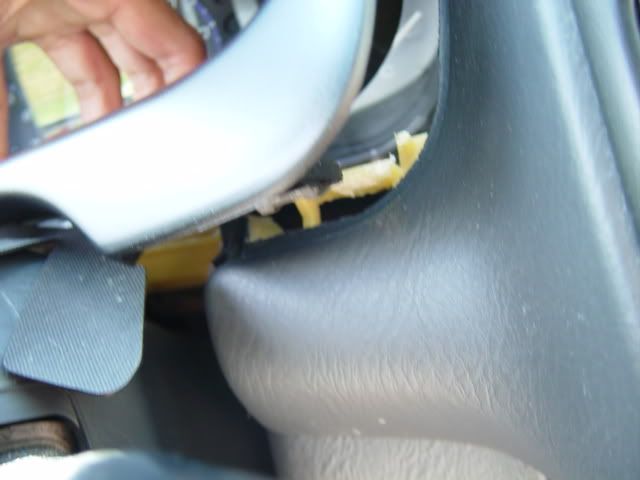
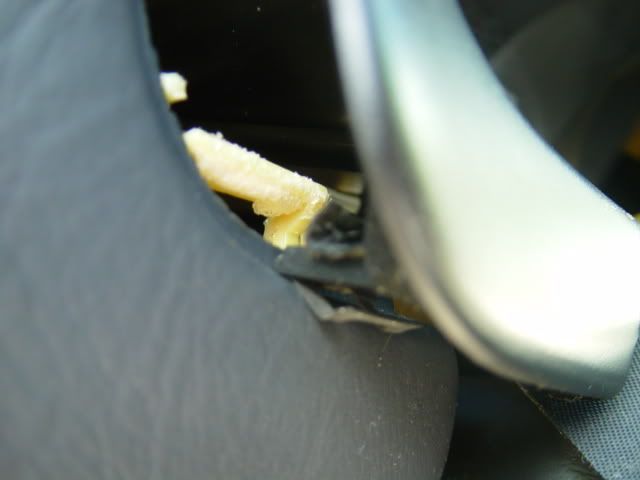
Once you put the clip on top of the socket, push it in with your thumb with some force, but make sure you dont stick the clip somewhere else because it could break. Both sides

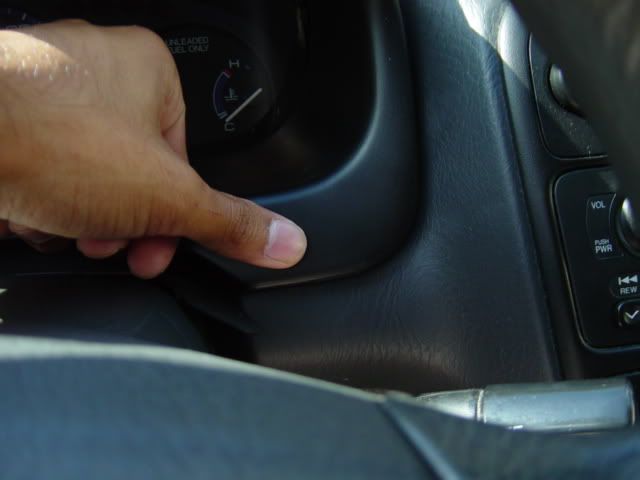
Now push the top portion back in. It should click right into place. If you are having trouble with it, then pull the piece out and push it in before you push in the two clips at the bottom.
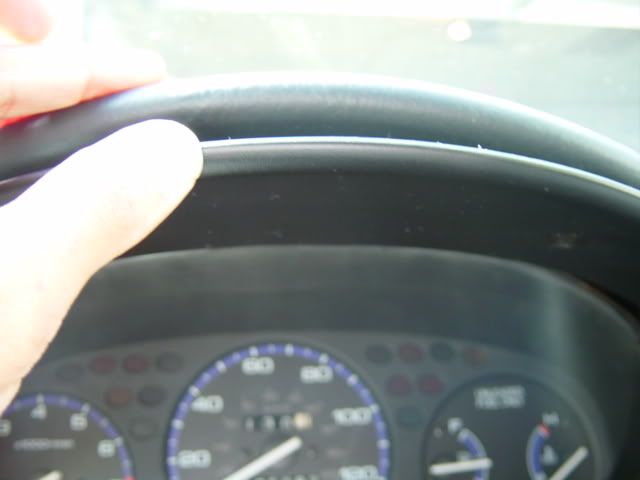
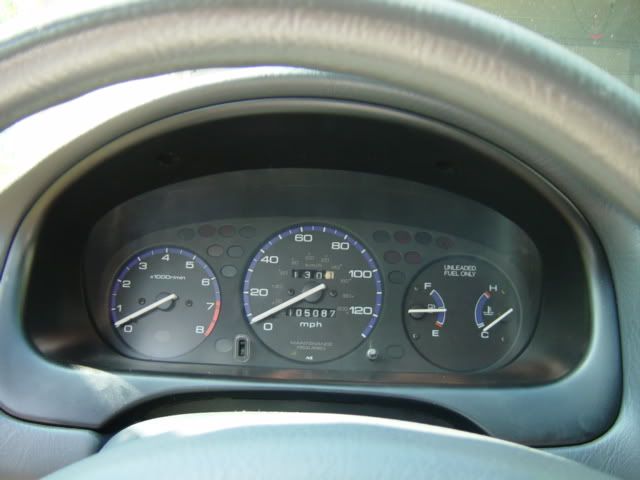
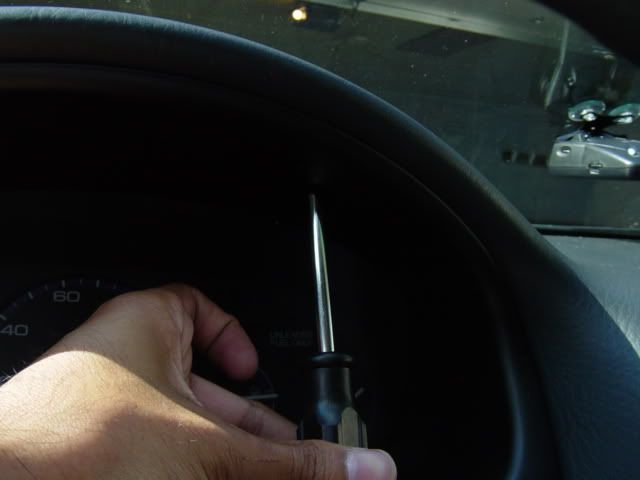
Now put in those 2 screws
And you are finished
Turn on your car and make sure everything is OK!


