I decided to repaint my valve cover because it began to crack and pieces were falling off and i have a lotta spare time in college, lol, so here goes...
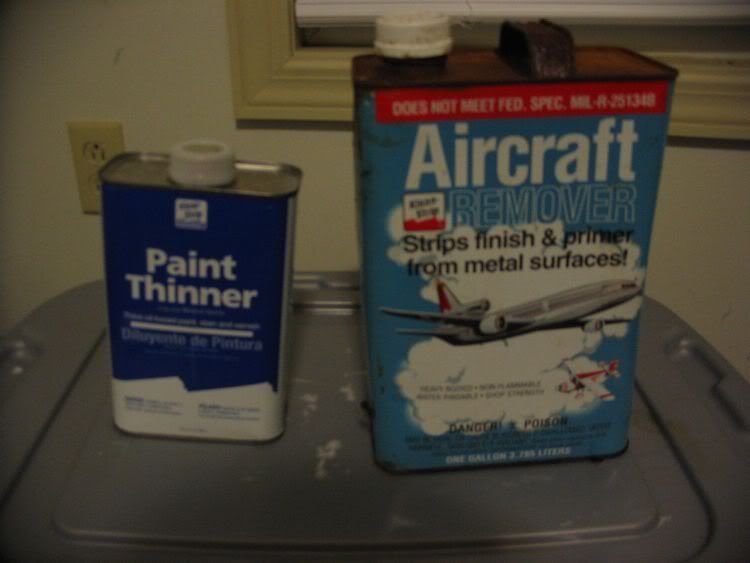
-Paint thinner
-Aircraft grade paint stripper
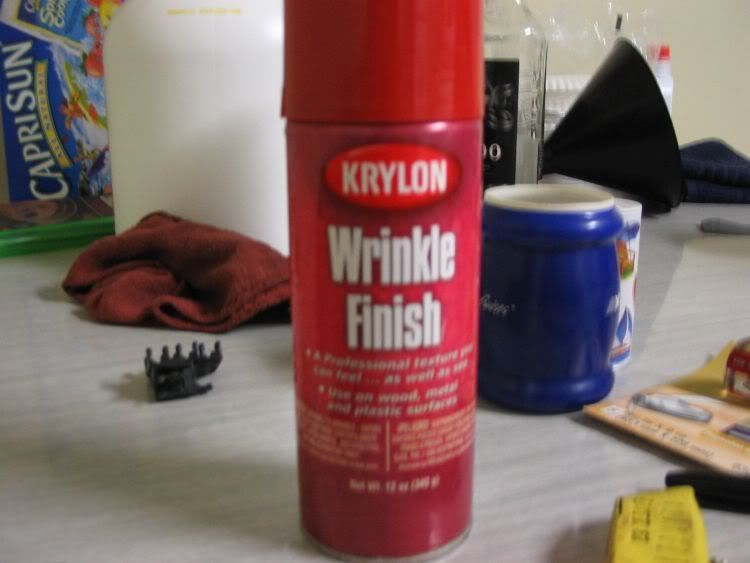
-Paint (Krylon 3380 RED WRINKLE)
-Painters tape
-Sandpaper
Me (Shea) and Brett (bcivichb) both did our valve covers at the same time
the chemicals and the paint: got the paint at autozone


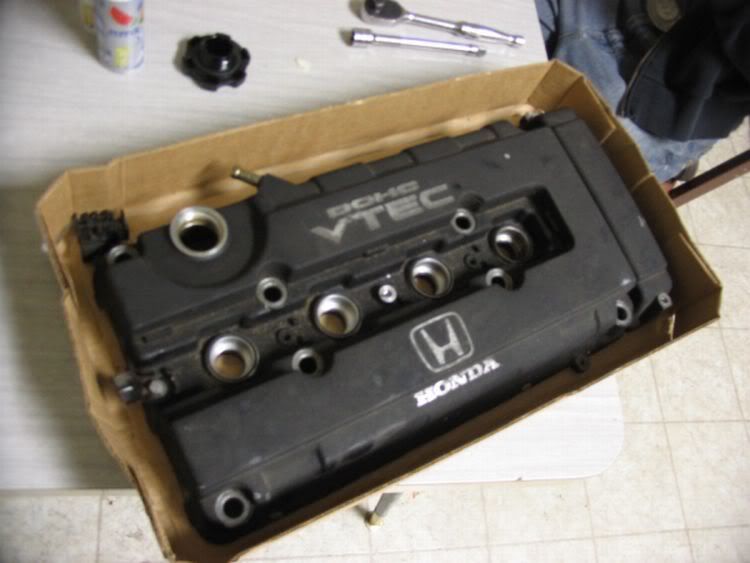
Before:


1. Apply the aircraft stripper in generous amounts, we did 2 1/2 to 3 coats with some cheap paint brushes from k-mart. It starts working about 1-2 minutes after you apply it, you can use a plastic scraper to remove the stripped paint. Then after you get what you can with the stripper take it to a hose and rinse off the remaining flakes (we used our kitchen sink 'cuz we don't have a hose )
)


2. After you rinse them, dry them off to the best of your ability and get ready to sand the corroded spots and the badges (Honda, VTEC and symbol). We used 350 grit to start with then finished it off with 600 before paint. Make sure you sand all the corroded spots because the paint will not stick if you don't

3. Now take your valve cover back to the sink/hose and get some soap this time and clean it real good then get the paint thinner and a rag out and go over it a couple times to get everything off the surface. After this step try not to touch the paint surface
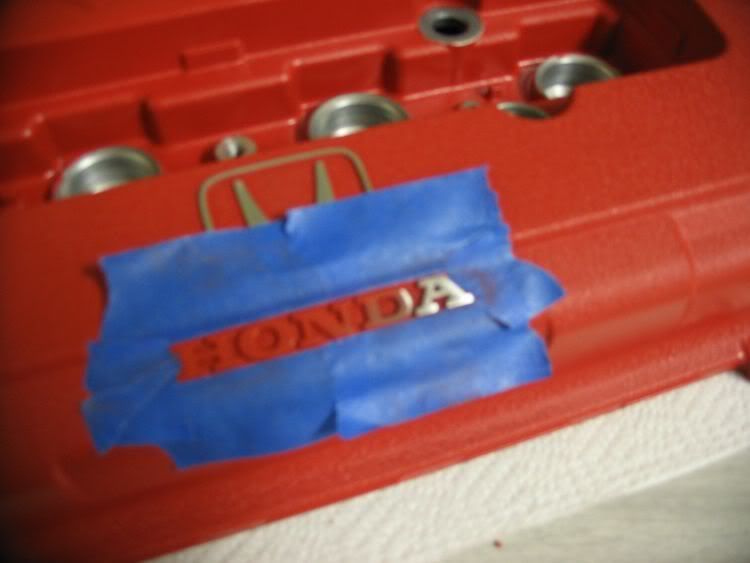
4. Now tape up all the areas you don't want paint to get in to:

5. Now comes the painting, the Krylon we used said do 3 coats in 5 minute intervals. Make sure you remove the tape while the paint is wet, if you take it off when its dry you can take the paint up with it

then with the tape removed:

6. Let them sit at least 12 hours to dry then set the oven to 200 degrees and throw it in there for 20 minutes

7. Next you can sand the badges if you want, get the painters tape back out and the sandpaper and repeat what you did in step 2 (350 -> 600)

After sanding the paint off the badges, your good to go, just clean the dust off and take some pics and post them in here!

Some random extra pics:


edit: this might be in the wrong section, sorry
heres some links to buy the paint if you can't find it anywhere local (note its not krylon but i couldn't find krylon but the part number is 3380 RED WRINKLE)
http://vht.carshopinc.com/product_in...id/56288/SP204
http://www.usautomotive.co.uk/store/...?idProduct=347
http://cgi.ebay.com/ebaymotors/VHT-P...spagenameZWD1V
*** I AM NOT RESPONSIBLE FOR ANY DAMAGES, THIS IS SIMPLY A SUGGESTIVE WRITE UP***
Supplies/Tools:-Paint thinner
-Aircraft grade paint stripper
-Paint (Krylon 3380 RED WRINKLE)
-Painters tape
-Sandpaper
Me (Shea) and Brett (bcivichb) both did our valve covers at the same time
the chemicals and the paint: got the paint at autozone
Before:

1. Apply the aircraft stripper in generous amounts, we did 2 1/2 to 3 coats with some cheap paint brushes from k-mart. It starts working about 1-2 minutes after you apply it, you can use a plastic scraper to remove the stripped paint. Then after you get what you can with the stripper take it to a hose and rinse off the remaining flakes (we used our kitchen sink 'cuz we don't have a hose


2. After you rinse them, dry them off to the best of your ability and get ready to sand the corroded spots and the badges (Honda, VTEC and symbol). We used 350 grit to start with then finished it off with 600 before paint. Make sure you sand all the corroded spots because the paint will not stick if you don't

3. Now take your valve cover back to the sink/hose and get some soap this time and clean it real good then get the paint thinner and a rag out and go over it a couple times to get everything off the surface. After this step try not to touch the paint surface
4. Now tape up all the areas you don't want paint to get in to:

5. Now comes the painting, the Krylon we used said do 3 coats in 5 minute intervals. Make sure you remove the tape while the paint is wet, if you take it off when its dry you can take the paint up with it

then with the tape removed:

6. Let them sit at least 12 hours to dry then set the oven to 200 degrees and throw it in there for 20 minutes

7. Next you can sand the badges if you want, get the painters tape back out and the sandpaper and repeat what you did in step 2 (350 -> 600)
After sanding the paint off the badges, your good to go, just clean the dust off and take some pics and post them in here!
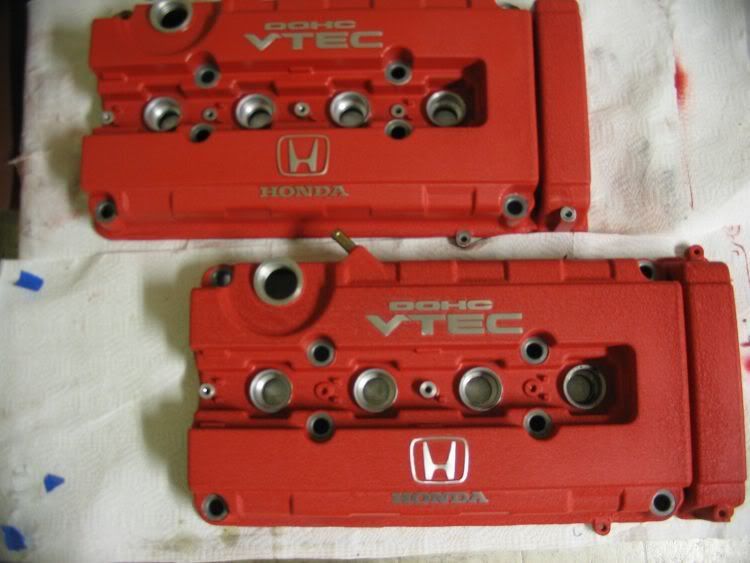
Some random extra pics:


edit: this might be in the wrong section, sorry
heres some links to buy the paint if you can't find it anywhere local (note its not krylon but i couldn't find krylon but the part number is 3380 RED WRINKLE)
http://vht.carshopinc.com/product_in...id/56288/SP204
http://www.usautomotive.co.uk/store/...?idProduct=347
http://cgi.ebay.com/ebaymotors/VHT-P...spagenameZWD1V


 . Im swapping my head here soon, so Im gonna repaint my valve cover too. Im gonna use this as a reference.