So today in 100+ weather  i decided to paint my newly new pair of headlights I had purchased becuase I am using my original set for a TSX retro-fit and besides the lense on those were very foogy
  . This pair was very clean not foggy at all. So my homie and I start on the project.
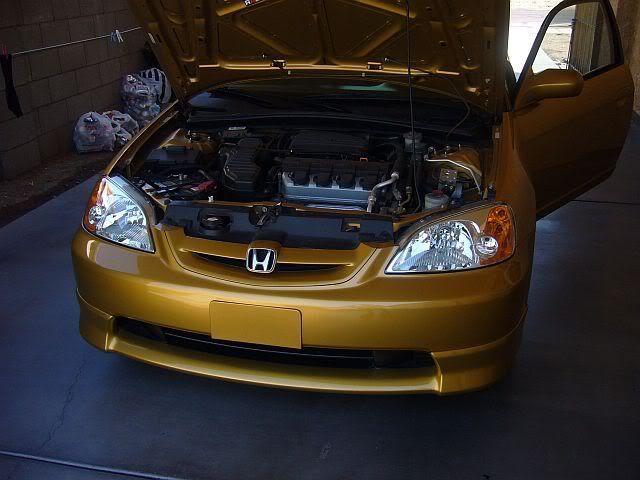
Start by taking off the self tapping screws on the front by the radiator cap, then two screws by the fenders, and finally some more self tapping screws on the bottom of the bumper.

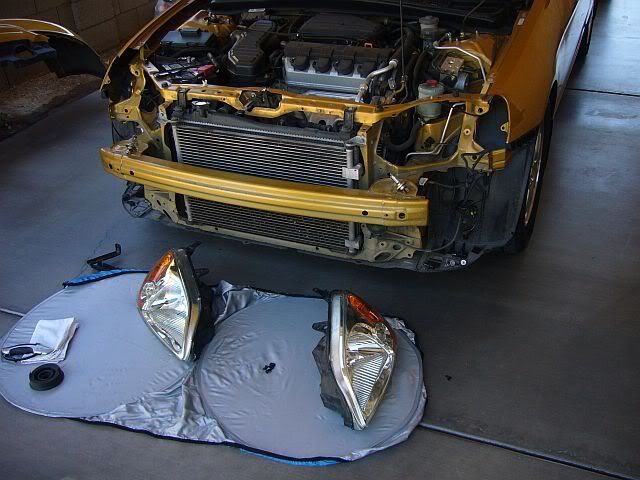
Then go start to remove the headlights, u can use 1 10mm socket and and extension to take off the headlights. Also this would be a good time to take off all the bulbs and rubber cover.

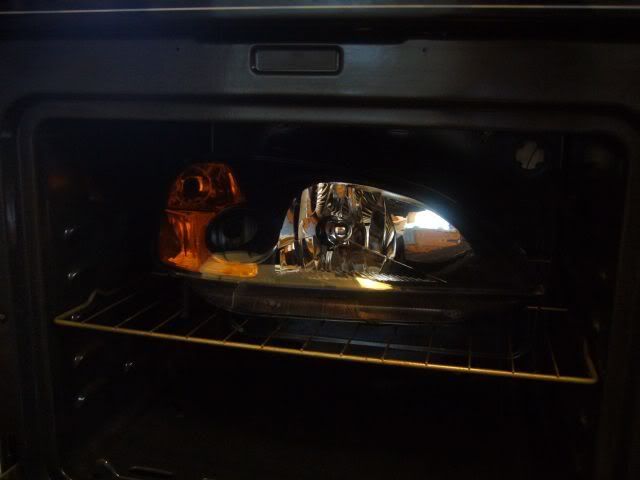
Then you take your headlights to the oven to heat up the glue so you will able to separate them. I put the oven to 250 degrees for about 10 minutes, then i set one headlight for about 5 minutes

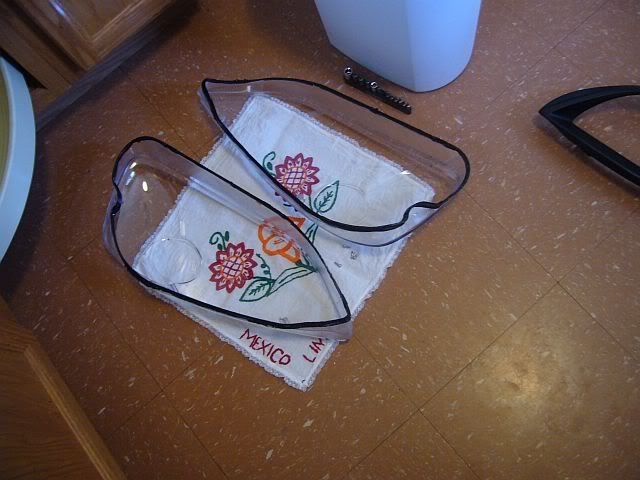
After that, you have to pry them apart like so:

I used a flathead screwdriver to pry them apart. After the prying, you end up with 2 separate parts.
The front lense and the reflector housing:


You have to take off 2 screws on the lense part of the headlights to get the chrome part that were are going to paint, I used a T-15 socket

Once you get it off, you have mask off the amber part. Or if you want to paint it or take out its up 2 u. I like the amber part so i left it. Then after the masking, my buddy an I started to wetsand. I used 800 grit paper

Then you start paiting:

A couple of coats should be enough.
Then you take off your masking and end up with something like this

Almost done, , you have to put back the painted part, then set the lense back onto the reflector and finally put it back on the oven to heat up the glue to seal them back up. You should end up with something like this:

Finally you put back all your bulbs and plug everything back, put back your bumper. And here are the final results:


It took my homie and I about 3 hours to complete this job.
Comments and questions welcomed.
Start by taking off the self tapping screws on the front by the radiator cap, then two screws by the fenders, and finally some more self tapping screws on the bottom of the bumper.
Then go start to remove the headlights, u can use 1 10mm socket and and extension to take off the headlights. Also this would be a good time to take off all the bulbs and rubber cover.
Then you take your headlights to the oven to heat up the glue so you will able to separate them. I put the oven to 250 degrees for about 10 minutes, then i set one headlight for about 5 minutes
After that, you have to pry them apart like so:
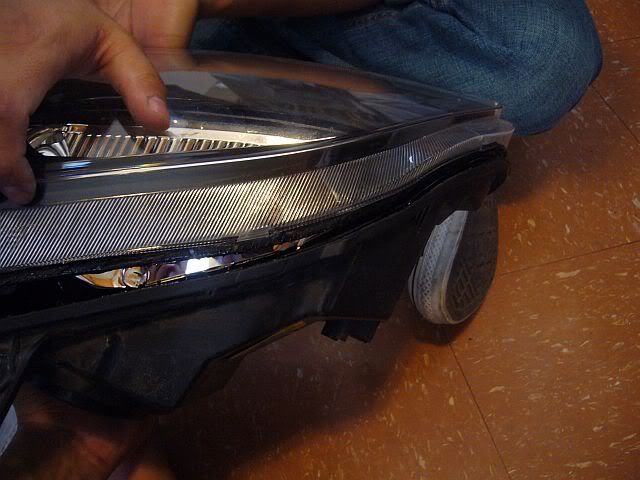
I used a flathead screwdriver to pry them apart. After the prying, you end up with 2 separate parts.
The front lense and the reflector housing:
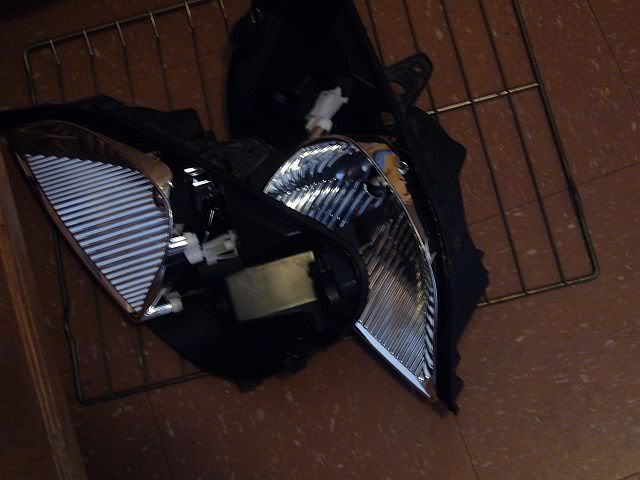
You have to take off 2 screws on the lense part of the headlights to get the chrome part that were are going to paint, I used a T-15 socket
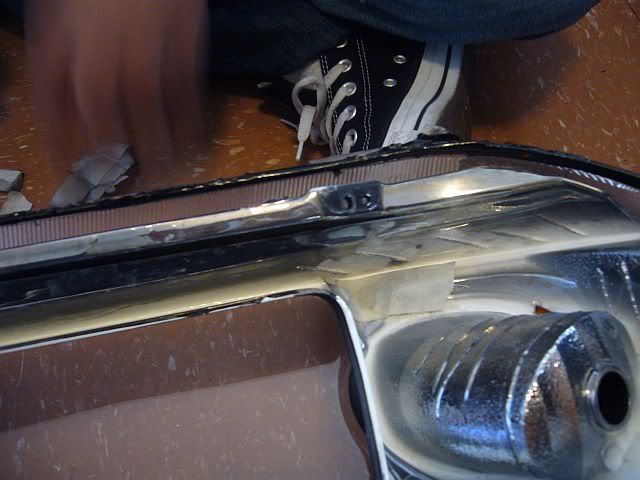
Once you get it off, you have mask off the amber part. Or if you want to paint it or take out its up 2 u. I like the amber part so i left it. Then after the masking, my buddy an I started to wetsand. I used 800 grit paper
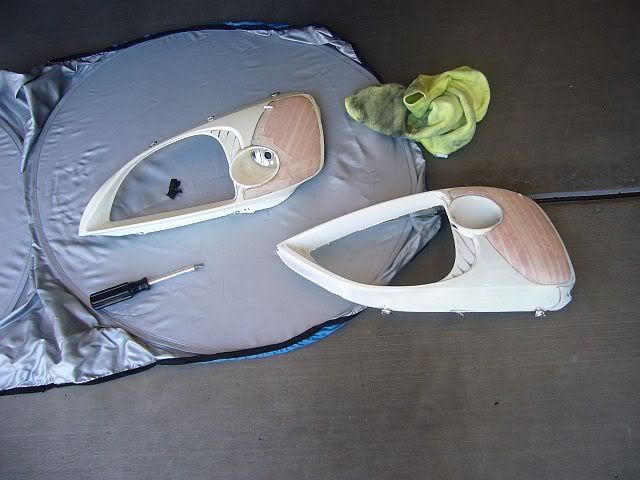
Then you start paiting:

A couple of coats should be enough.
Then you take off your masking and end up with something like this
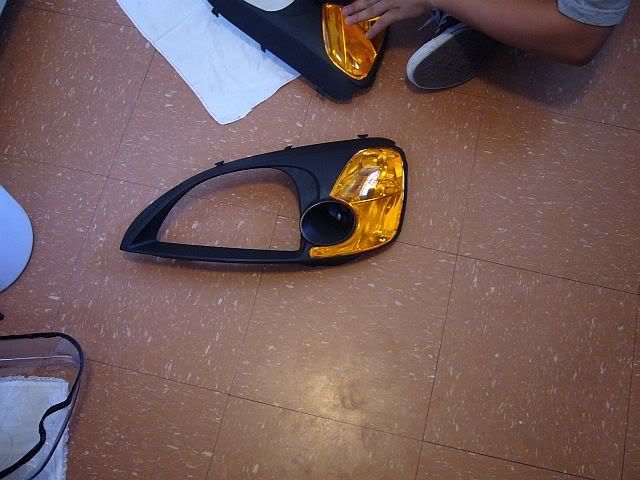
Almost done,
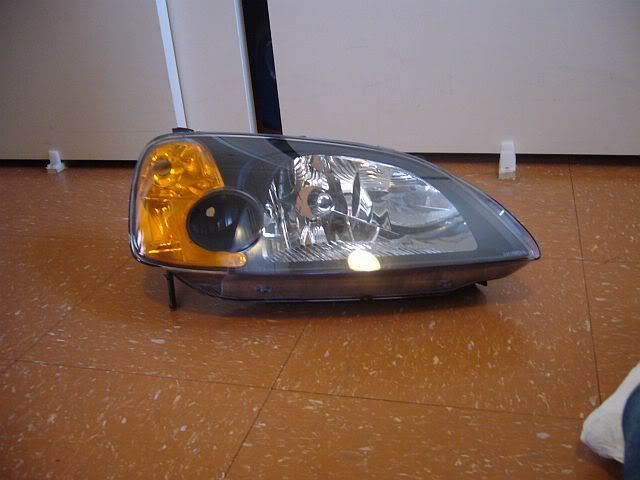
Finally you put back all your bulbs and plug everything back, put back your bumper. And here are the final results:
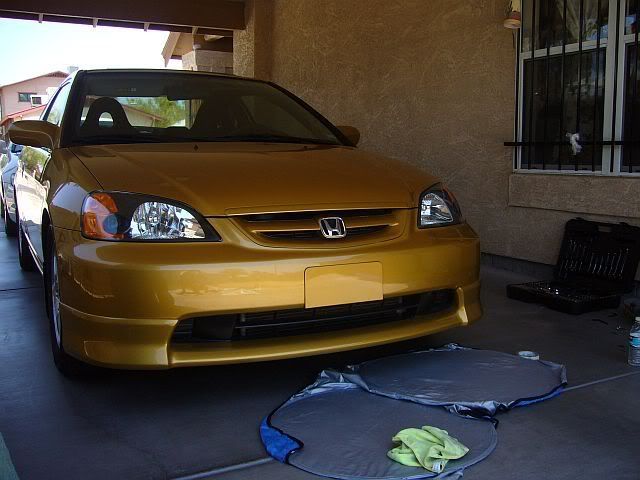

It took my homie and I about 3 hours to complete this job.
Comments and questions welcomed.

 but Inca gold would be awsome.