Have read through it all...a day and a half later I have finished the read; over 1,500 posts WOW!
So, clearly no longer a teen, not that you ever were IMO...but I'm certain far more knowledgable than when you started. I did notice your writing has become noticeably better since completing college and hopefully your degree helps you and doesn't become a worthless piece of paper...such is my case.
You've received a great deal of excellent and positive feedback from some pretty reputable idividuals from what I've read here, and on other postings.
I myself have been working on two cars for roughly two years now. An a4 b6 audi and a 7th gen. Civic EX...neither have been easy. The ups and downs while smiles and frowns come and go, but the knowledge while also forethought have stayed and continue to grow.
My hat is off to you sir, for your patience and complete dedication to your build. I had no doubt you would complete your schooling and your build and I realized this early on after your first swap and the engine issues.
It's not about hope, or faith, or etc...it's about not giving up!!! These things I say aren't things you don't already know so I won't waste anymore of your time with that. ;-)
I would like to give a few pointers in regards to saving money...things I was suprised were not mentioned by other members...however, tis no real matter as you came through in fine style! I just thought they might help you for future reference.
So, without further adieu...
No need to take a head to a machine shop or the block to be resurfaced due to warpage and no need to pay anymore than $20 for a straight edge to check for warpage with feeler gauges.
Buy a "super square" aka framing square from home depot or lowes...these are true squares and completely adequate for checking for warpage. And finally, a piece of plexiglass, spray tack glue/glue in a spray can and sand paper are all that is needed to save money in regards to resurfacing a head.
Place an adequate size piece of plexiglass suitable to your needs on a flat surface, preferably a bench. Then, clamp in place.
Note: Can be placed on the ground granted your plexiglass is placed on a flat hard surface and you either stand or anchor it down fairly well.
Spray on the glue in an area which suits your needs and bond your sand paper (two areas for 80+ grit.), onto your plexiglass. This is really just dependant upon the difference in the thousanths of an inch of the overall warpage. If significant warpage say, 7 thousanths+ start with 80 grit and work up to your liking. However, 120-150 is all that's necessary.
Head & block prep.
Remove all the components of the head, cams, valves, springs, etc. and block, pistons rings, crank, etc. then simply place the head/block on the sandpaper...from there push and pull letting the weight of the head/block act as the downforce. This will allow the individual to concentrate on pushing and pulling strictly.
Push and pull a decent distance 6-8" roughly and check changes every so often.
You should be able to detect low spots almost immediately by the contrast of color. Even spots will, or should have a machine like finish, while low spots remaining dull, dirty and possibly even showing gaskets particles/debri.
You sand until all areas of the head have a machine like finish. I recommend getting close to your designation and then upping your grits to desired finish. I wouldn't go hire than 150 grit. My reasoning is based off of liking to use the permatex copper spray-a-gasket. I feel there needs to be room for adhesion. If you don't or won't use it, shine to your liking. Do bear in mind the "wear gauges" located on both sides of the long side of the head. These indicators let you know how far you're allowed to sand down. If the head has to be sanded beyond those indicators it is useless, unfortunately.
I'm certain you could rig up a flat board with plexiglass and handles then glue sand paper to it and work on a block to avoid taking the block apart. I'd be certain to have a compressor or air in a can (found in the electronics dept., or electronics store), and rotate the crank and spray the piston and rings out with.
So...during your days of sadness and sorrow...i.e. bad head and block, before we knew what was going on...lol...I'm screaming at my phone man this is shitty that I can do nothing to help!
Anyway, used this method on my Civic, worked flawlessly...car has been going two years with no issues.
I had noticed the copper gasket spray was mentioned by you in an earlier post, not certain if anyone responded, but that is a definite go! No matter how you look at it...use it even if there is no warpage...it's a tried and true product. Google for some product reviews.
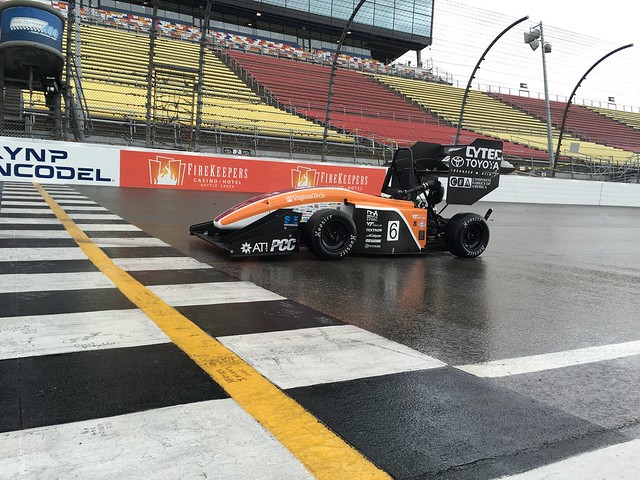
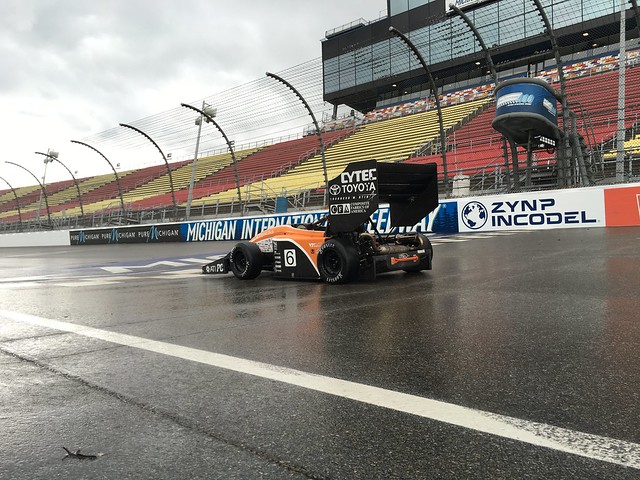
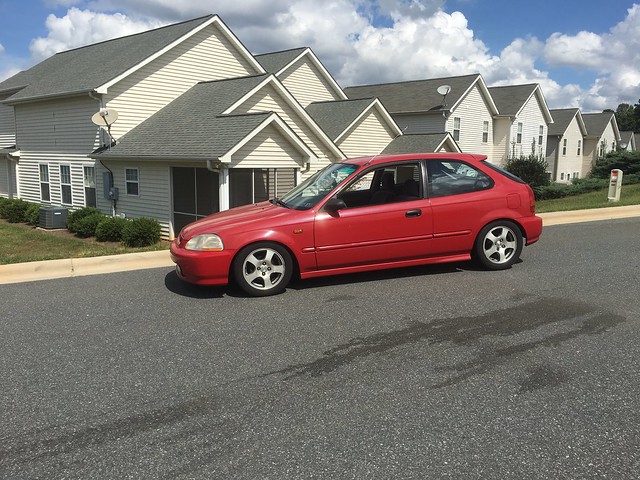
As for you, a very respectable build; everything looks fantastic...you can tell just with the photos, a lot of thought and care and more thought was put into play during this build...a lot of thought. Did I say thought yet?
Anyway, thank you young man for showing hard work, dedication, drive, patience, the list goes on sir. It really is a rarety these days.
To answer your question, is a project ever finished? The answer is no...however, there is also a time to move on. I believe CHILD knows this all to well. Everyone has their favorite though, one they will talk about the most as the years pass.
Thank you again, will be checking in to see if there have been any changes.
Sent from my SM-G360P using Tapatalk
coulda fooled me
coulda fooled me
