- Home
- Forums
- Honda Civic Gen Tech and Builds / Show Offs
- 6th Generation Honda Civic (1996-2000)
- 6th Gen Honda Civic Builds / Show Offs
Blandsarcasm's 98 ej6 daily
- Thread starter blandsarcasm
- Start date
00000000
hahaha yeah i would say youre pushing itI hope I don't fall off the "i swear this is just a daily beater" wagon :-) (i kind of have already but i'm frantically running behind to hopefully jump back on it)
so my broken dslr somehow magically healed and resurrected itself so i went immediately to the garage and took about 100 photos...
 IMG_7197 by evan mclaren, on Flickr
 IMG_7221 by evan mclaren, on Flickr
 IMG_7217 by evan mclaren, on Flickr
 IMG_7216 by evan mclaren, on Flickr
 IMG_7261 by evan mclaren, on Flickr
 IMG_7265 by evan mclaren, on Flickr
 IMG_7209 by evan mclaren, on Flickr
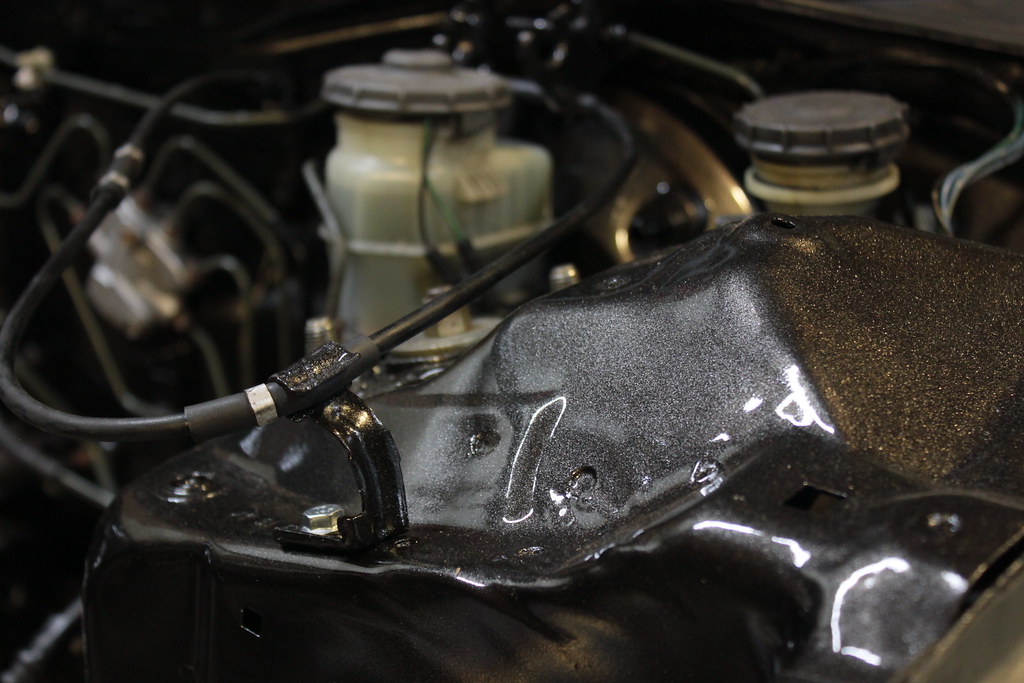 IMG_7197 by evan mclaren, on Flickr
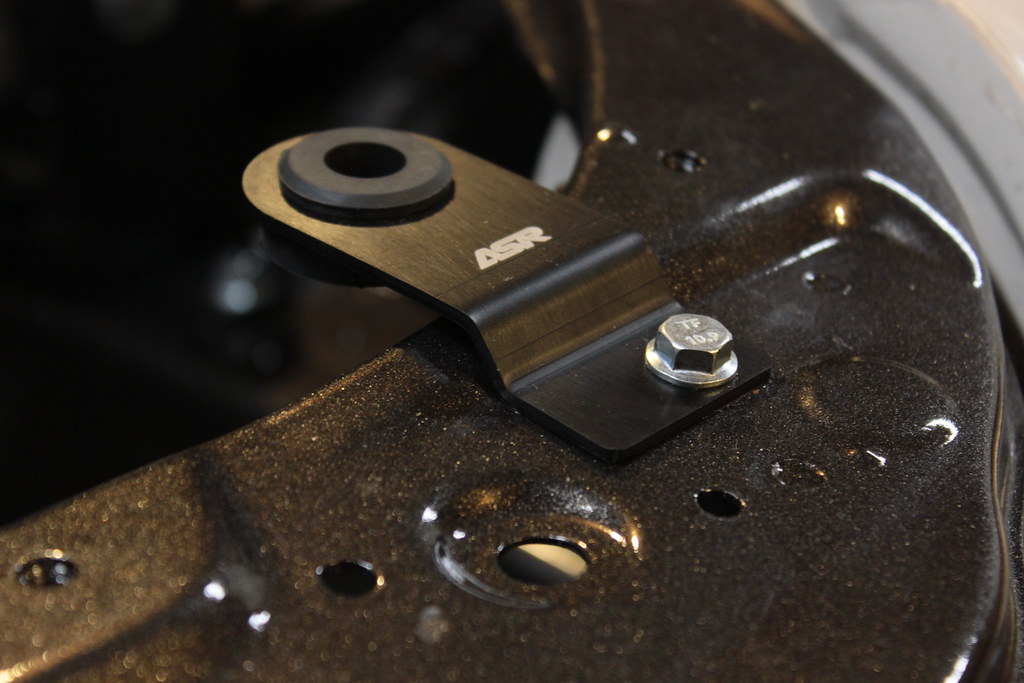 IMG_7221 by evan mclaren, on Flickr
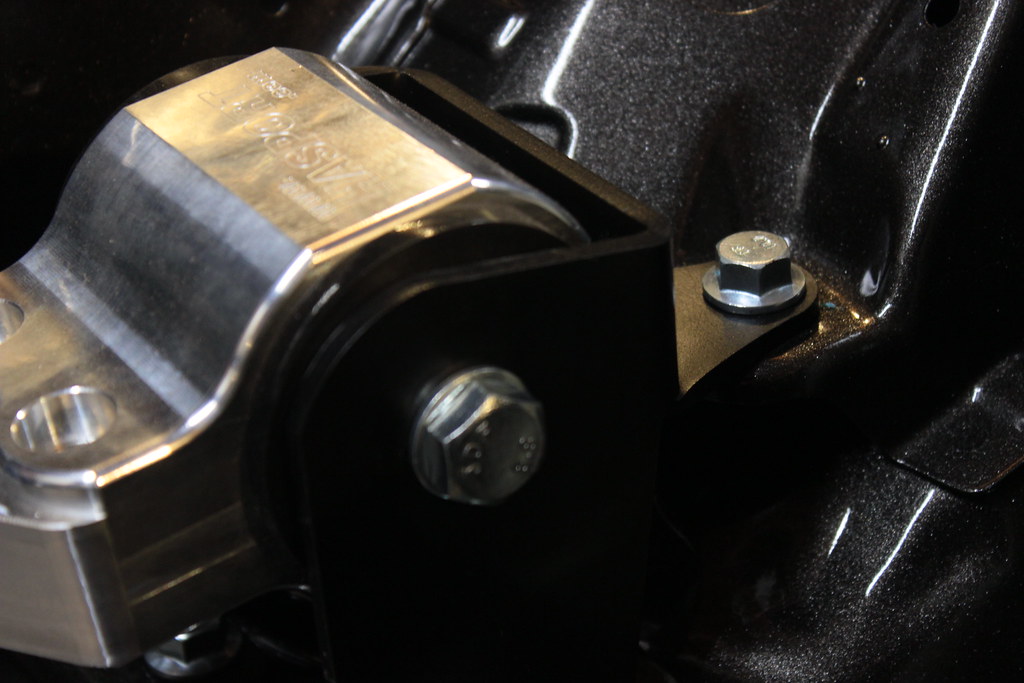 IMG_7217 by evan mclaren, on Flickr
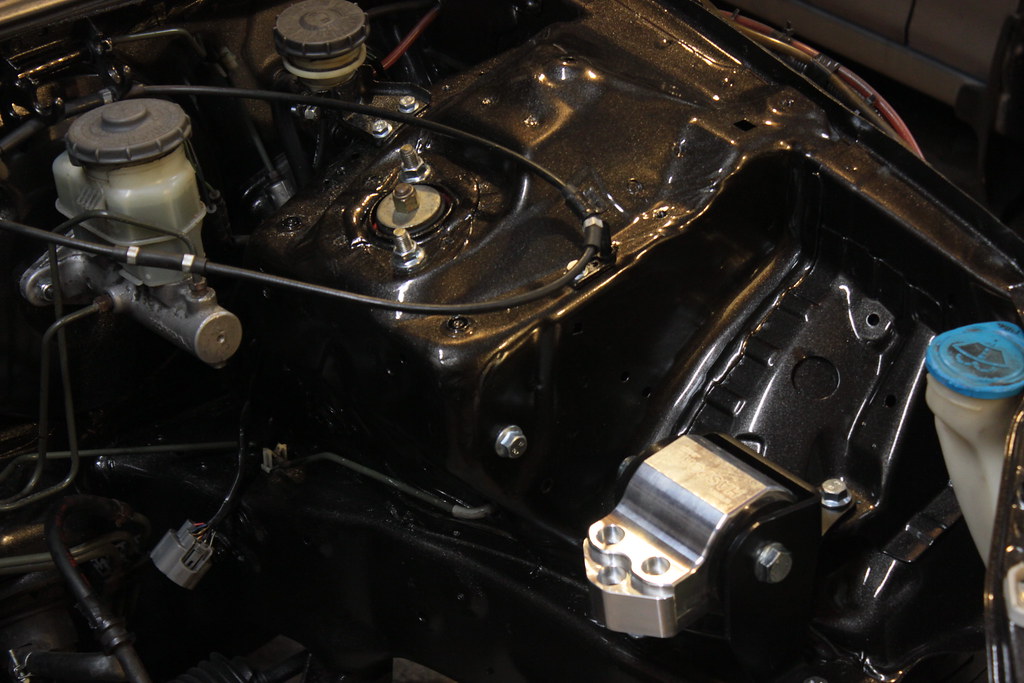 IMG_7216 by evan mclaren, on Flickr
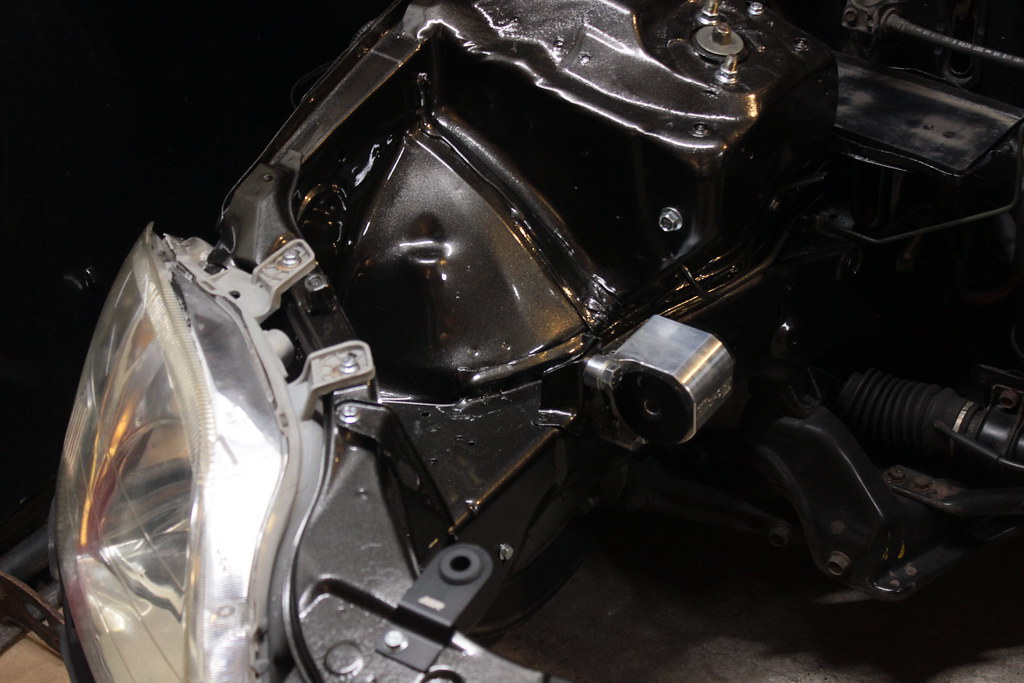 IMG_7261 by evan mclaren, on Flickr
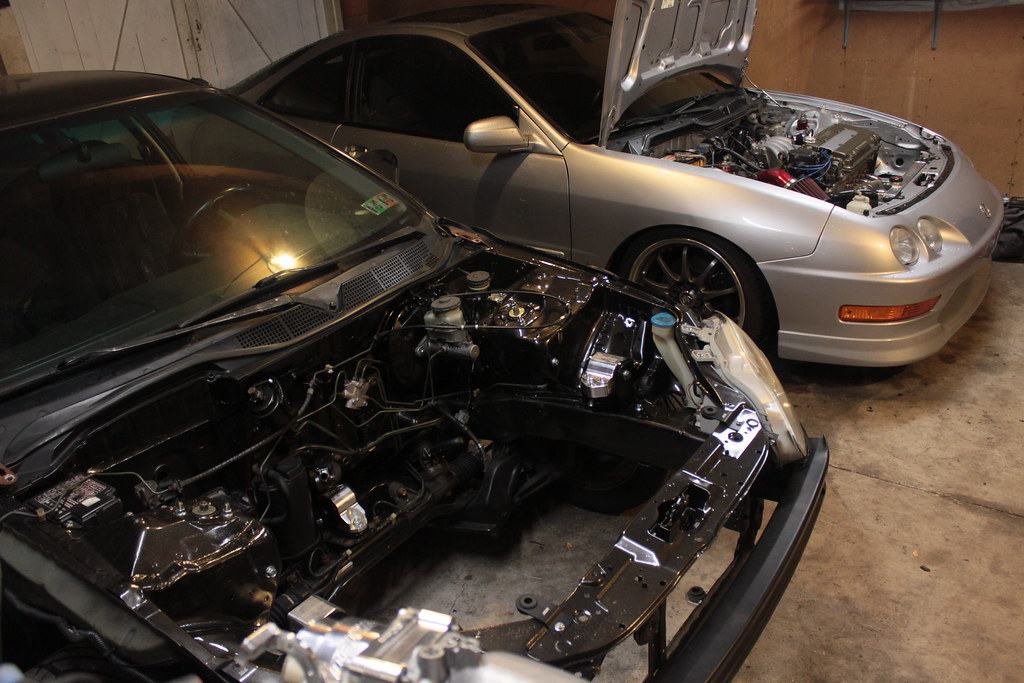 IMG_7265 by evan mclaren, on Flickr
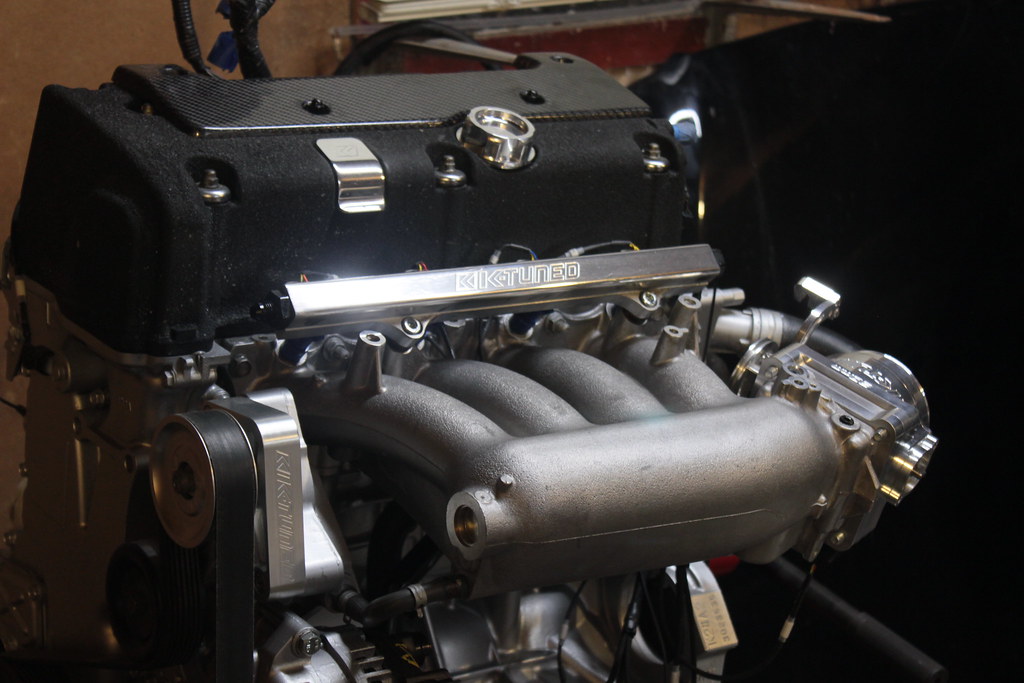 IMG_7209 by evan mclaren, on Flickr
Ive been waiting the past couple weeks for a chance to take time off from work so i can finally get this swap done and the opportunity finally arrived...
 IMG_5649 by evan mclaren, on Flickr
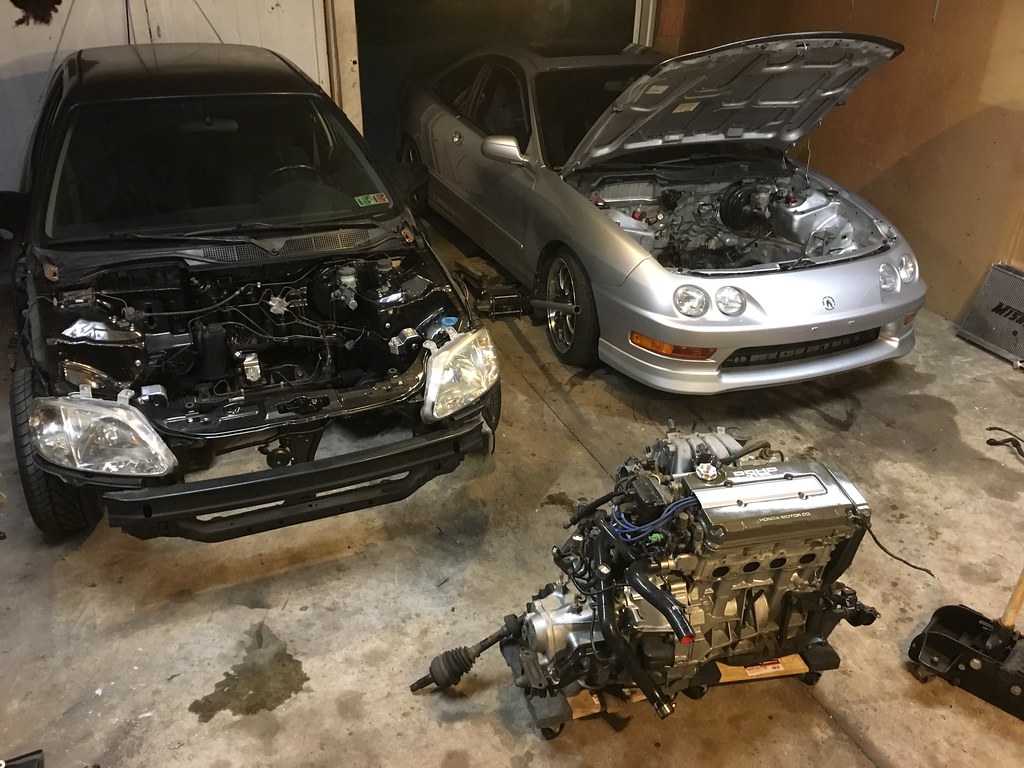
got off work on monday, pulled the integra into the garage and immediately began pulling the heart out. since i only had a couple days to get my civic fully operational i didnt waste any time. its funny how easy it is when there are no accessories in the way like ac or power steering. i had the motor out in a couple hours and began to mock up the deloomed y8 harness so i could figure out how i wanted to route everything and what needed to be modified...
 IMG_5662 by evan mclaren, on Flickr
tuesday i spent about 5 hours on the harness alone getting it fully deloomed, several plugs extended, a couple swapped over from the gsr harness, and a lead pinned into the ecu plug for the intake manifold butterflies. the iat plug as well as the ckf sensor plug had to be swapped from the gsr harness as well as two plugs that were damaged on the y8 harness that i salvaged from the y7 harness.it took 3 harnesses total to make one good one haha. i took some notes on the lengths needed to be added on the different sensors.
 IMG_5667 by evan mclaren, on Flickr
 FullSizeRender (3) by evan mclaren, on Flickr
 IMG_5669 by evan mclaren, on Flickr
the routing of the harness doesnt look too pretty from the back side but from the front its fairly hidden. also for the sake of appearance i chose to mount the evap solenoid on the back side of the intake manifold instead of the top. i just hung it from one of the bolts for the iacv and trimmed the vacuum lines to fit. i wasnt sure how well this would fit against the firewall but it just barely clears.
 IMG_5651 by evan mclaren, on Flickr
at this point the motor was ready to go but i chose to mock up the radiator with the asr mounts to make sure everything fit well while i still had plenty of room to work in there. good thing i did because i discovered that i needed to trim the upper core support just a hair at the corners of the radiator to give just enough clearance for me to be comfortable with. the rad cleared without trimming but the passenger side was only a couple mm away from contact and i was afraid vibration could cause problems so i avoided that situation altogether. a quick pass with a grinder and a spray to cover the exposed steel and both sides were taken care of.
 IMG_5656 by evan mclaren, on Flickr
 IMG_5657 by evan mclaren, on Flickr
I also was forced to remove the 12" slim fan i had mounted on the front of the radiator while it was on the integra because it didnt fit that way with the civics core support. i managed to break half the zip tie mounting things trying to get it off so i just threw the oem fan on for the time being untill i can either get more mounts or maybe just grab a fan shroud.
the motor was now ready to be transplanted.
 IMG_5671 by evan mclaren, on Flickr
 IMG_5672 by evan mclaren, on Flickr
as i said before the evap solenoid was very close to the firewall but just barely cleared. although its hard to see the plug and how close it is to the firewall you can get an idea. its about 3/4" from the firewall just under one of the brake lines from the prop valve. somehow i was able to get the motor in with this thing attached and not break it off haha.
 IMG_7289 by evan mclaren, on Flickr
 IMG_7291 by evan mclaren, on Flickr
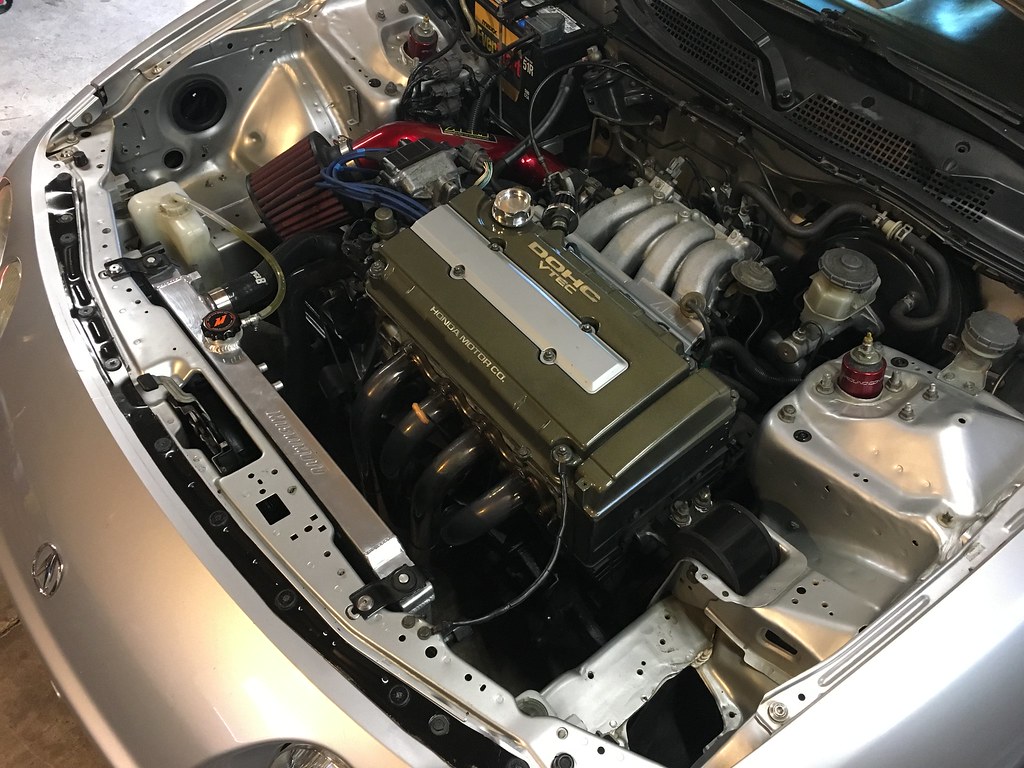
engine in, axles in, fluids filled, exhaust buttoned up (for now), ecu plugged in, and fingers crossed...
 IMG_5695 by evan mclaren, on Flickr
 IMG_5627 by evan mclaren, on Flickr
i primed the fuel system once and it fired up instantly. thank god!
here's a couple before and after shots for comparison...
 IMG_6175 by evan mclaren, on Flickr
 IMG_5233 by evan mclaren, on Flickr
 IMG_7295 by evan mclaren, on Flickr
 IMG_7301 by evan mclaren, on Flickr
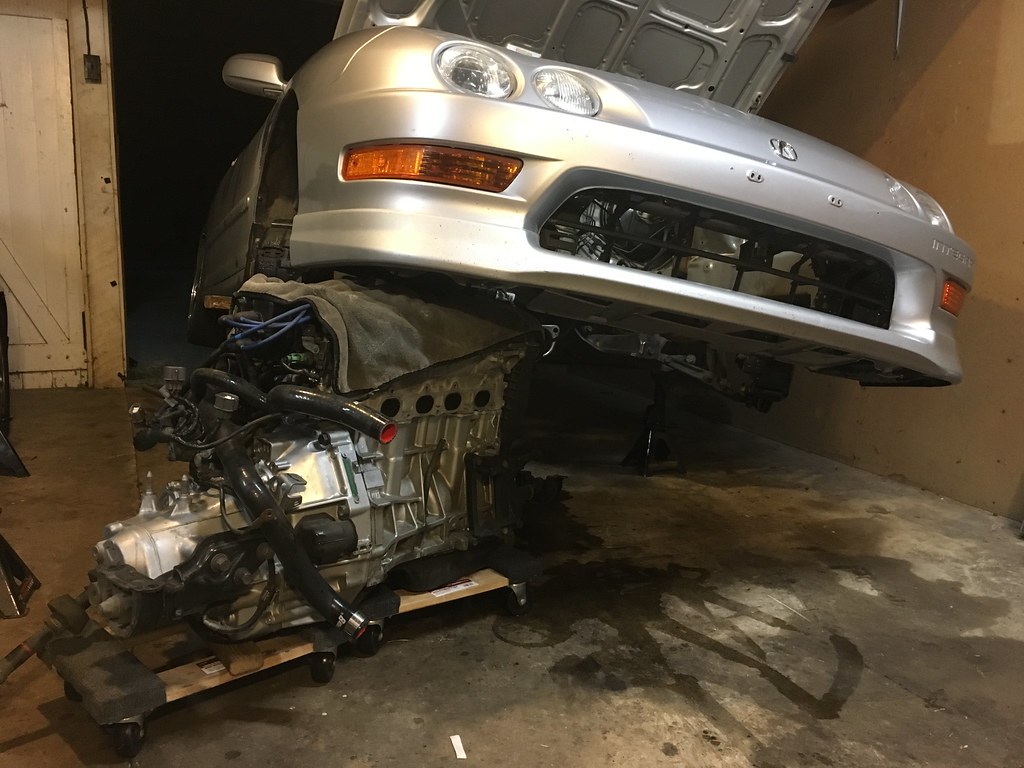 IMG_5649 by evan mclaren, on Flickr
got off work on monday, pulled the integra into the garage and immediately began pulling the heart out. since i only had a couple days to get my civic fully operational i didnt waste any time. its funny how easy it is when there are no accessories in the way like ac or power steering. i had the motor out in a couple hours and began to mock up the deloomed y8 harness so i could figure out how i wanted to route everything and what needed to be modified...
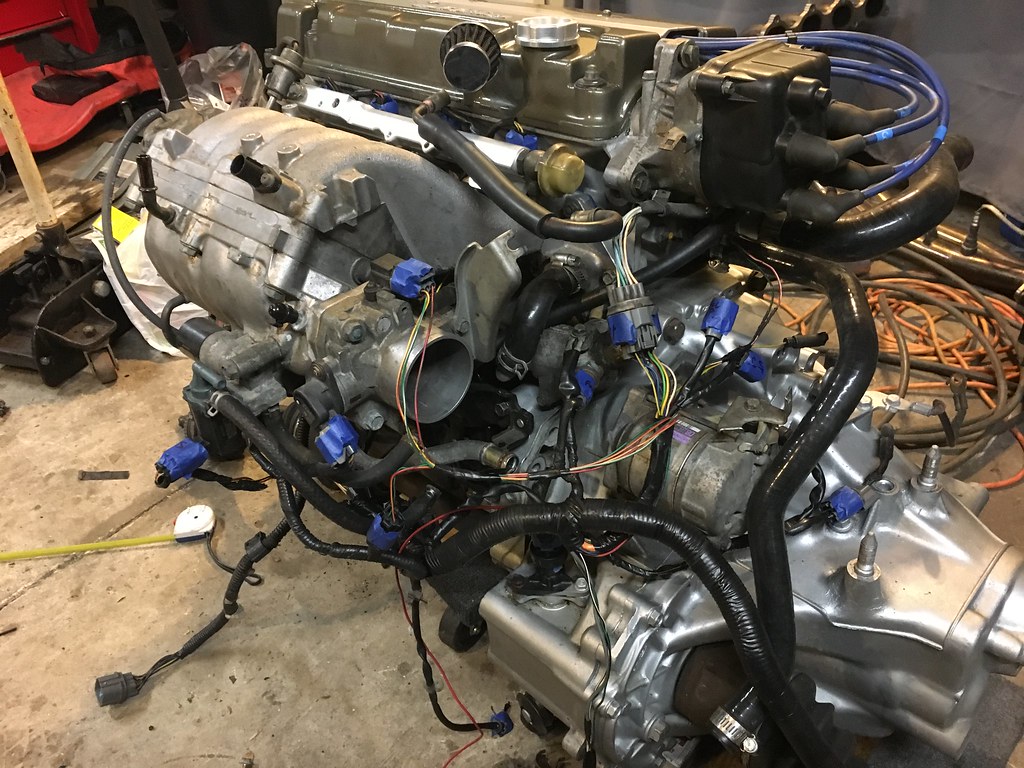 IMG_5662 by evan mclaren, on Flickr
tuesday i spent about 5 hours on the harness alone getting it fully deloomed, several plugs extended, a couple swapped over from the gsr harness, and a lead pinned into the ecu plug for the intake manifold butterflies. the iat plug as well as the ckf sensor plug had to be swapped from the gsr harness as well as two plugs that were damaged on the y8 harness that i salvaged from the y7 harness.it took 3 harnesses total to make one good one haha. i took some notes on the lengths needed to be added on the different sensors.
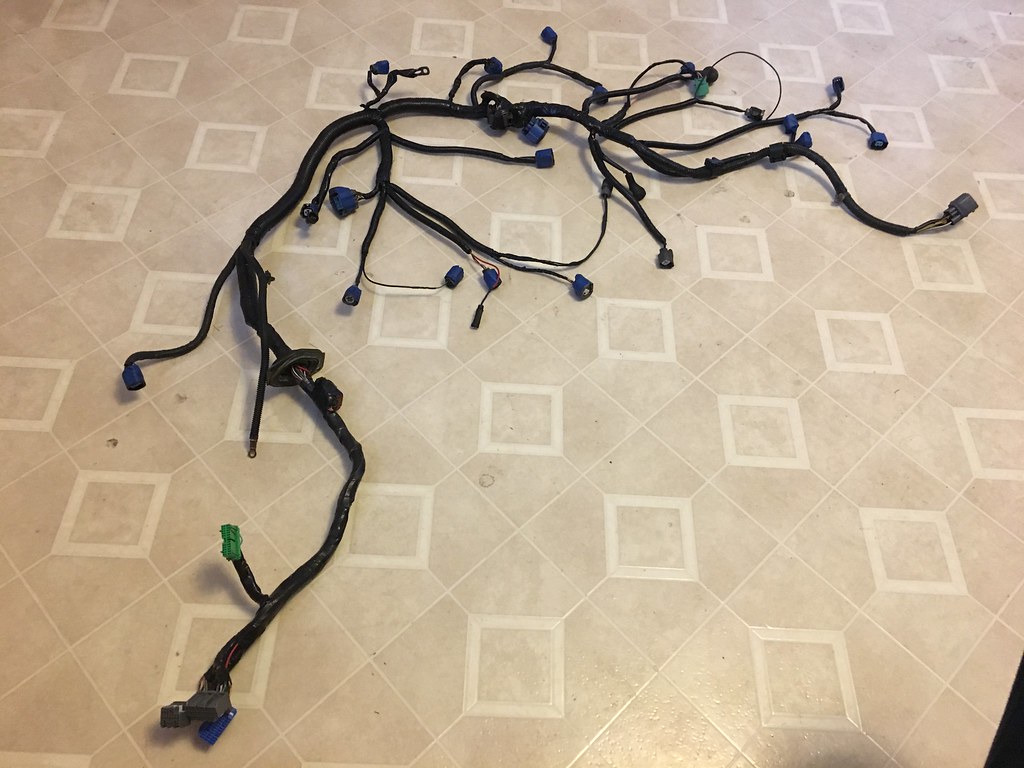 IMG_5667 by evan mclaren, on Flickr
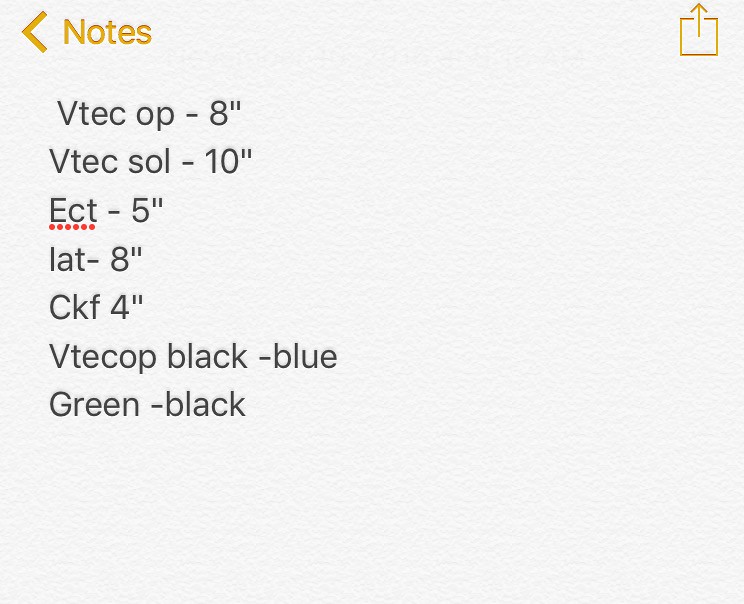 FullSizeRender (3) by evan mclaren, on Flickr
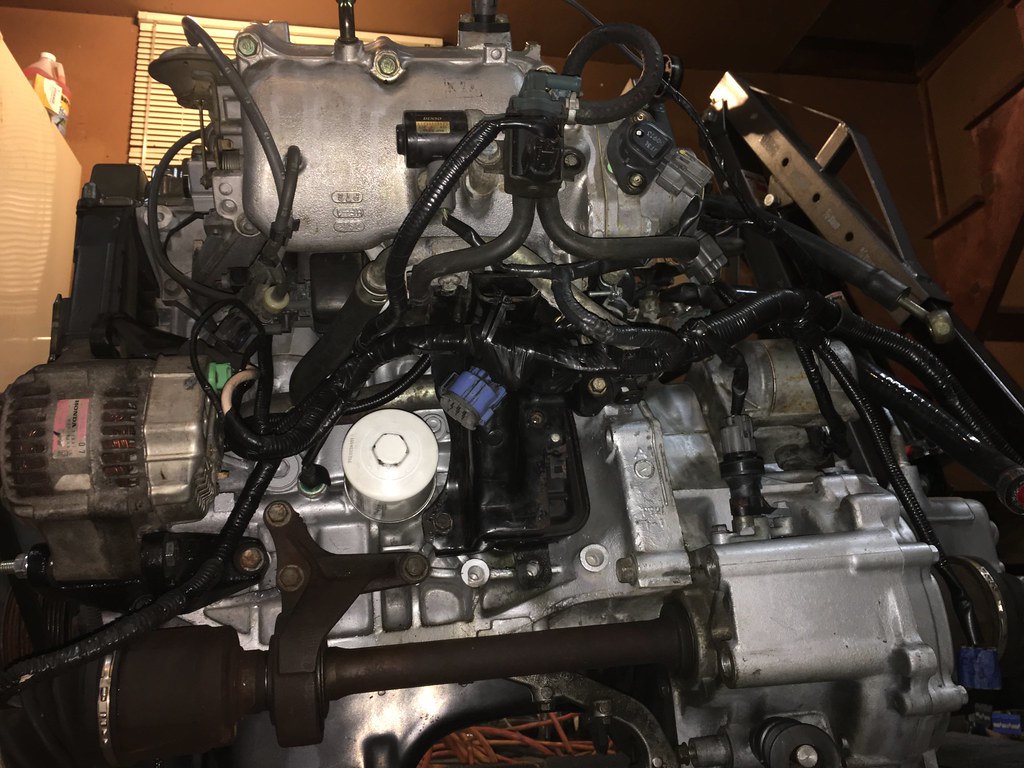 IMG_5669 by evan mclaren, on Flickr
the routing of the harness doesnt look too pretty from the back side but from the front its fairly hidden. also for the sake of appearance i chose to mount the evap solenoid on the back side of the intake manifold instead of the top. i just hung it from one of the bolts for the iacv and trimmed the vacuum lines to fit. i wasnt sure how well this would fit against the firewall but it just barely clears.
 IMG_5651 by evan mclaren, on Flickr
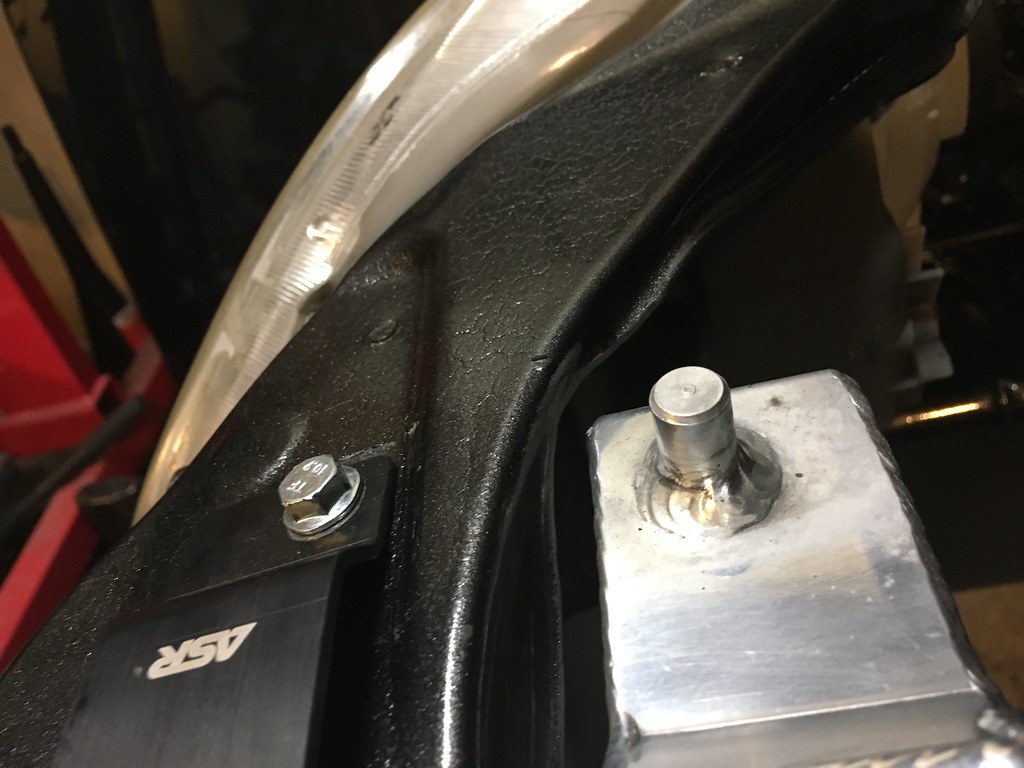
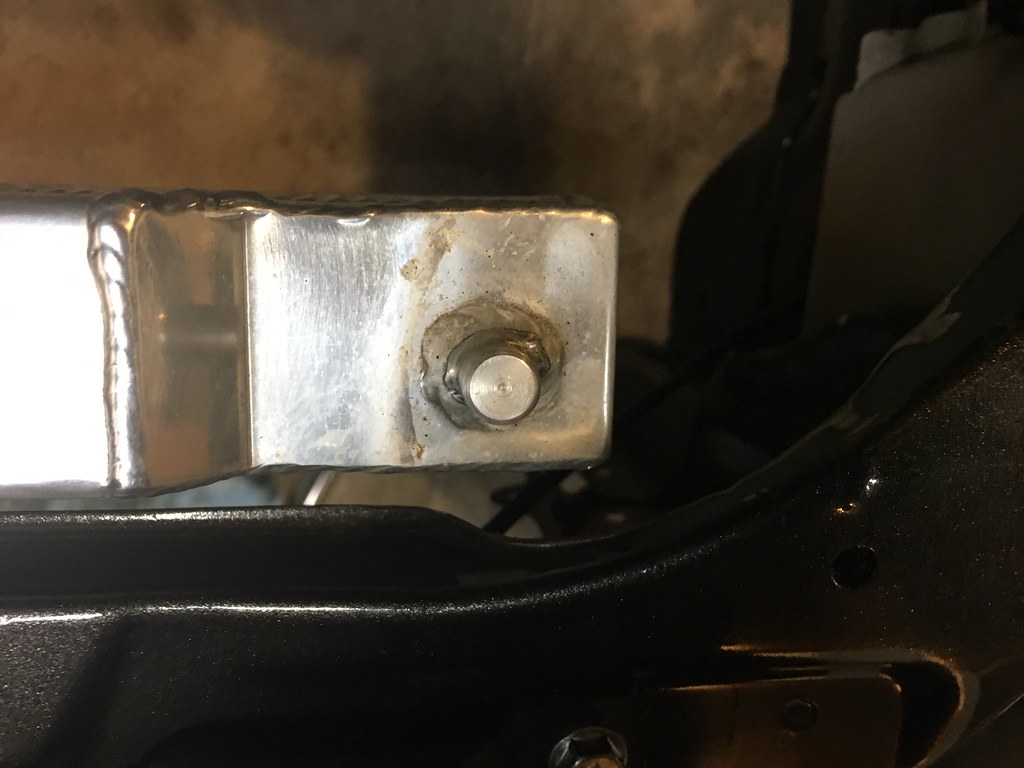
at this point the motor was ready to go but i chose to mock up the radiator with the asr mounts to make sure everything fit well while i still had plenty of room to work in there. good thing i did because i discovered that i needed to trim the upper core support just a hair at the corners of the radiator to give just enough clearance for me to be comfortable with. the rad cleared without trimming but the passenger side was only a couple mm away from contact and i was afraid vibration could cause problems so i avoided that situation altogether. a quick pass with a grinder and a spray to cover the exposed steel and both sides were taken care of.
 IMG_5656 by evan mclaren, on Flickr
 IMG_5657 by evan mclaren, on Flickr
I also was forced to remove the 12" slim fan i had mounted on the front of the radiator while it was on the integra because it didnt fit that way with the civics core support. i managed to break half the zip tie mounting things trying to get it off so i just threw the oem fan on for the time being untill i can either get more mounts or maybe just grab a fan shroud.
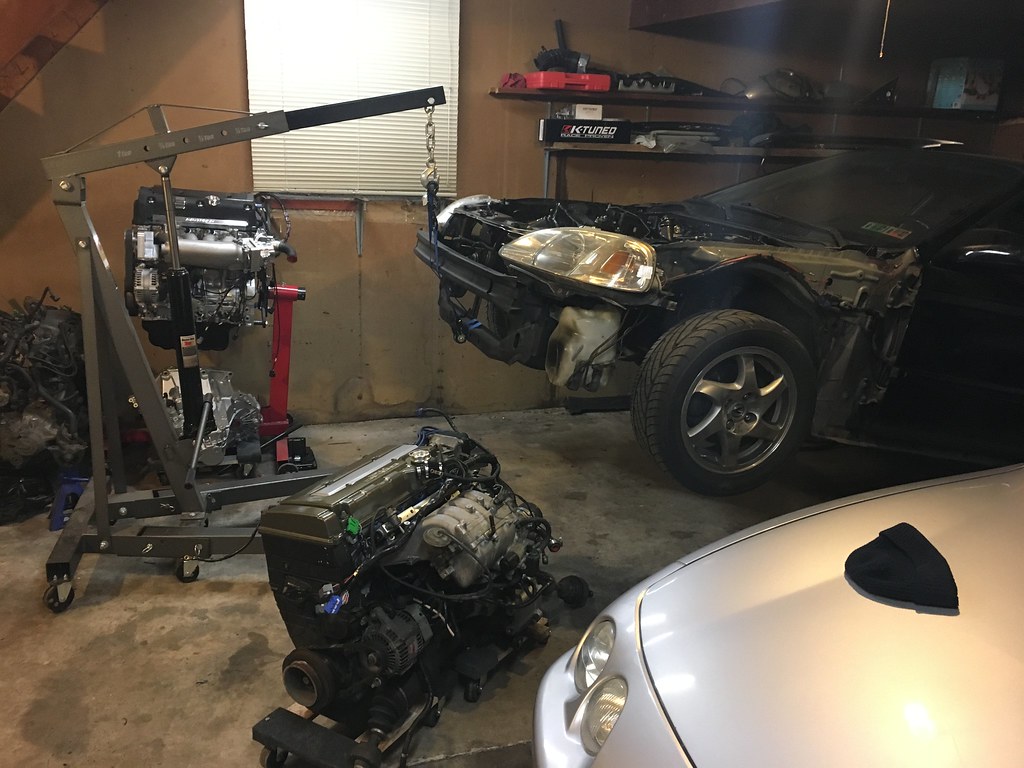
the motor was now ready to be transplanted.
 IMG_5671 by evan mclaren, on Flickr
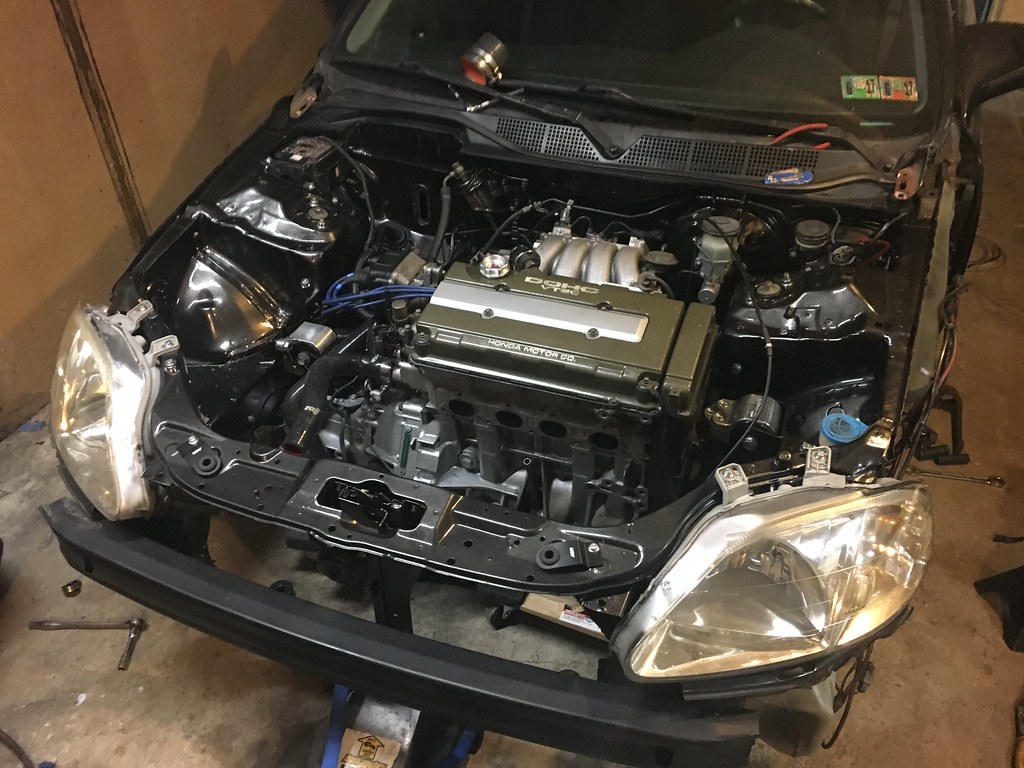 IMG_5672 by evan mclaren, on Flickr
as i said before the evap solenoid was very close to the firewall but just barely cleared. although its hard to see the plug and how close it is to the firewall you can get an idea. its about 3/4" from the firewall just under one of the brake lines from the prop valve. somehow i was able to get the motor in with this thing attached and not break it off haha.
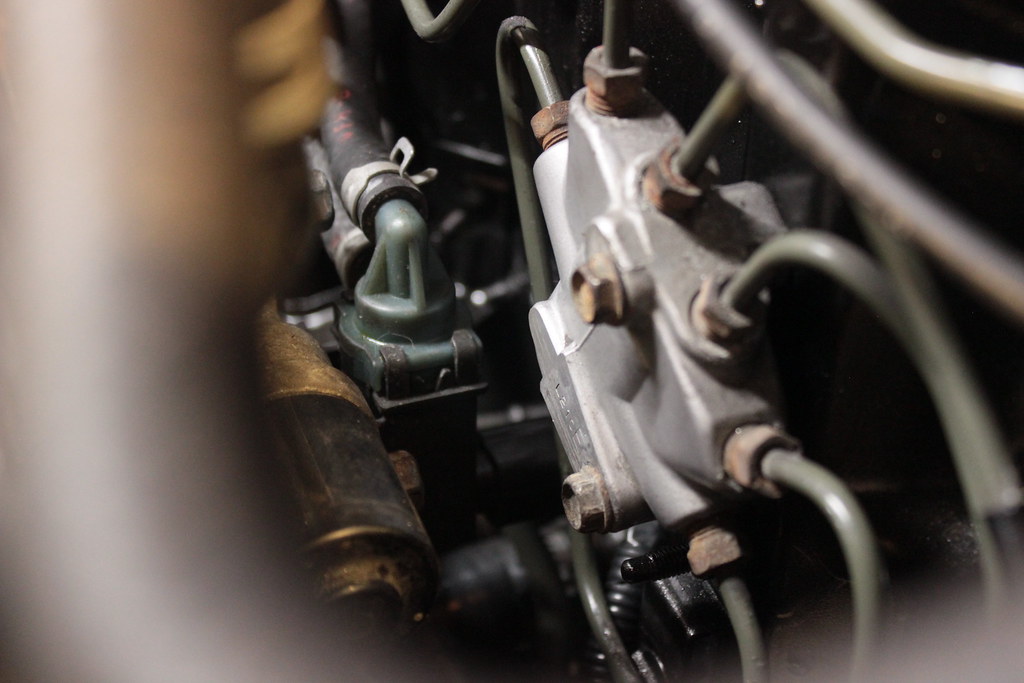 IMG_7289 by evan mclaren, on Flickr
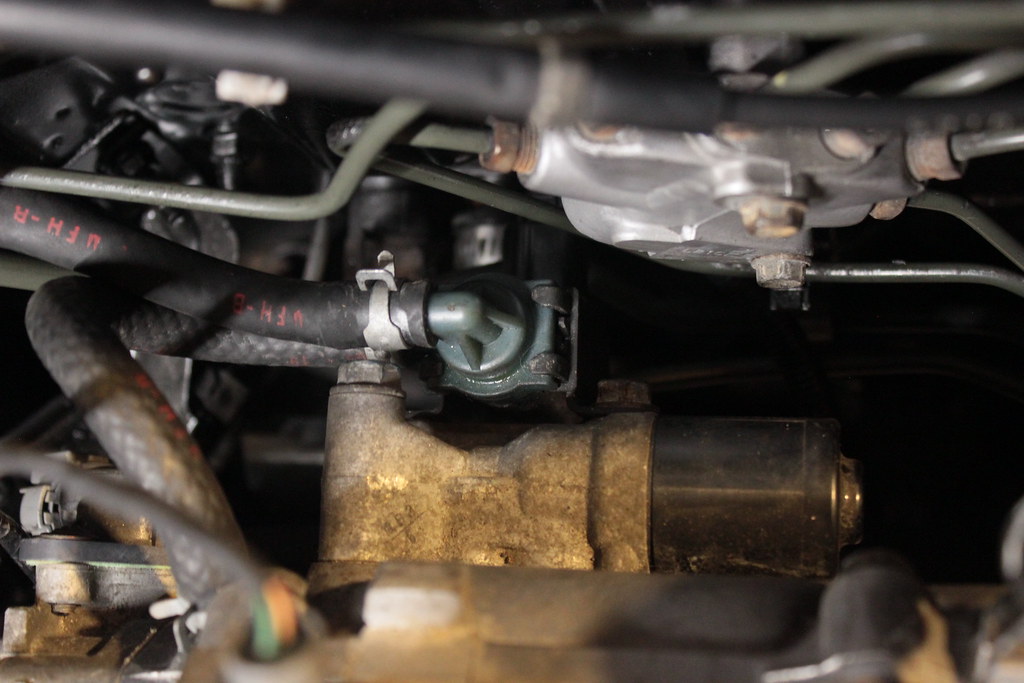 IMG_7291 by evan mclaren, on Flickr
engine in, axles in, fluids filled, exhaust buttoned up (for now), ecu plugged in, and fingers crossed...
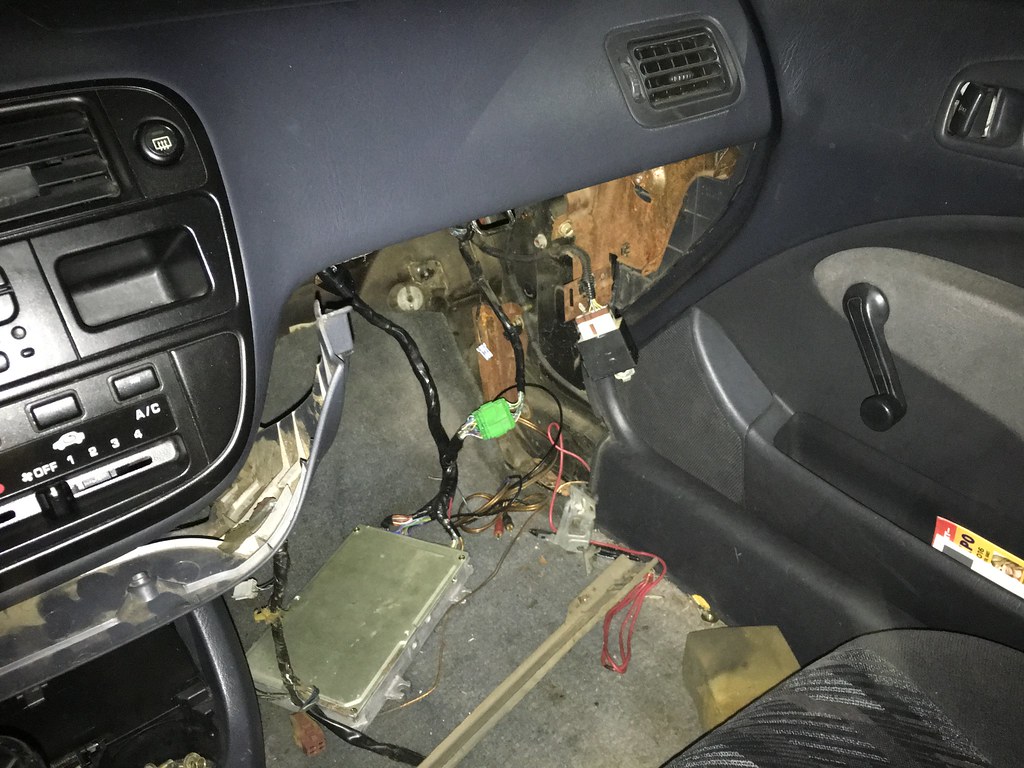 IMG_5695 by evan mclaren, on Flickr
 IMG_5627 by evan mclaren, on Flickr
i primed the fuel system once and it fired up instantly. thank god!
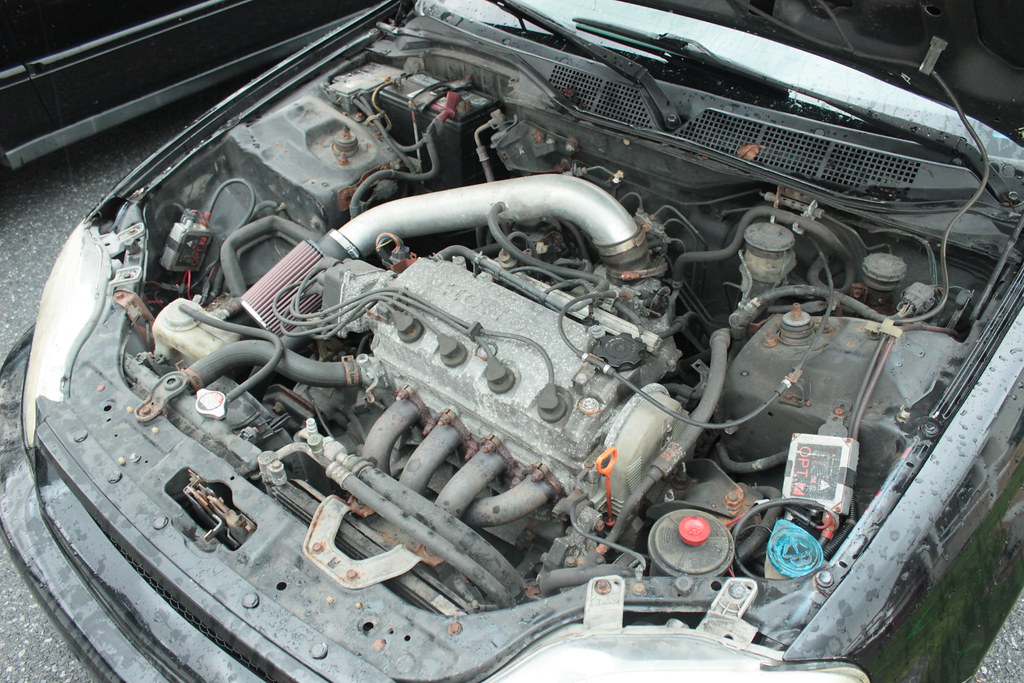
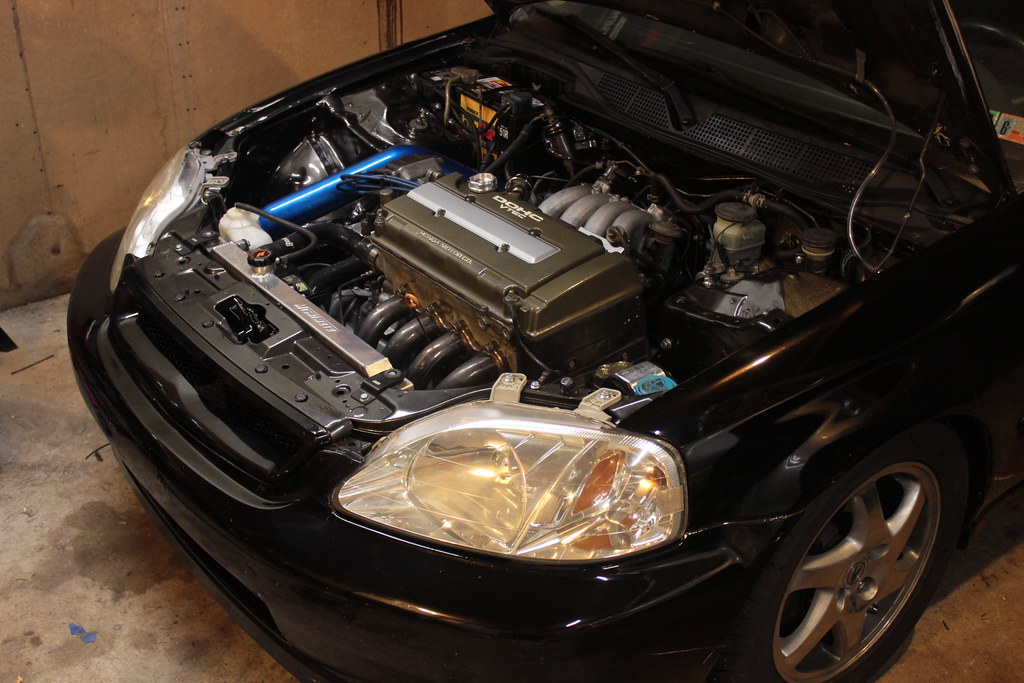
here's a couple before and after shots for comparison...
 IMG_6175 by evan mclaren, on Flickr
 IMG_5233 by evan mclaren, on Flickr
 IMG_7295 by evan mclaren, on Flickr
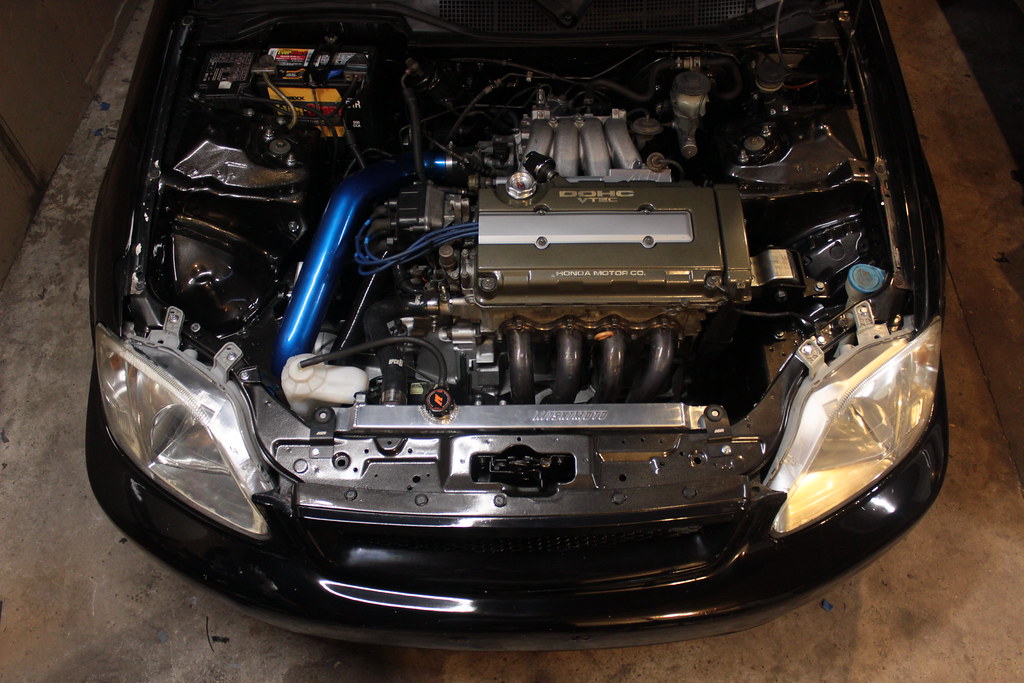 IMG_7301 by evan mclaren, on Flickr
Last edited:
you know it! i actually left both axles in haha. after messing with the passenger one for two seconds i said "f this i dont even need to be doing this!" in my opinion its a hundred times easier to lower the car onto the engine vs hoist the engine. thank you sirIn all that, I just had to laugh @ the passenger axle being left in the transmission housing... that f--king c-clip sucks, so just leave the axle attached! lol
Nice work as always

so i got a good amount of time to drive the car around today and im grinning from ear to ear in this thing. this is the first engine swap ive completed myself so the gratification of that alone is enough, but the change in the cars demeanor is awesome! it definitely pulls a little harder than the gsr according to my butt dyno, and with the rear sway added, it feels like a completely different car. this is also the first car ive installed poly mounts in as well so that was a little shocking on first start up but i love it. it definitely vibrates anything loose in the car but its not harsh enough in my opinion to turn me off. you can feel how solid the engine is being held in place and thats just a cool feeling. even shifting feels more solid. i still have a few details to iron out like the intake and exhaust but those will be both be taken care of shortly.
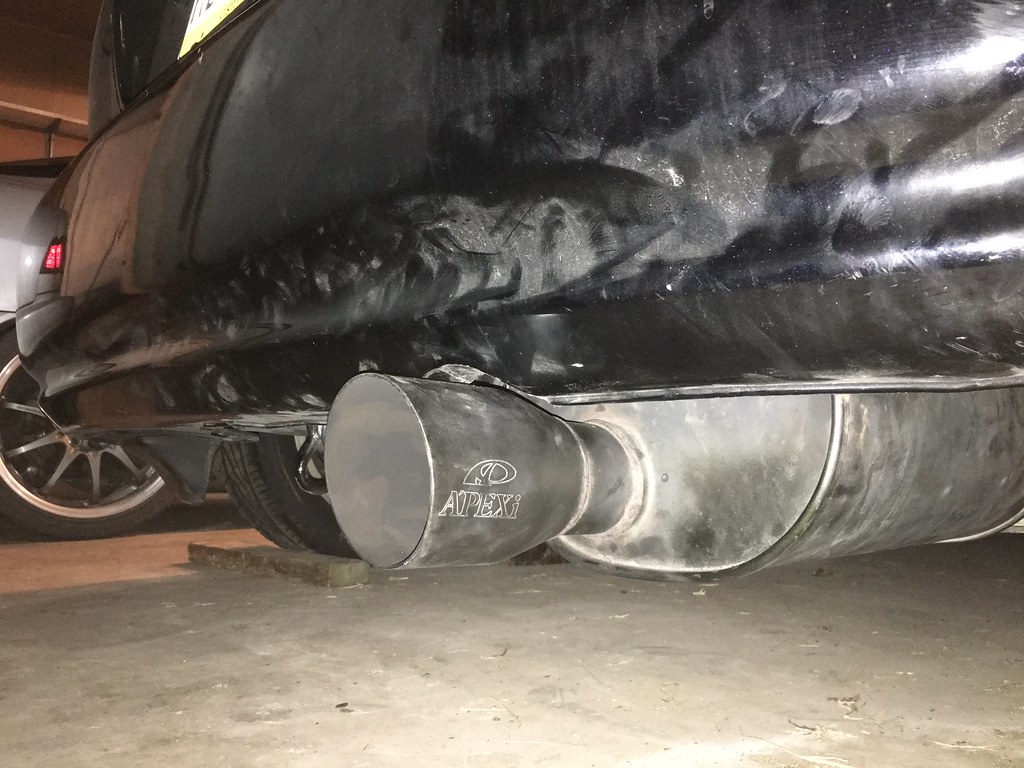
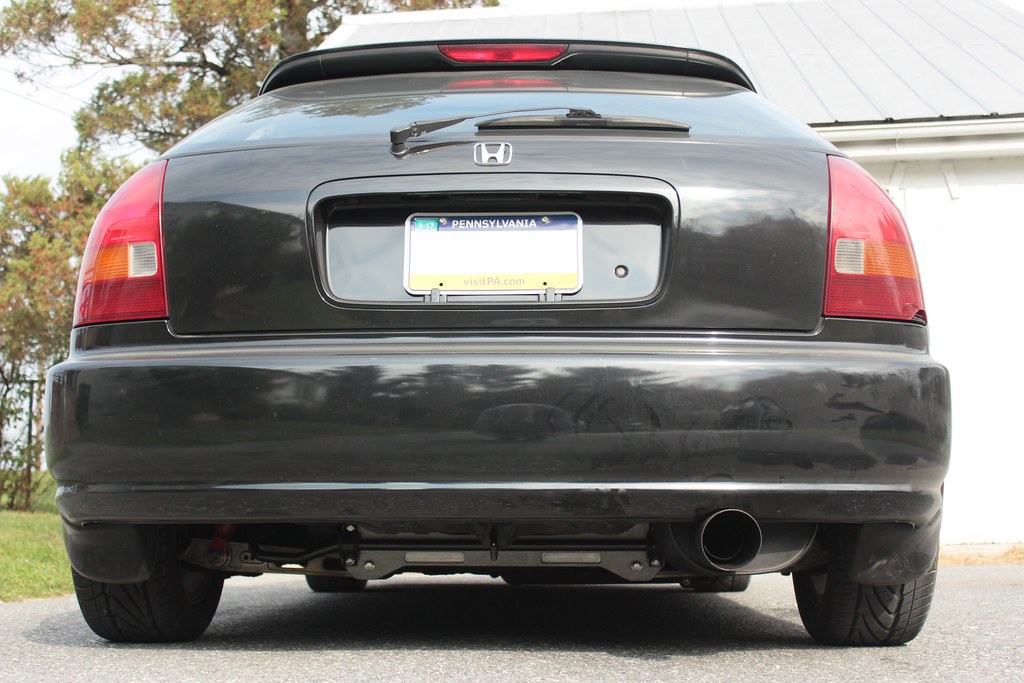
finally got my hacked up ws2 welded together with a cat as well...
 IMG_7332 by evan mclaren, on Flickr
 IMG_7336 by evan mclaren, on Flickr
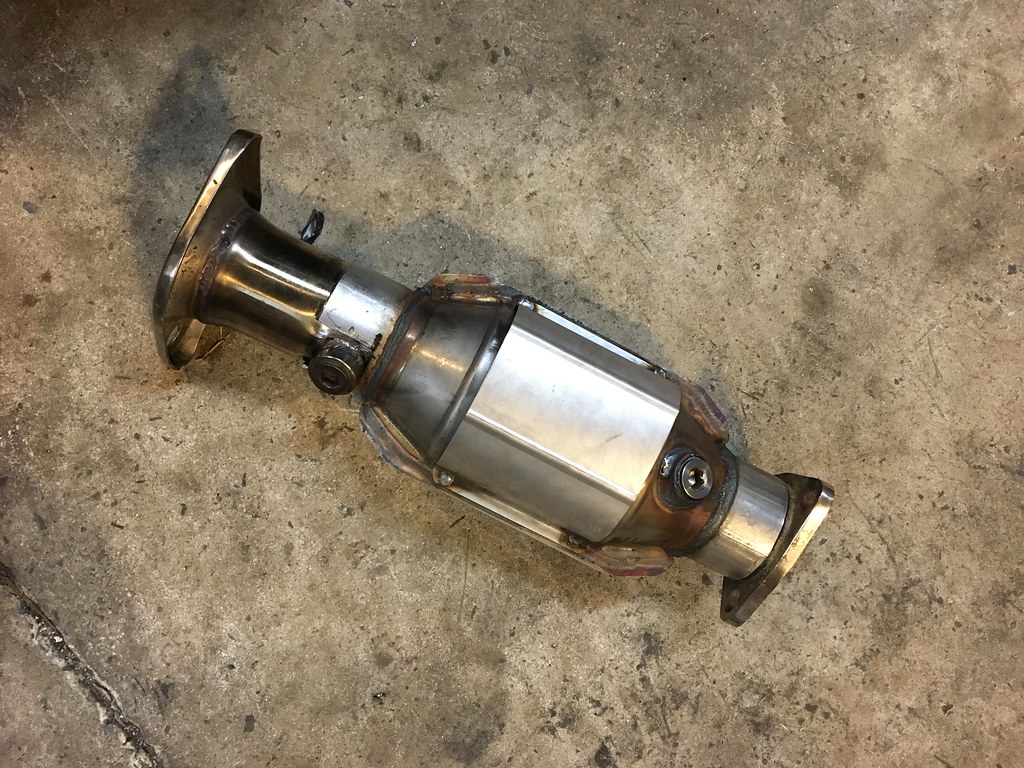
i wanted to make sure that the muffler sat in the exact position i wanted without relying on the exhaust shop to get it right, so i did as much of the fabricating of the cat as i could myself. i had an extra 2.5" od test pipe that slipped perfectly into the cat so i was easily able to make it the exact length it needed to be before i took it all to them to get welded.
 IMG_5742 by evan mclaren, on Flickr
 IMG_5745 by evan mclaren, on Flickr
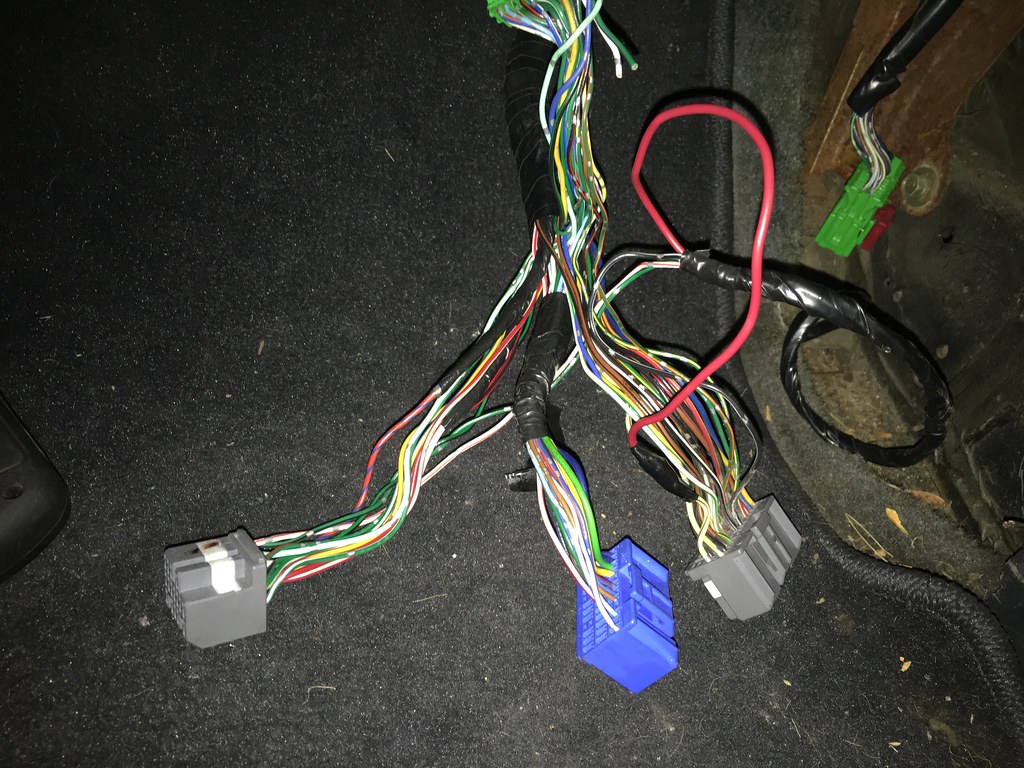
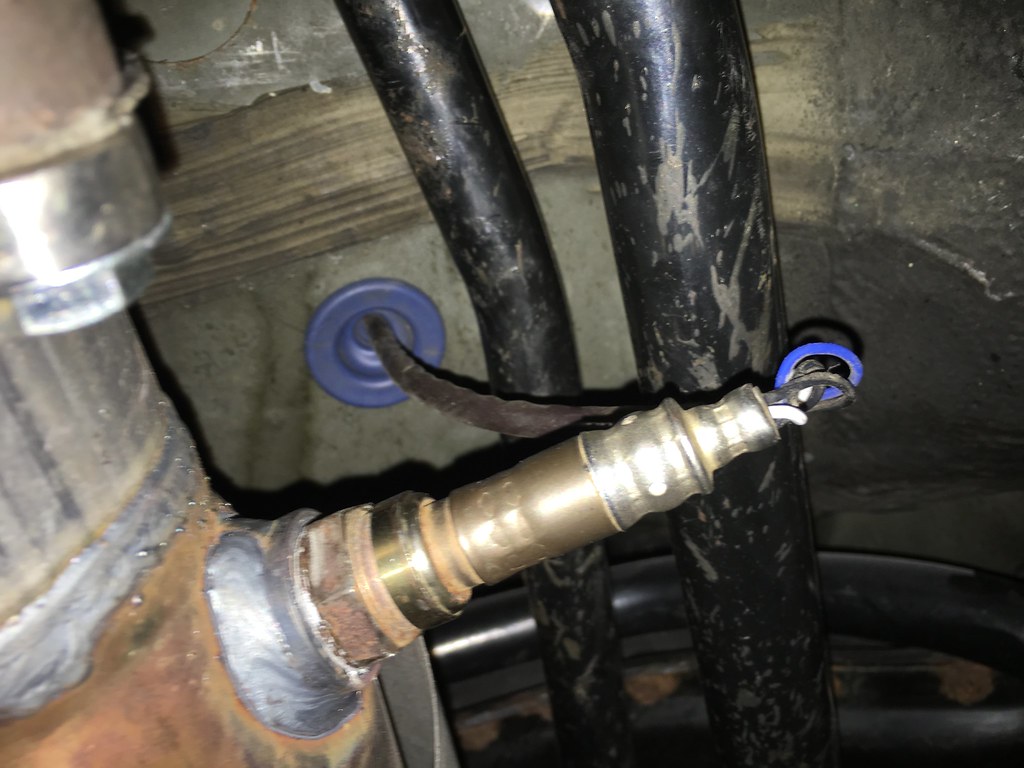
i figured it would be a good time to stop being lazy and wire in the secondary o2.
 IMG_5774 by evan mclaren, on Flickr
 IMG_5772 by evan mclaren, on Flickr
once all that was taken care of i was finally able to clear the cel thats been getting on my nerves for the past week. the relief didnt last long as it came right back on as soon as i pulled out of my driveway for a test drive. after scanning it i was actually surprised that it was nothing to do with the 02 sensor at all but the knock sensor. so this led me to triple checking my wiring and troubleshooting with a multimeter until i take a look at the sensor itself and see that its actually unplugged! somehow when routing the harness before i dropped the motor i neglected to plug in that one sensor. i dont know how i did, but it went unnoticed all week being disguised by the cel for the o2 sensor. neither code would store in the ecu, so when the car was started the o2 would pop a code first almost immediately after startup, but the knock sensor code wouldnt appear until i would actually start to drive so the entire time im assuming it was just the o2. i couldnt believe how much of a dumb ass i was for overlooking that but i gotta say i didnt even know how much i was lacking in performance. the car has midrange now haha
 IMG_7329 by evan mclaren, on Flickr
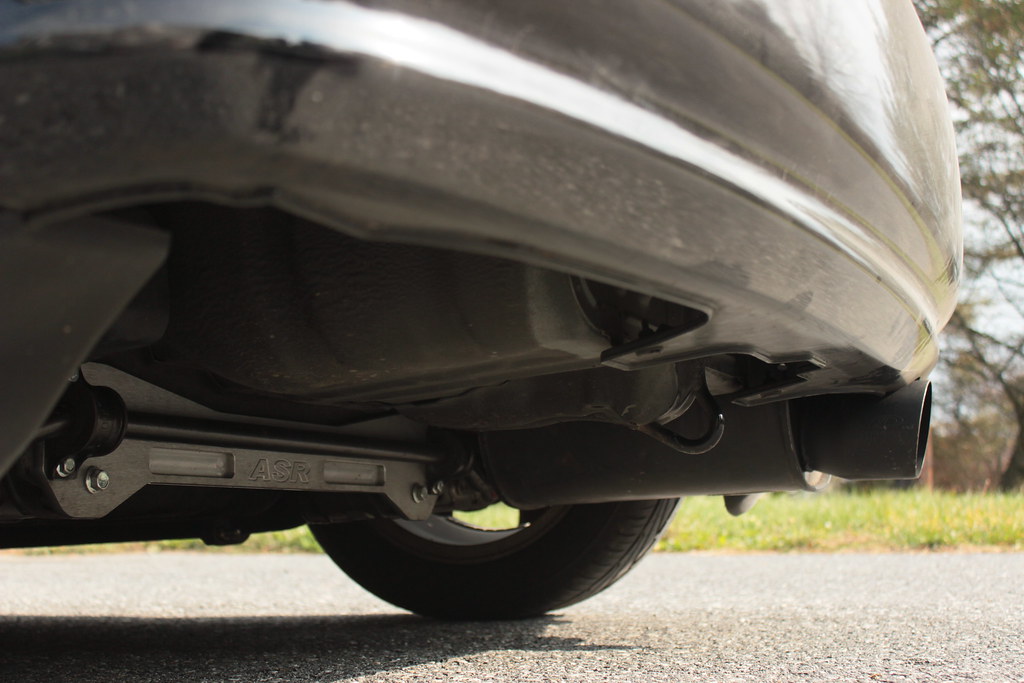 IMG_7332 by evan mclaren, on Flickr
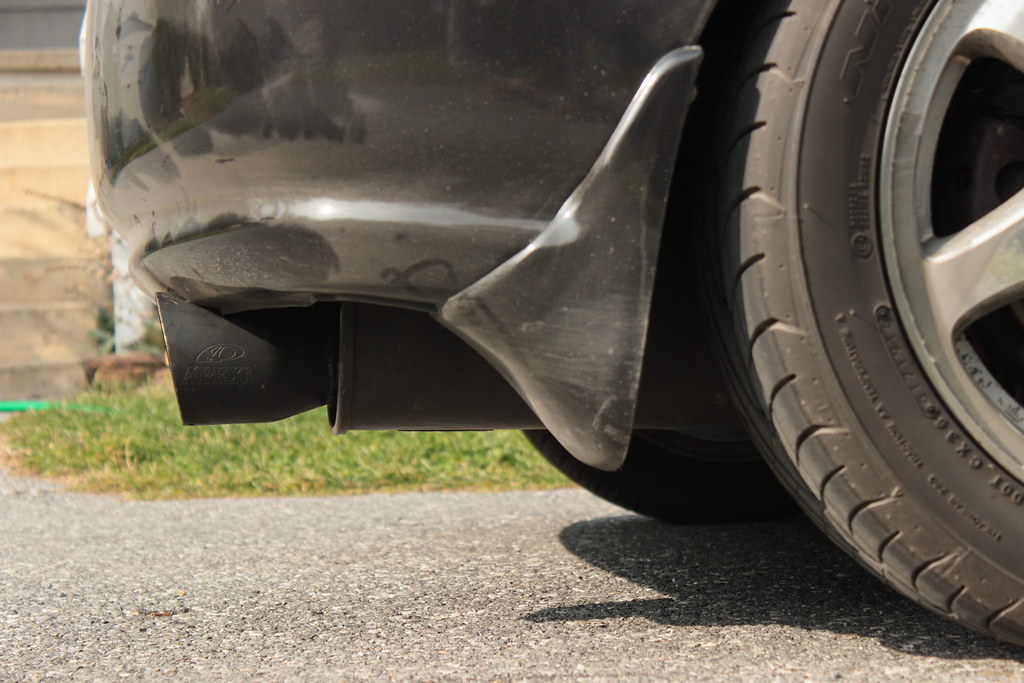 IMG_7336 by evan mclaren, on Flickr
i wanted to make sure that the muffler sat in the exact position i wanted without relying on the exhaust shop to get it right, so i did as much of the fabricating of the cat as i could myself. i had an extra 2.5" od test pipe that slipped perfectly into the cat so i was easily able to make it the exact length it needed to be before i took it all to them to get welded.
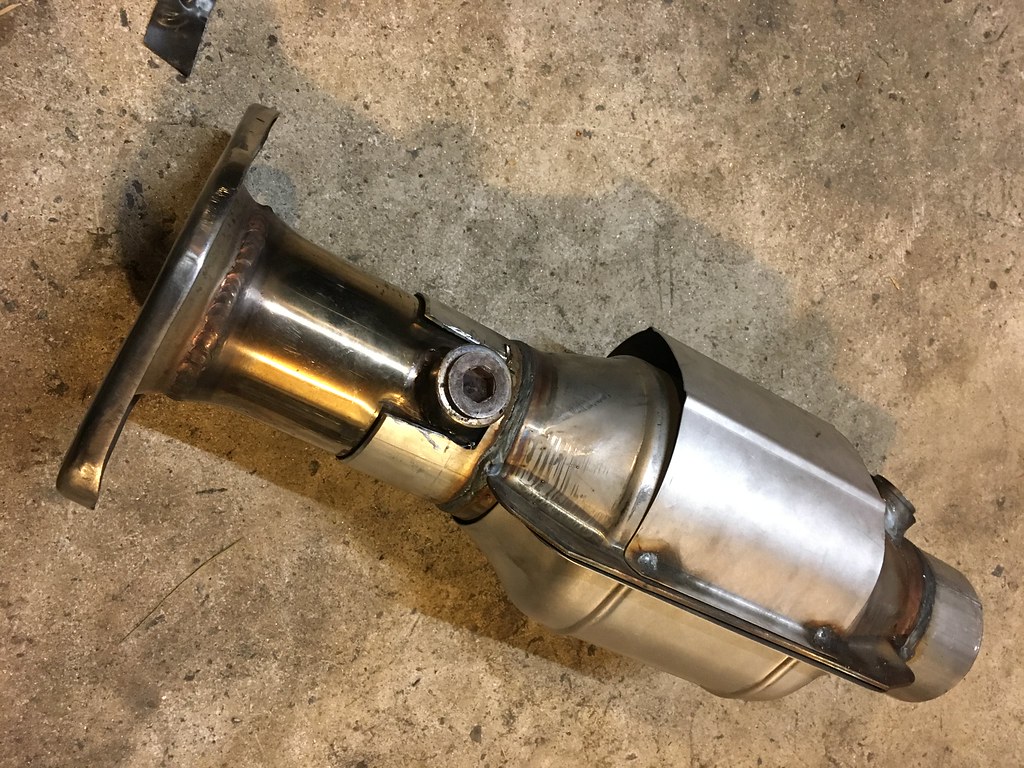 IMG_5742 by evan mclaren, on Flickr
 IMG_5745 by evan mclaren, on Flickr
i figured it would be a good time to stop being lazy and wire in the secondary o2.
 IMG_5774 by evan mclaren, on Flickr
 IMG_5772 by evan mclaren, on Flickr
once all that was taken care of i was finally able to clear the cel thats been getting on my nerves for the past week. the relief didnt last long as it came right back on as soon as i pulled out of my driveway for a test drive. after scanning it i was actually surprised that it was nothing to do with the 02 sensor at all but the knock sensor. so this led me to triple checking my wiring and troubleshooting with a multimeter until i take a look at the sensor itself and see that its actually unplugged! somehow when routing the harness before i dropped the motor i neglected to plug in that one sensor. i dont know how i did, but it went unnoticed all week being disguised by the cel for the o2 sensor. neither code would store in the ecu, so when the car was started the o2 would pop a code first almost immediately after startup, but the knock sensor code wouldnt appear until i would actually start to drive so the entire time im assuming it was just the o2. i couldnt believe how much of a dumb ass i was for overlooking that but i gotta say i didnt even know how much i was lacking in performance. the car has midrange now haha
 IMG_7329 by evan mclaren, on Flickr
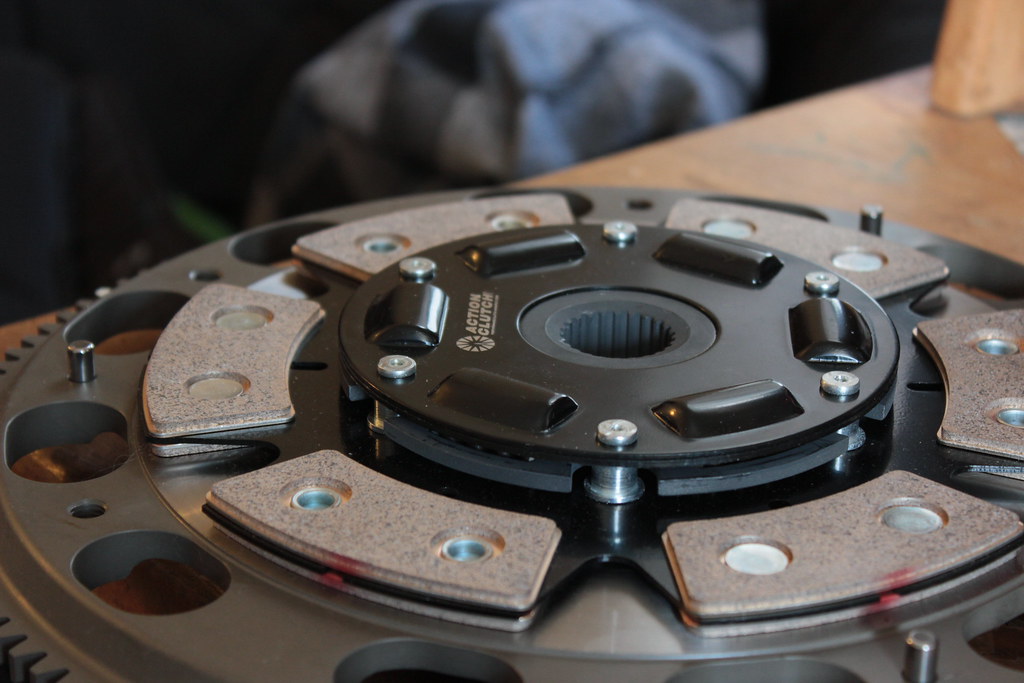
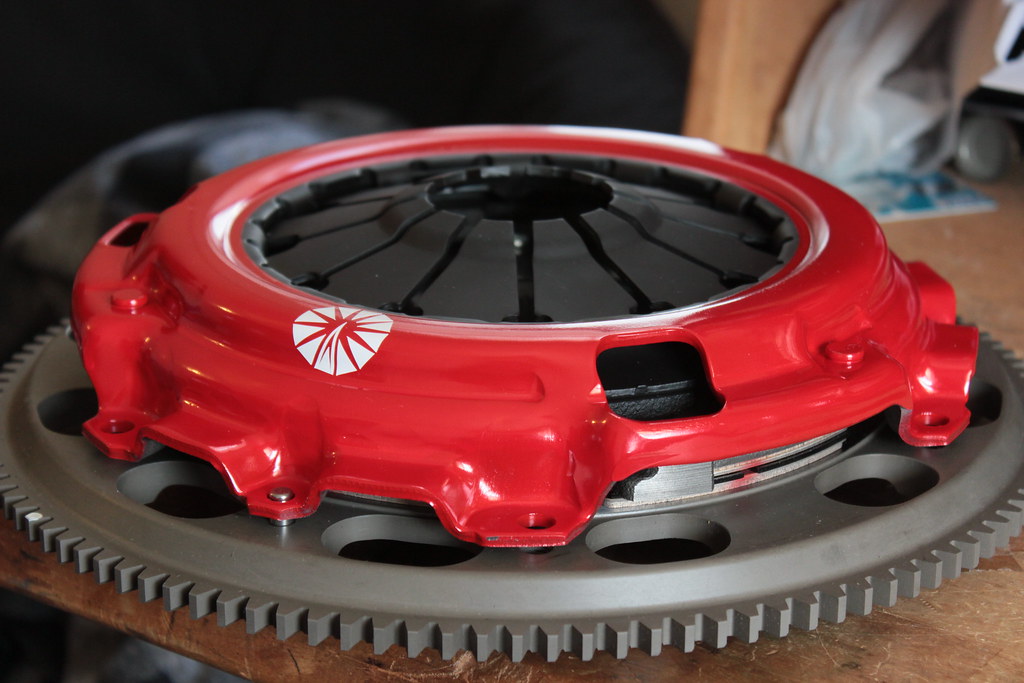
not relevant to my civic, but an update on progress for my more long term goals lol. i took advantage of some black friday pricing and grabbed an action stage 3 1ms clutch and placed an order through afh for some miscellaneous bolts for the k.
 IMG_7339 by evan mclaren, on Flickr
 IMG_7346 by evan mclaren, on Flickr
this was the last piece keeping me from finally joining the trans and block, so naturally as usps dropped it at my door i ran straight out to the garage haha.
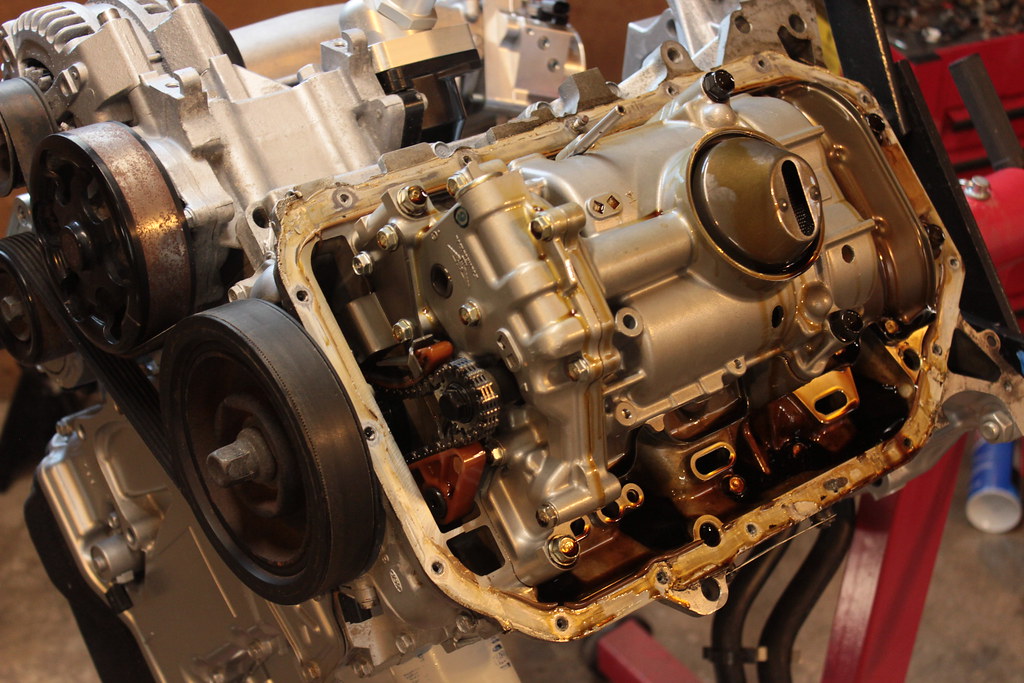
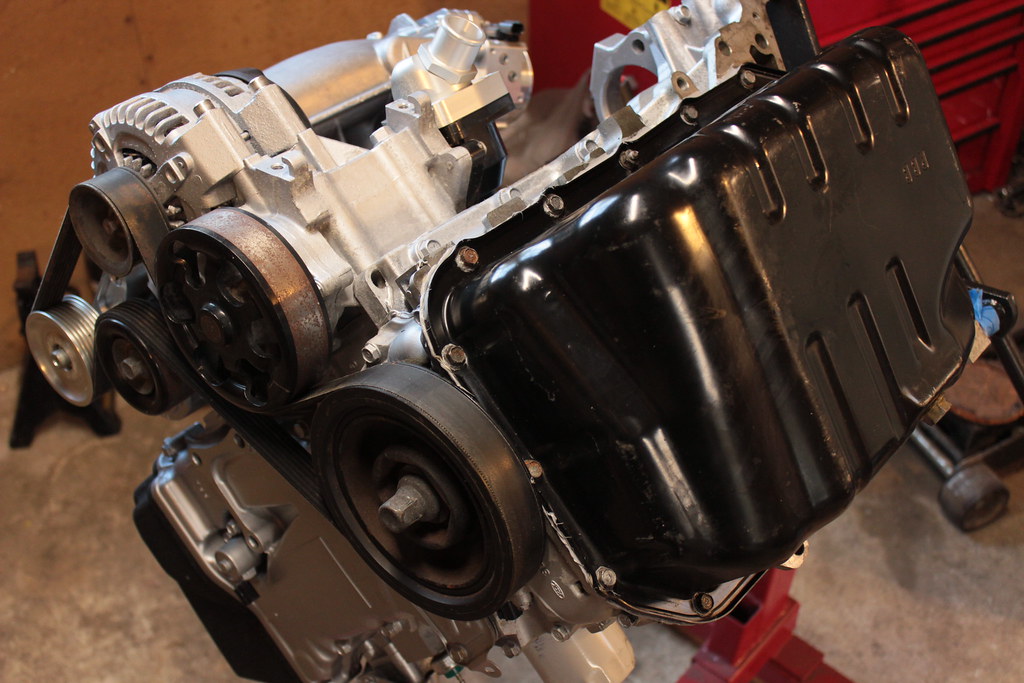
Before i could take the motor off the stand to install the flywheel i had to reseal the oil pan. i removed the pan a while ago to take a look inside and never gave it some fresh hondabond so now was the time.
 IMG_7351 by evan mclaren, on Flickr
 IMG_7352 by evan mclaren, on Flickr
after making a mess with the honda bond i was able to set the engine down and get the parts thrown on.
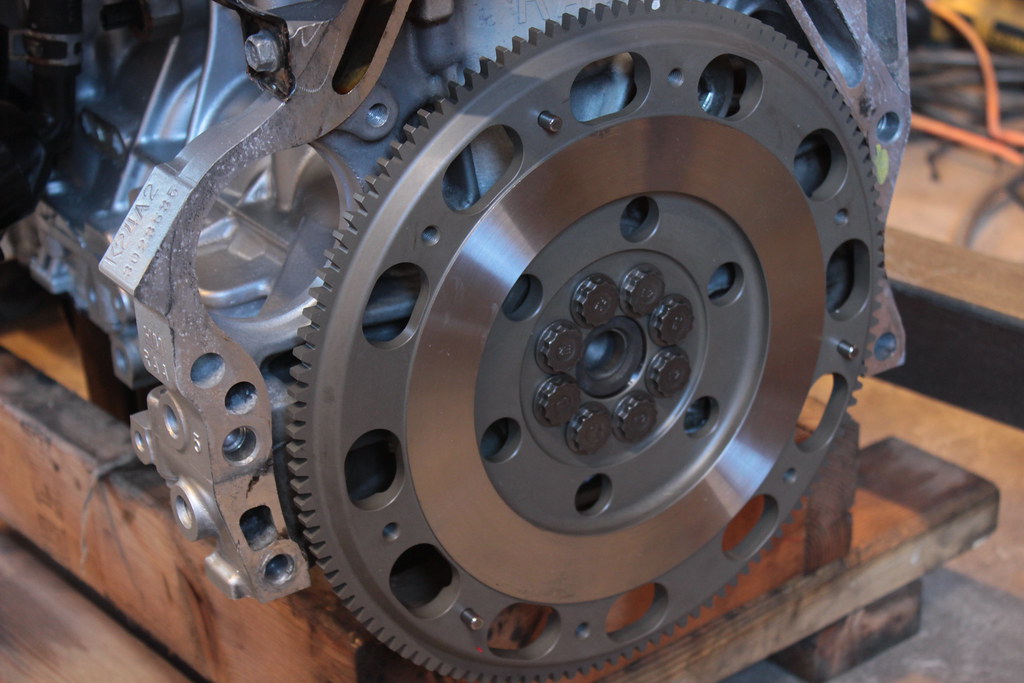
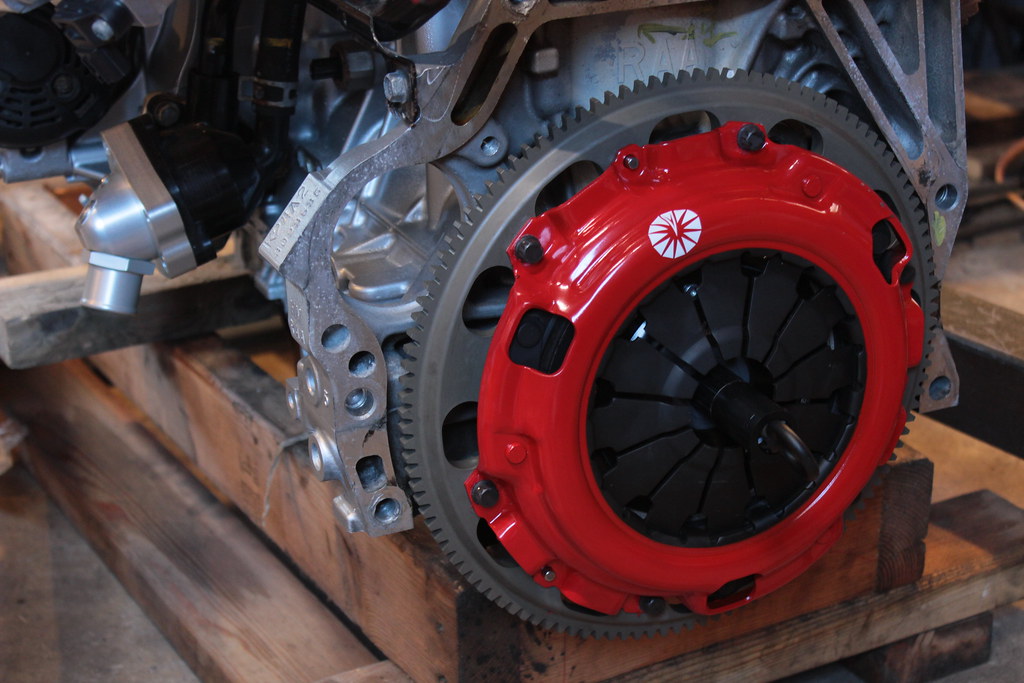
flywheel and pressure plate torqued down with new bolts
 IMG_7360 by evan mclaren, on Flickr
 IMG_7364 by evan mclaren, on Flickr
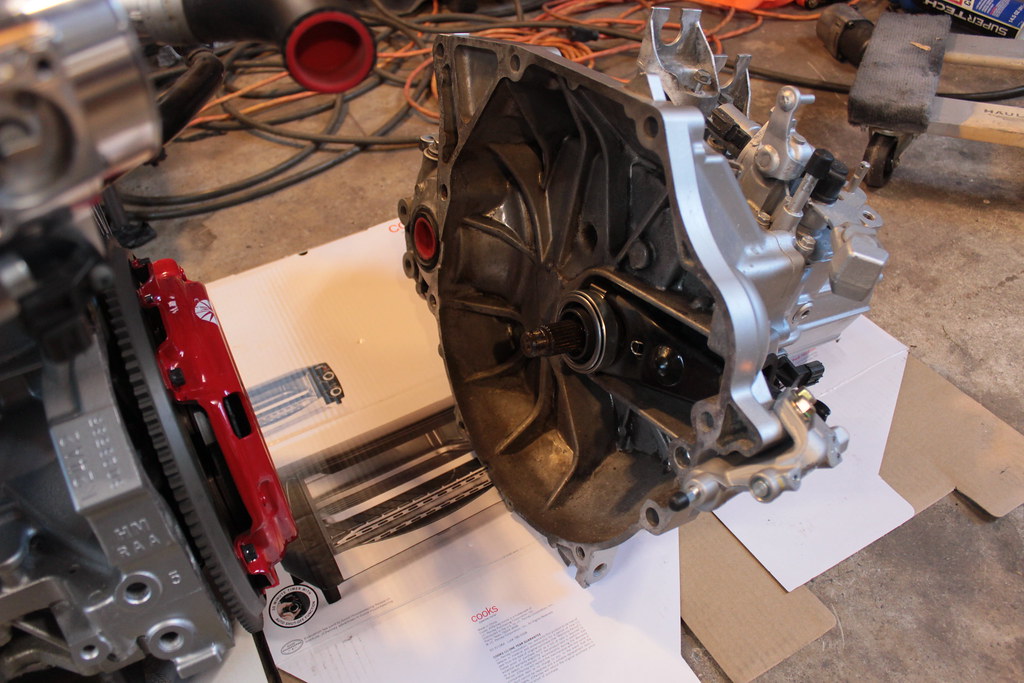
new oem release bearing, clutch slave, and rubber boot that've been sitting in a box for about two years lol
 IMG_7366 by evan mclaren, on Flickr
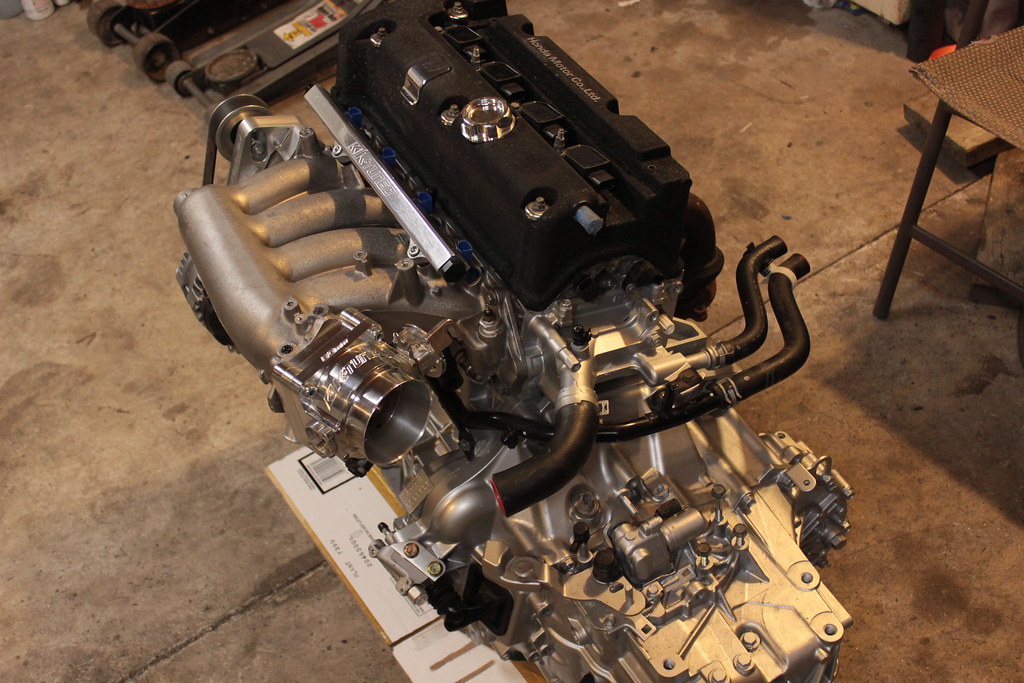
and finally the trans is bolted to the block. dear lord that only took forever
 IMG_7387 by evan mclaren, on Flickr
 IMG_7383 by evan mclaren, on Flickr
 IMG_7378 by evan mclaren, on Flickr
next order of business is to get this thing mounted in the bay. i see hasport has released a new dual height set of mounts that supersedes their original design so im happy i havent purchased a set yet. i need a crv post mount as well to mate the passenger side to the frame rail. the factory mount on the passenger frame rail has to be removed so ill be drilling out the spot welds on that sometime soon. that should be interesting hopefully i dont turn my frame rail into swiss cheese. Ill probably pick up a starter sometime soon as well before the engine goes in.
 IMG_7339 by evan mclaren, on Flickr
 IMG_7346 by evan mclaren, on Flickr
this was the last piece keeping me from finally joining the trans and block, so naturally as usps dropped it at my door i ran straight out to the garage haha.
Before i could take the motor off the stand to install the flywheel i had to reseal the oil pan. i removed the pan a while ago to take a look inside and never gave it some fresh hondabond so now was the time.
 IMG_7351 by evan mclaren, on Flickr
 IMG_7352 by evan mclaren, on Flickr
after making a mess with the honda bond i was able to set the engine down and get the parts thrown on.
flywheel and pressure plate torqued down with new bolts
 IMG_7360 by evan mclaren, on Flickr
 IMG_7364 by evan mclaren, on Flickr
new oem release bearing, clutch slave, and rubber boot that've been sitting in a box for about two years lol
 IMG_7366 by evan mclaren, on Flickr
and finally the trans is bolted to the block. dear lord that only took forever
 IMG_7387 by evan mclaren, on Flickr
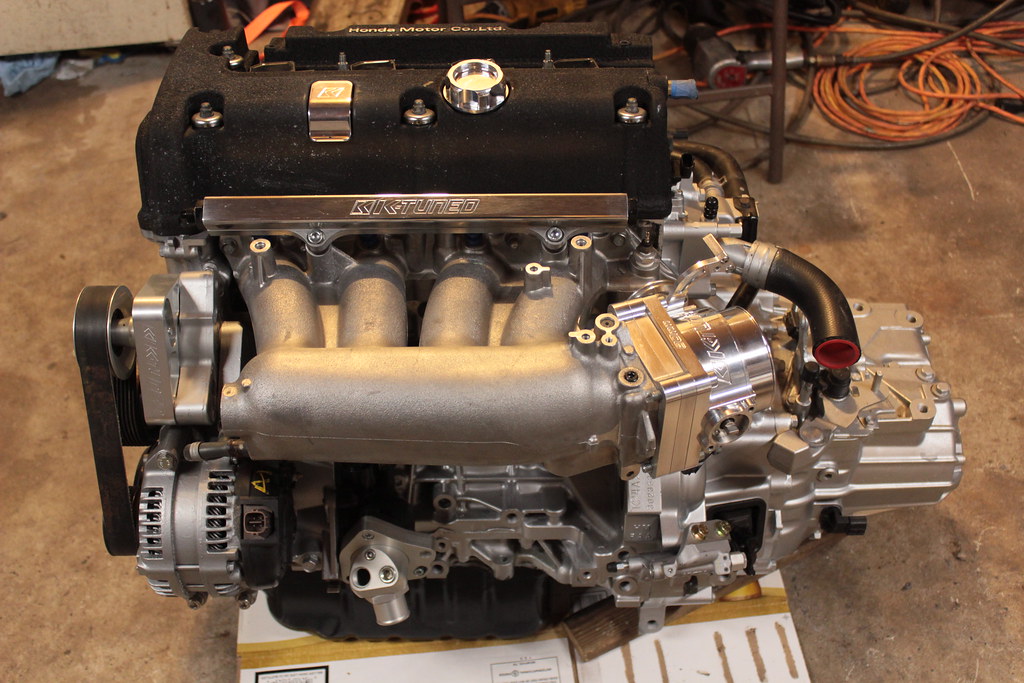 IMG_7383 by evan mclaren, on Flickr
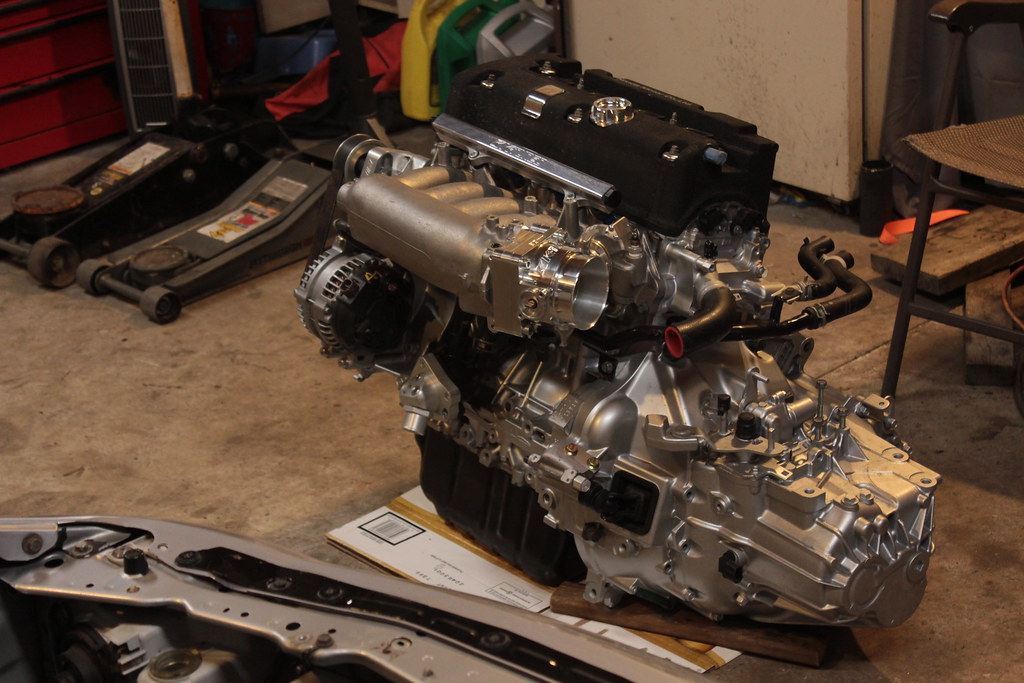 IMG_7378 by evan mclaren, on Flickr
next order of business is to get this thing mounted in the bay. i see hasport has released a new dual height set of mounts that supersedes their original design so im happy i havent purchased a set yet. i need a crv post mount as well to mate the passenger side to the frame rail. the factory mount on the passenger frame rail has to be removed so ill be drilling out the spot welds on that sometime soon. that should be interesting hopefully i dont turn my frame rail into swiss cheese. Ill probably pick up a starter sometime soon as well before the engine goes in.
finally got a proper intake on this thing. ive always wanted to get one of these since i bought the integra so i figured it would be a perfect compliment to the civic. love the oem look
 IMG_7489 by evan mclaren, on Flickr
 IMG_7479 by evan mclaren, on Flickr
 IMG_7480 by evan mclaren, on Flickr
 IMG_7494 by evan mclaren, on Flickr
I got bored one evening after work and decided to give my best attempt at polishing this pulley..
 IMG_7437 by evan mclaren, on Flickr
 IMG_7449 by evan mclaren, on Flickr
 IMG_7436 by evan mclaren, on Flickr
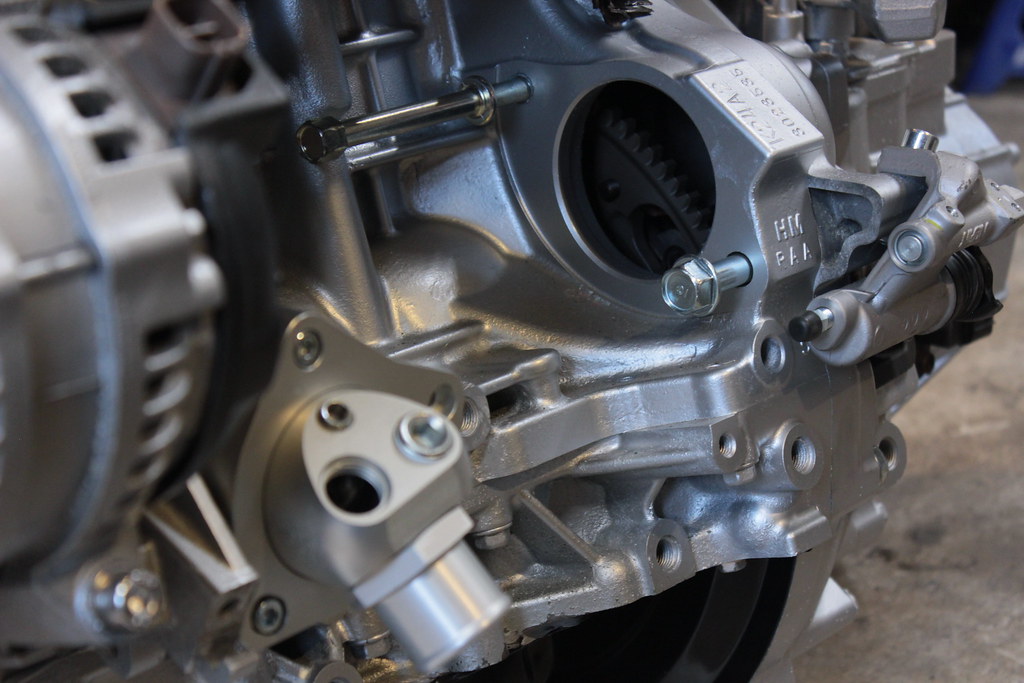
another small order from afh for some trans bolts and a couple other random things..
 IMG_7458 by evan mclaren, on Flickr
 IMG_7459 by evan mclaren, on Flickr
 IMG_7467 by evan mclaren, on Flickr
 IMG_7463 by evan mclaren, on Flickr
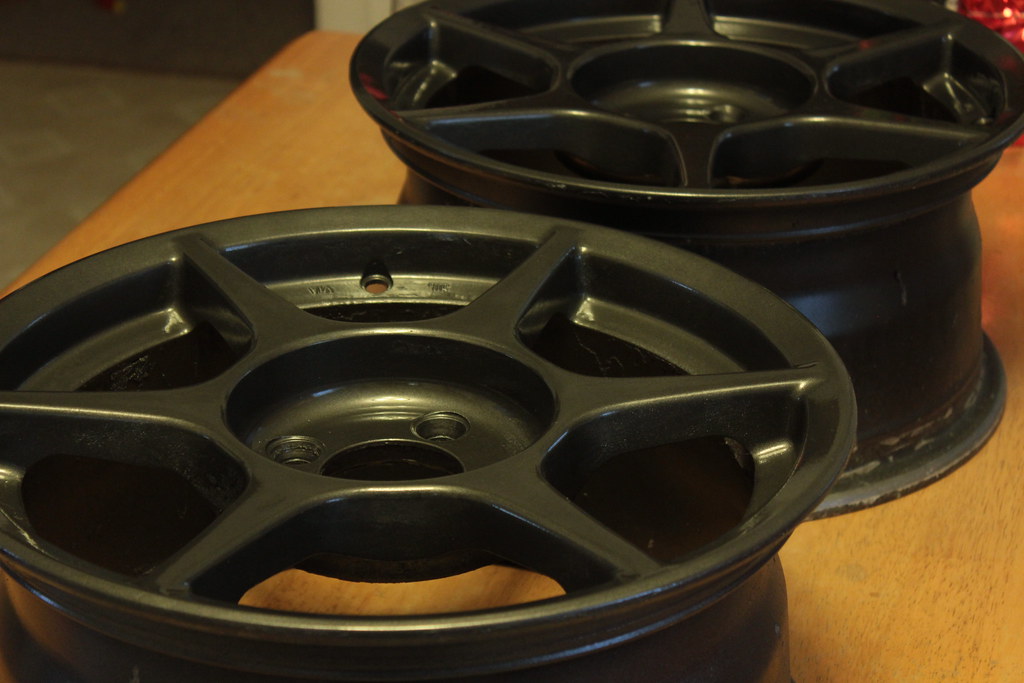
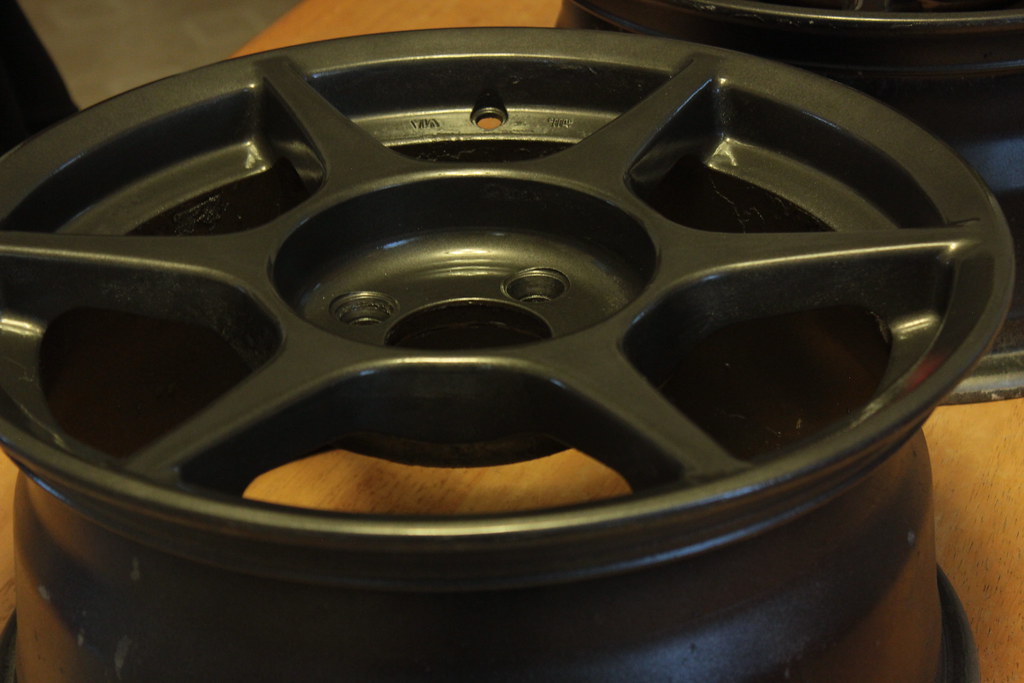
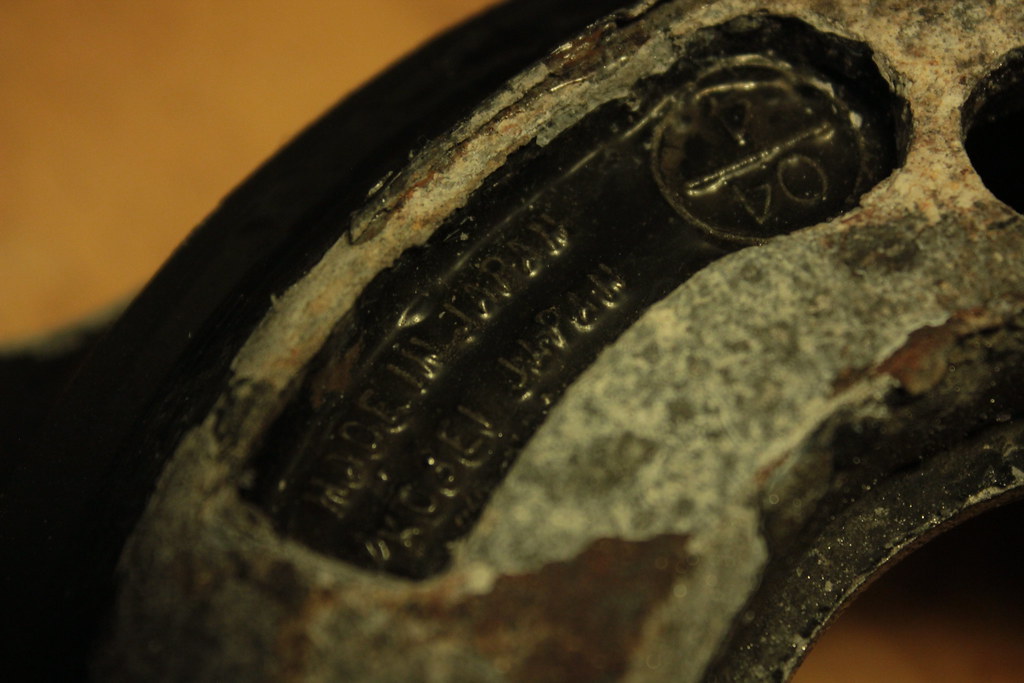
also came upon some rough k1's for cheap. theyd been rattle canned black with some rash and flaking they looked pretty beat. I took a little time to strip them down and respray them with some gunmetal and clear. its definitely not a perfect job but theyre much more presentable than before and theyre beater wheels anyway so whatever.
 IMG_7545 by evan mclaren, on Flickr
 IMG_7542 by evan mclaren, on Flickr
 IMG_7550 by evan mclaren, on Flickr
 IMG_7546 by evan mclaren, on Flickr
 IMG_7549 by evan mclaren, on Flickr
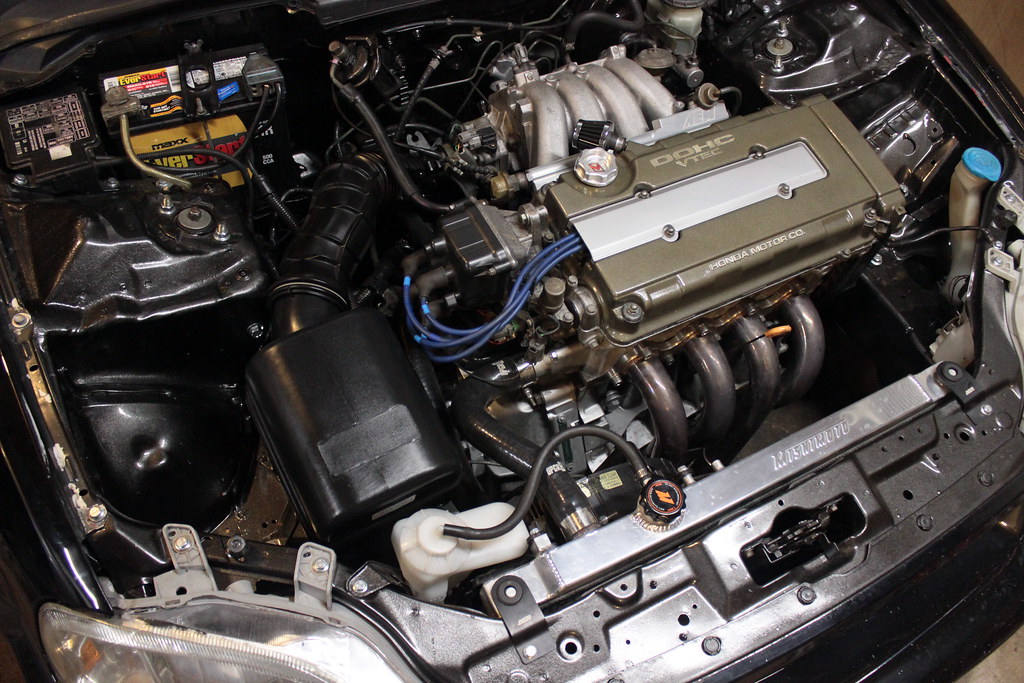 IMG_7489 by evan mclaren, on Flickr
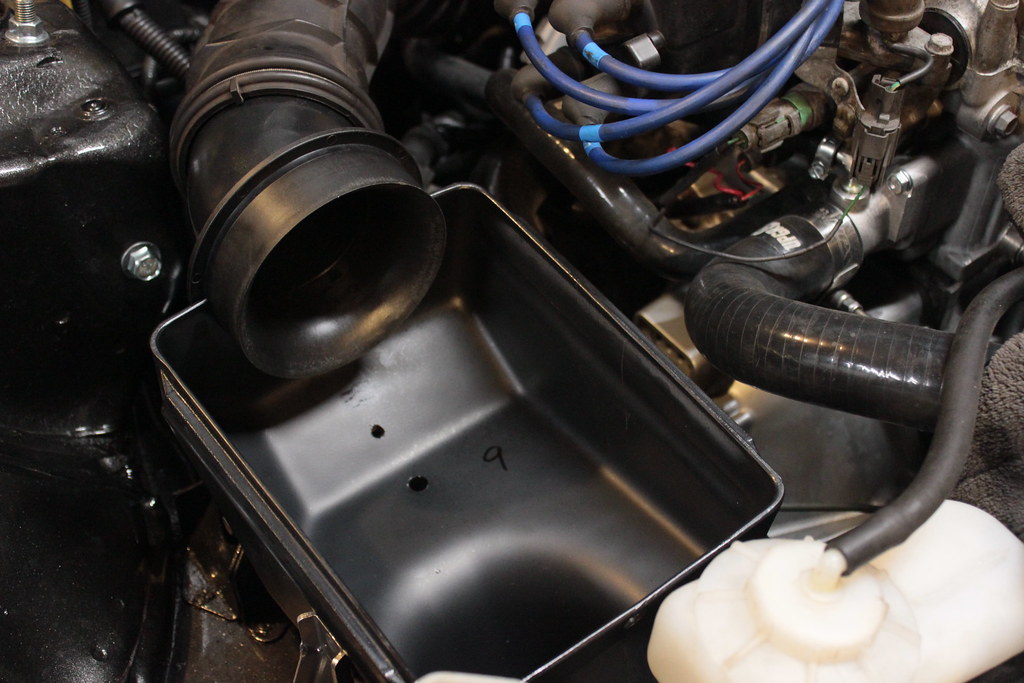 IMG_7479 by evan mclaren, on Flickr
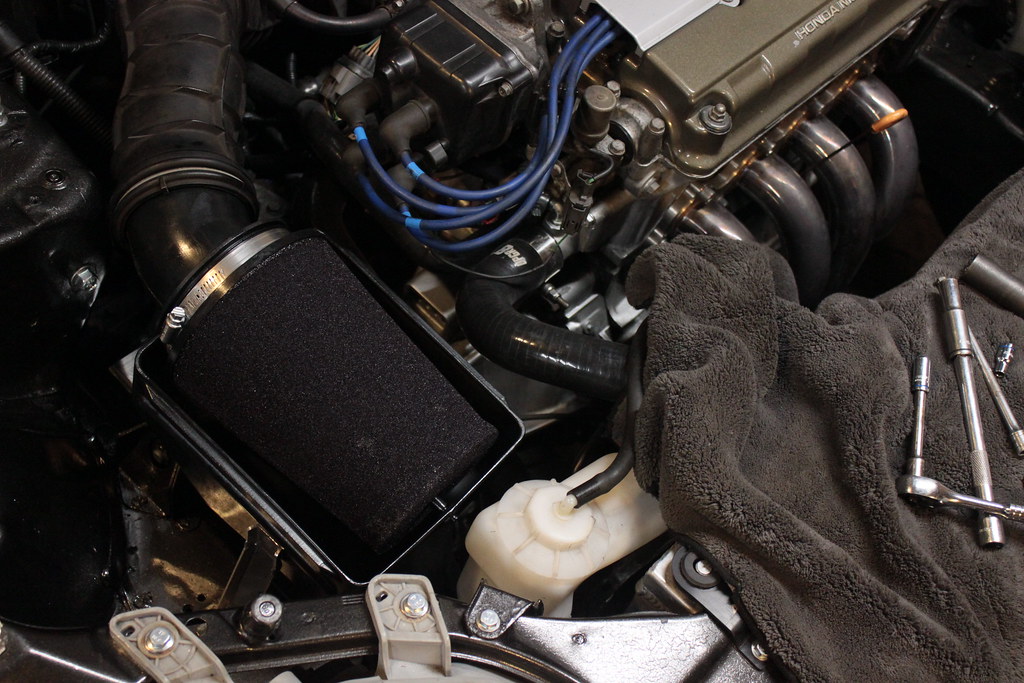 IMG_7480 by evan mclaren, on Flickr
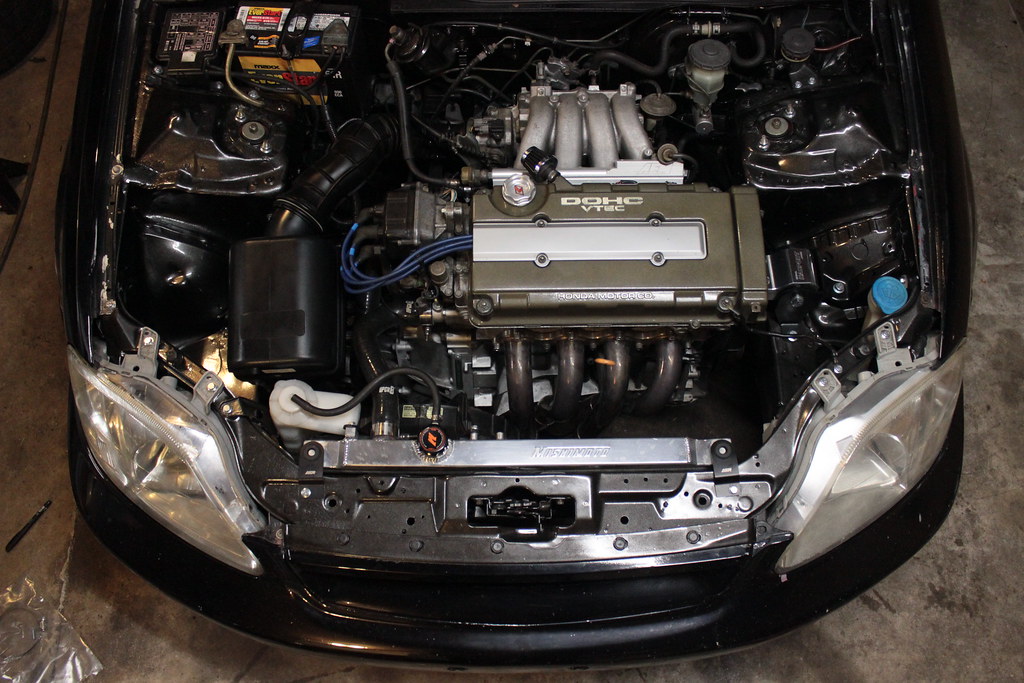 IMG_7494 by evan mclaren, on Flickr
I got bored one evening after work and decided to give my best attempt at polishing this pulley..
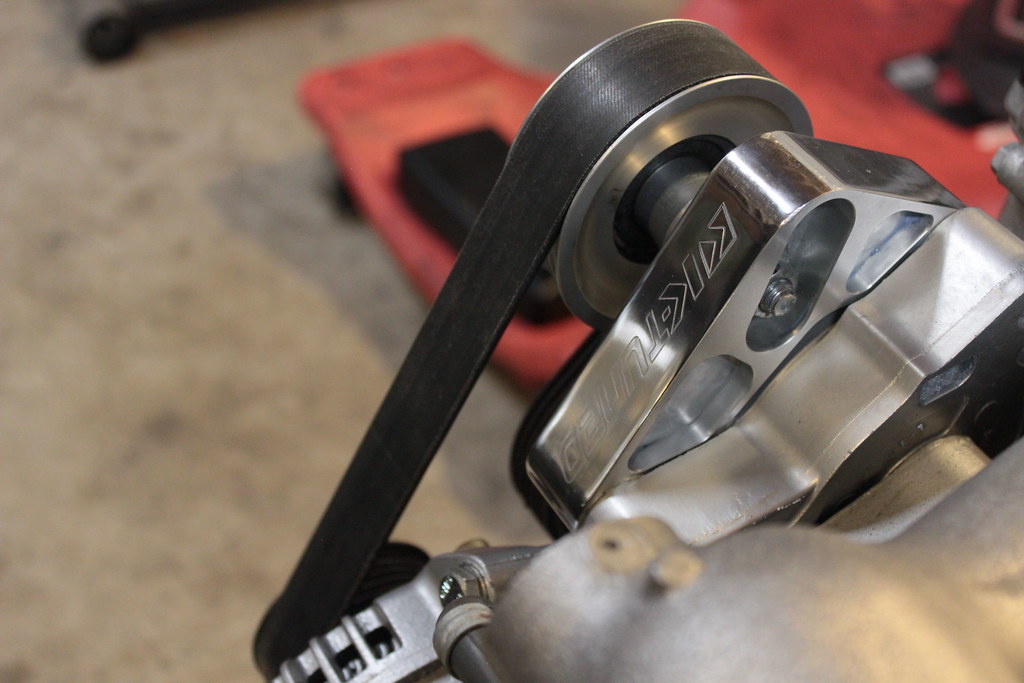 IMG_7437 by evan mclaren, on Flickr
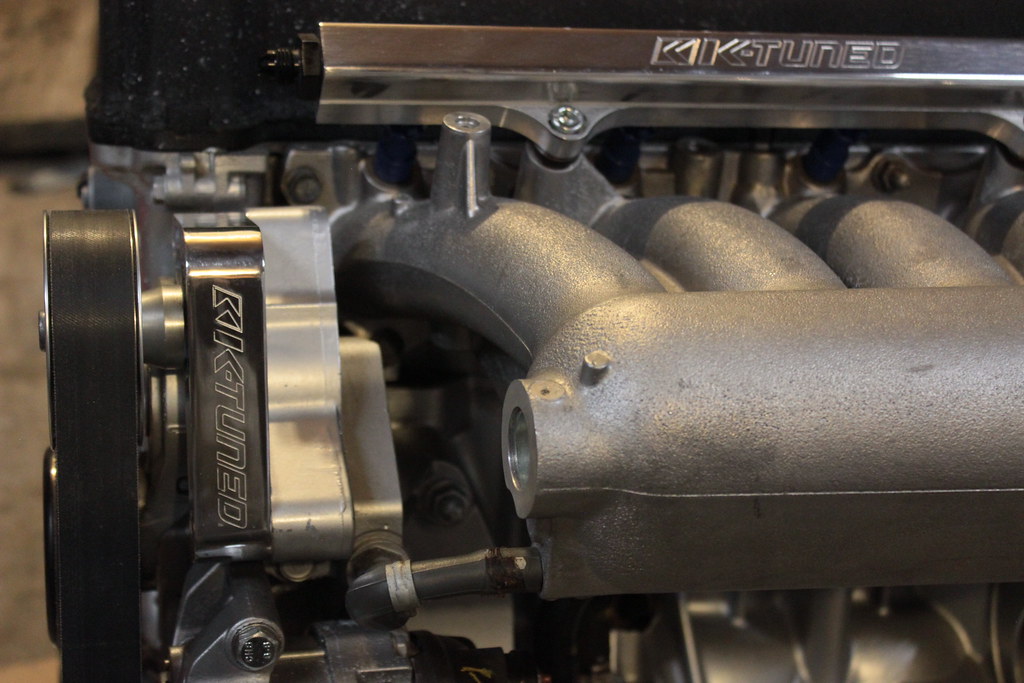 IMG_7449 by evan mclaren, on Flickr
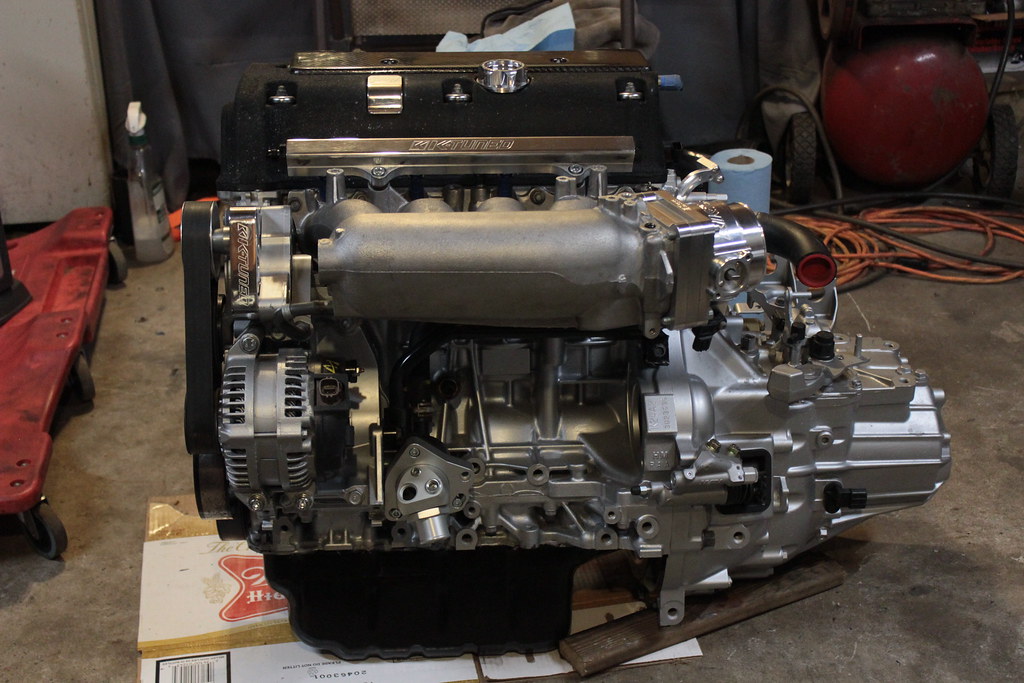 IMG_7436 by evan mclaren, on Flickr
another small order from afh for some trans bolts and a couple other random things..
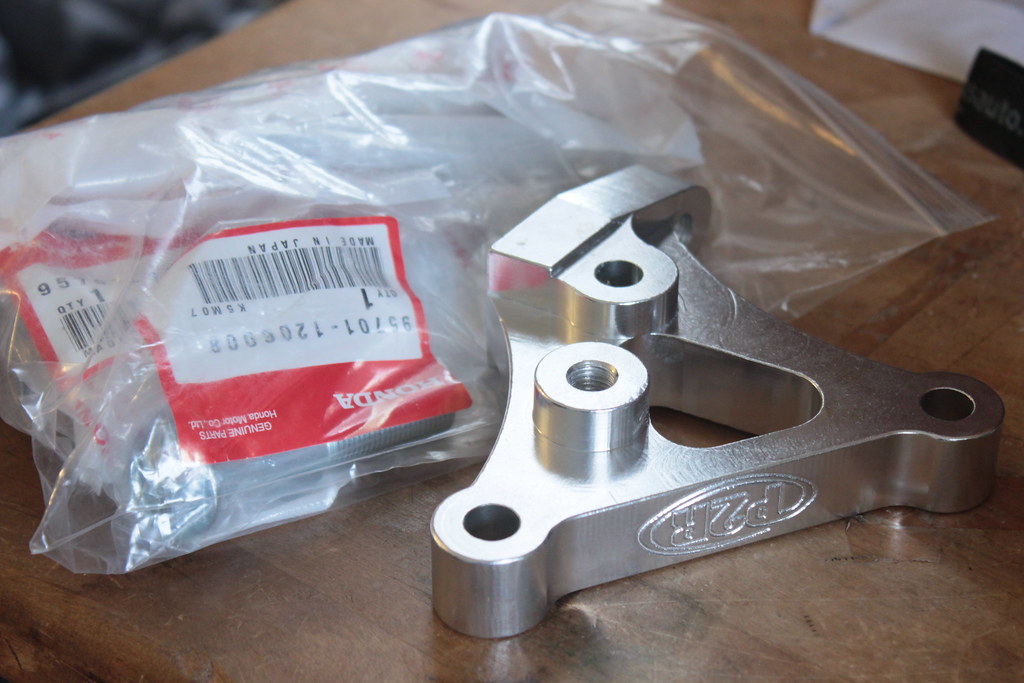 IMG_7458 by evan mclaren, on Flickr
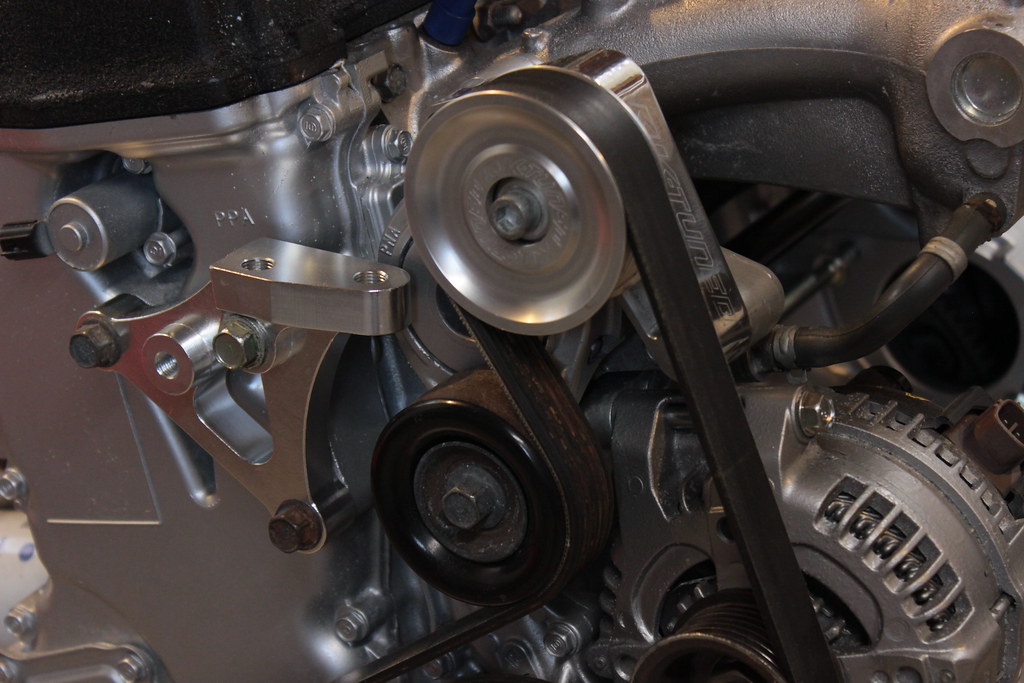 IMG_7459 by evan mclaren, on Flickr
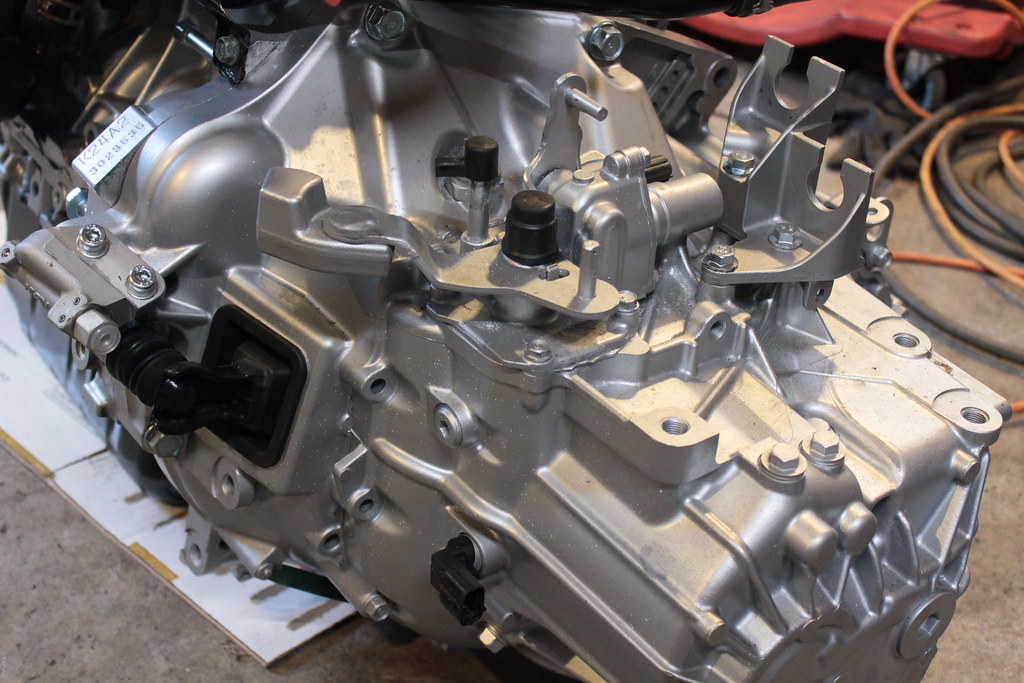 IMG_7467 by evan mclaren, on Flickr
 IMG_7463 by evan mclaren, on Flickr
also came upon some rough k1's for cheap. theyd been rattle canned black with some rash and flaking they looked pretty beat. I took a little time to strip them down and respray them with some gunmetal and clear. its definitely not a perfect job but theyre much more presentable than before and theyre beater wheels anyway so whatever.
 IMG_7545 by evan mclaren, on Flickr
 IMG_7542 by evan mclaren, on Flickr
 IMG_7550 by evan mclaren, on Flickr
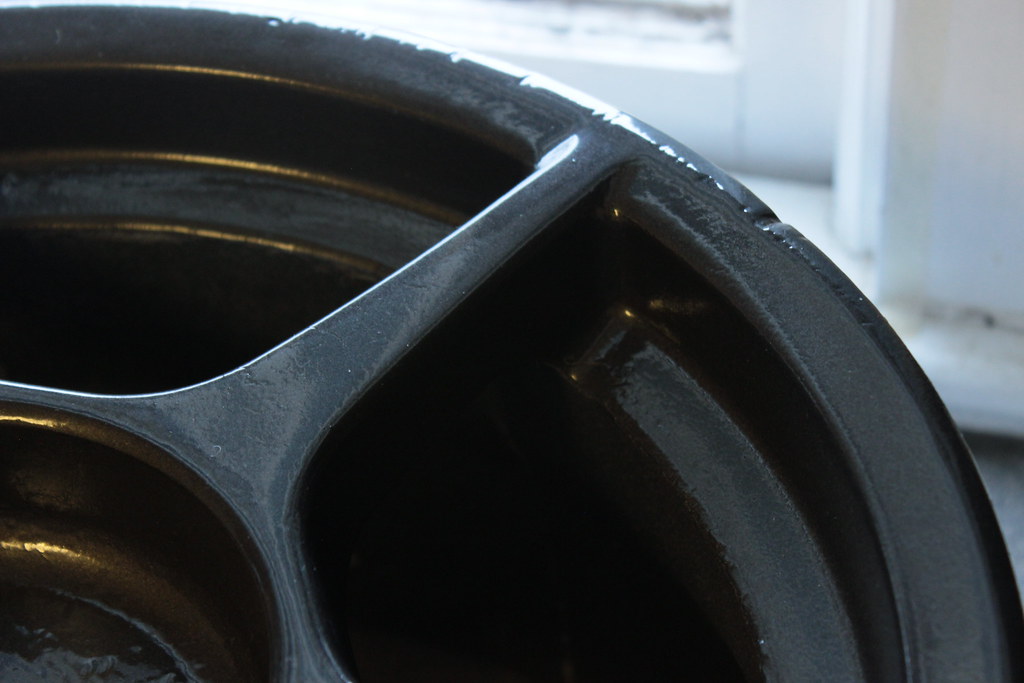 IMG_7546 by evan mclaren, on Flickr
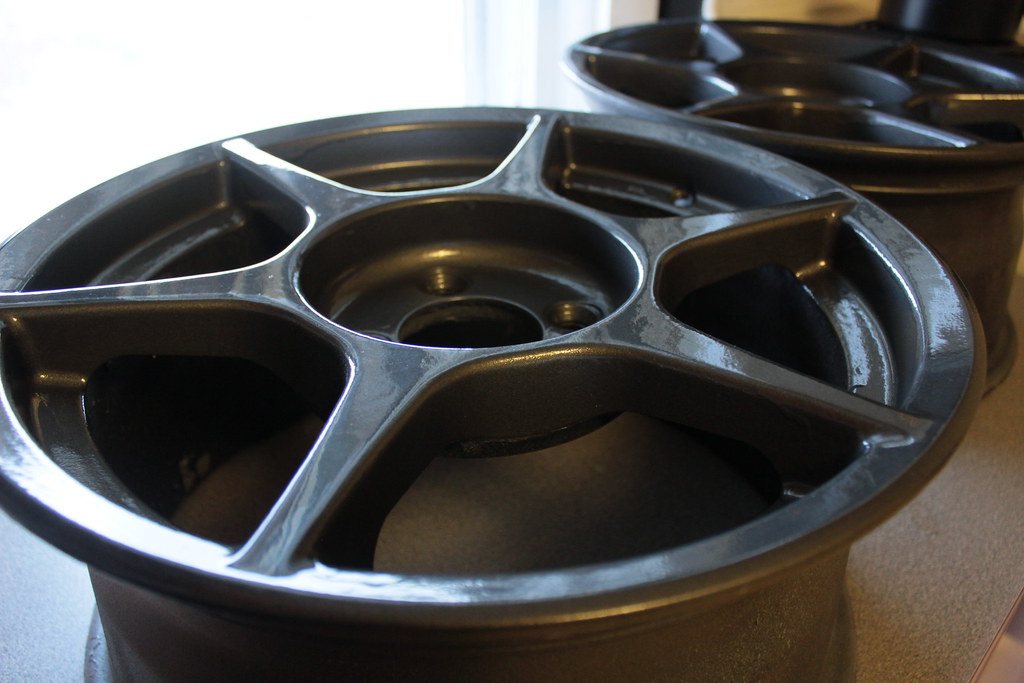 IMG_7549 by evan mclaren, on Flickr
Orion575
New Member
What size are those K1's?finally got a proper intake on this thing. ive always wanted to get one of these since i bought the integra so i figured it would be a perfect compliment to the civic. love the oem look
IMG_7489 by evan mclaren, on Flickr
IMG_7479 by evan mclaren, on Flickr
IMG_7480 by evan mclaren, on Flickr
IMG_7494 by evan mclaren, on Flickr
I got bored one evening after work and decided to give my best attempt at polishing this pulley..
IMG_7437 by evan mclaren, on Flickr
IMG_7449 by evan mclaren, on Flickr
IMG_7436 by evan mclaren, on Flickr
another small order from afh for some trans bolts and a couple other random things..
IMG_7458 by evan mclaren, on Flickr
IMG_7459 by evan mclaren, on Flickr
IMG_7467 by evan mclaren, on Flickr
IMG_7463 by evan mclaren, on Flickr
also came upon some rough k1's for cheap. theyd been rattle canned black with some rash and flaking they looked pretty beat. I took a little time to strip them down and respray them with some gunmetal and clear. its definitely not a perfect job but theyre much more presentable than before and theyre beater wheels anyway so whatever.
IMG_7545 by evan mclaren, on Flickr
IMG_7542 by evan mclaren, on Flickr
IMG_7550 by evan mclaren, on Flickr
IMG_7546 by evan mclaren, on Flickr
IMG_7549 by evan mclaren, on Flickr
Sent from my SM-G935F using Tapatalk
15x7 +38 nothing crazy. Would rather have a new set of +25s but these were so cheap I couldn't passWhat size are those K1's?
Sent from my SM-G935F using Tapatalk
Sent from my iPhone using Tapatalk
Looking good in here!
I'm doing the full size radiator in the Civic over the winter as well. Did you relocated your OEM lower mount or just fab a bracket up?
I'm doing the full size radiator in the Civic over the winter as well. Did you relocated your OEM lower mount or just fab a bracket up?
I just cut them completely off and used some billet lower mounts made by ASR. They worked great super easy to install.Looking good in here!
I'm doing the full size radiator in the Civic over the winter as well. Did you relocated your OEM lower mount or just fab a bracket up?


Sent from my iPhone using Tapatalk
Very nice. I found the K-Tuned version in searching for ideas and ordered it. I much prefer this to the K-Tuned version. I wish these came up in my search. Although, the K-Tuned seems cheaper as it includes both the upper and lower brackets. So its a complete kit. It looks like the ASR is just the lower and you have to buy the upper separate. Mine should be here on Friday, so I guess I'll look and decide what I'll do. Probably just roll with the K-Tuned stuff since I will have it. I'll just paint it black.
Yeah I saw those too and they look like they should do the job just fine. The asr does have the lower and uppers listed as separate items on their site but they were packaged together when I received them. These are a relatively new product and I wouldn't have seen them if it wasn't for Instagram haha. I like how the uppers use two pre existing holes. I did have to push down on them and bend them a hair to hold the rad more secure and do a little trimming of the core support around the corners of the rad to avoid them vibrating togetherVery nice. I found the K-Tuned version in searching for ideas and ordered it. I much prefer this to the K-Tuned version. I wish these came up in my search. Although, the K-Tuned seems cheaper as it includes both the upper and lower brackets. So its a complete kit. It looks like the ASR is just the lower and you have to buy the upper separate. Mine should be here on Friday, so I guess I'll look and decide what I'll do. Probably just roll with the K-Tuned stuff since I will have it. I'll just paint it black.
Sent from my iPhone using Tapatalk
I guess IG thought I didn't need to see that post...lol. I def would have bought the ASR over the K-Tuned. I like that the ASR use the OEM bushing, better supporting the radiator. The K-Tuned seem like just a grommet. But its all good. I'll see how they look and what I think. I'd like to use my Spoon upper support, because, you know, Spoon...haha. But its all about that function. 
I was a little nervous that the oem lower bushings would pop out seeing how they only sit in a shallow recess. That's why I bent the uppers down a hair to prevent any vertical movement. It's in there rock solid now and no problems whatsoever. Looking forward to seeing how your car comes back togetherI guess IG thought I didn't need to see that post...lol. I def would have bought the ASR over the K-Tuned. I like that the ASR use the OEM bushing, better supporting the radiator. The K-Tuned seem like just a grommet. But its all good. I'll see how they look and what I think. I'd like to use my Spoon upper support, because, you know, Spoon...haha. But its all about that function.
Sent from my iPhone using Tapatalk
Well, I guess we both have some testing to look at...haha. I'll see how mine look tomorrow. I need to call Evasive and get the radiator ordered though.
Koyo?Well, I guess we both have some testing to look at...haha. I'll see how mine look tomorrow. I need to call Evasive and get the radiator ordered though.
Sent from my iPhone using Tapatalk
