hmm ok, that makes sense. maybe ill have to spend more time looking into this for when i remove my subframeBasically its an over priced crush washer kit...lol. When it comes down to it, thats what it provides. The chassis of the car where the subframe meets it is of course not a machined surface getting a "true seat" in the mating surface. What the colars to is fit into the holes enough to draw together and then the washer collar crushes between the untrue surfaces eliminating any potential for slip in the subframe to chassis. There is debate as to if its works at all but from just an install side, I can see it providing some benifit. It of course isnt an "epic" difference and more can be said to the driver than the collar but I figured with where I was in the tear down I would rather do it now than later. If you do not track at all, dont spend the money. There is a high possiblity of having to drop the subframe just due to the "slop" in the assembly line stamp of the thing. You wont be able to dremel out some of the spots needed safely while its on the car. Also the limited space between the chassis and the subframe makes it very difficult even for someone like me with skinny fingers.
- Home
- Forums
- Honda Civic Gen Tech and Builds / Show Offs
- 6th Generation Honda Civic (1996-2000)
- 6th Gen Honda Civic Builds / Show Offs
Change...EM1 content
- Thread starter mportedcivicsi
- Start date
Yeah, most of what I found was either Spoon info or BS trash talk/"debate" on Honda-Tech. If you are considering it, the time to do it is while the subframe is off for sure. You can ensure the collars will drop into the guide holes and not get deformed by an improper seat. Since I couldnt get real data and the state of the car right now I went ahead and did it. After my season starts I'll do my best to review them. I have a feeling though most of the data is "butt dyno" style...lol. They surely do lock in the subframe though when secured. If you have to back the bolts out after seating everything, the subframe can support itself as I found...lol.
So, I'm not the biggest fan of Chase Bay's and reason again proven with the tuck clutch line. Only got it as I got it from a friend new for less than new cost. The banjo bolt is to long for a S2000 cmc. It doesnt seat to seal. Their answer was "just put more crush washers in it." Sorry, I'm not going to do that in a car that actually gets driven. So, that line will be FS for what I paid for it so I can replace it with one that actually works properly with the S2000 cmc. I did check the line to a Civic cmc and it works just fine, the line connection is a little deeper on the Civic cmc.
So again, not much progress due to weather and helping a friend with his project. He has a timeline with some shops to take his caR for his work. So Friday I spent 2hrs driving 15mi to his house and 2hrs home for 2hrs of work...lol. SE VA and snow flakes dont mix well. Traffic was stupid so I just sat back and laughed at them in my safe, lifted 4x4 truck...lol.
His '97 JDM front ITR, motor going in for a full refresh and the car is going to have the JDM front pulled off and reworked as a hack job put it on. Also he will be having the bay painted and cleaned up. Non tuck/show but he is getting hanesses to clean it up. The caR is a toy for him and it will be his track car that comes out to meets and such, similar to me Only its not his daily...lol.


But I did get the last 2 bolts in the subframe. 2 of the bolts are 2 short after installing the RigiCola so I replaced them with new subframe bolts that are a little longer. Also started putting the Golden Eagle fuel rail together. Seems the AEM FPR with a straight fitting hits the IM so I'm going to trim down the trouble area on the IM as its just a hunk of metal for an unused fuel rail bolt now that I'm using the GE...
So again, not much progress due to weather and helping a friend with his project. He has a timeline with some shops to take his caR for his work. So Friday I spent 2hrs driving 15mi to his house and 2hrs home for 2hrs of work...lol. SE VA and snow flakes dont mix well. Traffic was stupid so I just sat back and laughed at them in my safe, lifted 4x4 truck...lol.
His '97 JDM front ITR, motor going in for a full refresh and the car is going to have the JDM front pulled off and reworked as a hack job put it on. Also he will be having the bay painted and cleaned up. Non tuck/show but he is getting hanesses to clean it up. The caR is a toy for him and it will be his track car that comes out to meets and such, similar to me
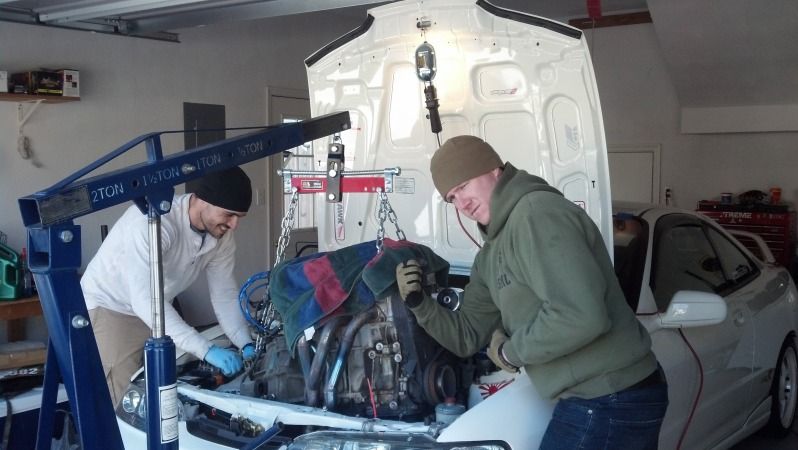
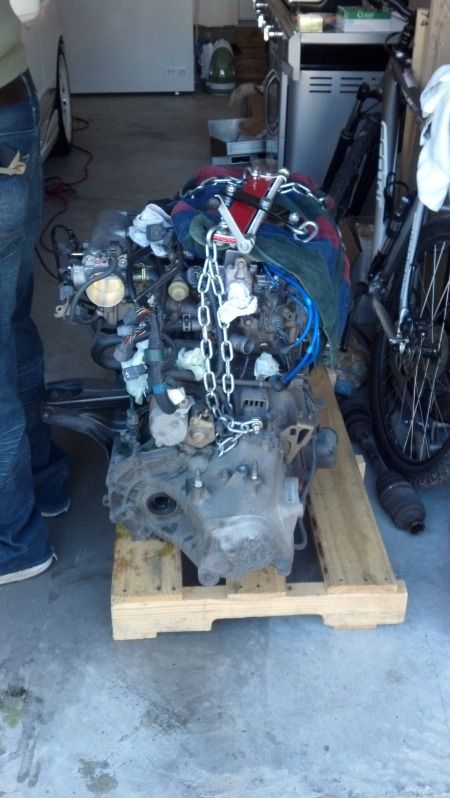
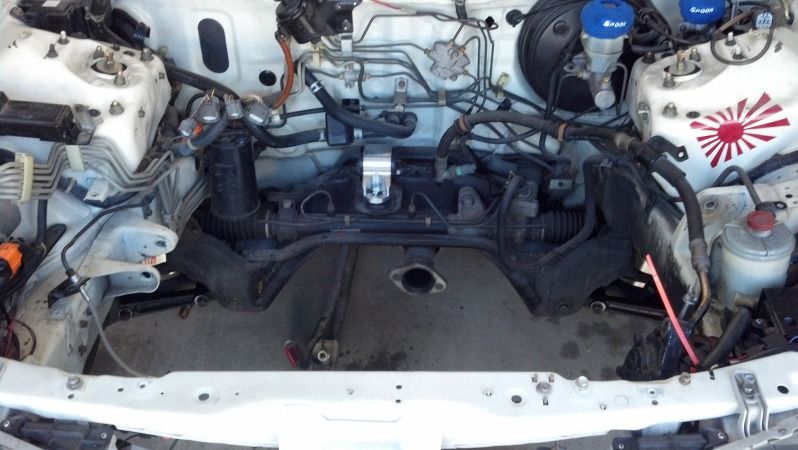
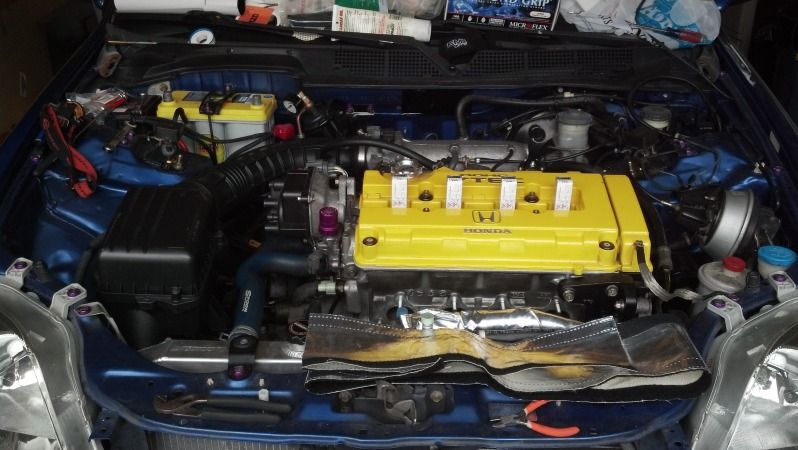
But I did get the last 2 bolts in the subframe. 2 of the bolts are 2 short after installing the RigiCola so I replaced them with new subframe bolts that are a little longer. Also started putting the Golden Eagle fuel rail together. Seems the AEM FPR with a straight fitting hits the IM so I'm going to trim down the trouble area on the IM as its just a hunk of metal for an unused fuel rail bolt now that I'm using the GE...
Pics of the lifted 4x4 truck?
Nothing crazy or anything. 2003 Ram, 4in on BFG MT 35's...

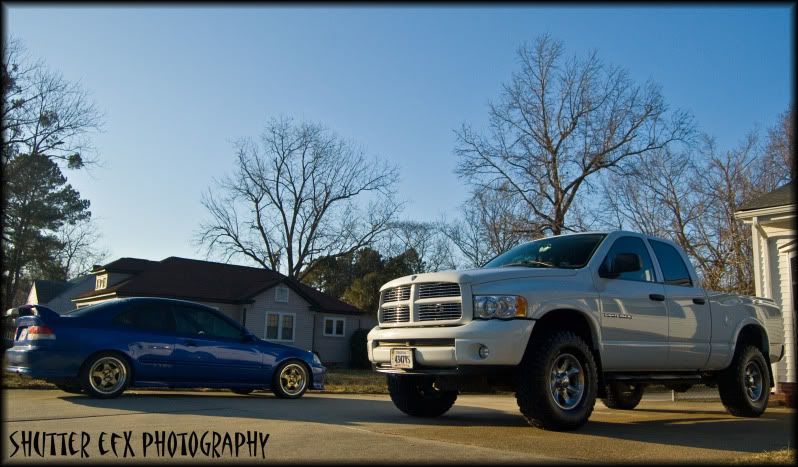
Nice lookin truck!
Thanks  We really do enjoy the truck. I will be ready to start putting gas in the Civic again vice the truck though...lol.
ReedMann - I havent taken any pics of the harness.
ReedMann - I havent taken any pics of the harness.
Well I've been way slack on updates so here is a bit of whats been going on since Jan...
More Jan -
Got some small stuff done. Rerouted an EDFC cable off of the firewall and out of sight. Decided to keep the Civic cmc and use the ChaseBay tuck clutch line so all that mess came off and changed. Pulled off some brackets and painted them. Changed the fuel filter. New O-ring on the rad drain plug.
Feb -
Really been to busy to work on the car. Lots going on during the week and not really anyone that can come over after work to help. Traffic here doesnt make it worth trying to work after work...lol. Weekends have been rather busy since getting back from Cali as well. I'm hoping to get some work in the weekend though. I am going to try and get some stuff done this week that I dont need help with to help prepare.
I did this last week change the connector on the Rywire alternator side as it was broken (bought the harness second hand). Also pulled the oil pan off the ITR motor to swap on my old Moroso. Yeah, B16 and B18C oil pick ups are different...lol. AND the pan I have doesnt work work the ITR trans brace. So, back on goes the OEM pan. I was only changing it because I had it.
March -
I cleaned up the AC, PS and Alt brackets and prime/painted them and then put back on the engine. And as I plan on running the Rywire harness though the OEM harness location on the firewall I started pushing connectors thought the boot. I had to cut it back a little but it wont matter after I'm done and tape it back up. I'll have just 1 connector to de-pin I think and I'll get it all through

Got the last connectors through the boot I had to de-pin them to get them though. One pin wouldn't release as the lock lifter was already messed up. I got it out though...lol.

I've got spare "junk" harnesses that I can rob from though and I've replaced the connector. I've now got the Rywire harness with an OEM firewall boot

A friend and I took the day off and finally got the engine off the stand! Changed out the rear main seal, put on the Spoon heat barrier tape for the oil pan, Alt belt, put on the Rywire harness, flywheel, clutch/pressure plate, mounted the trans, and moved the whole deal over to the other bay and lowered the engine/trans into the bay! Couple issues to work out as the AC belt was way to small. Part number checked out but def not right. Ordered another belt for that and some bolts. Rear mount bolt had some threads messed up at the end and the die wouldnt cut them back as they were to low on the bolt. Used it to support the engine as it would make a couple turns though before hanging up. Driver bolt, wouldnt fit. Changed from the Hasport silver mounts to black mounts...through hole is smaller on the black mounts. Ordered a new one for that side. Goal for the day yesterday was met
  Got some good work in. Pics to follow as I cant get to my photobucket from my work computer...


So the black series Hasport mounts I got from a friend have a larger driver bracket. My old silver ones I had no issues at all with PS/CC mounting.
Had to trim out the PS res to make the bracket fit. Also had to remove the bottom bracket of the CC unit.

And the Si throttle cable bracket hits the ITR IAT sensor. And the way the ITR bracket sits the cable is off from the mounting. Serge said it would adjust ok to use but I just flipped the bracket and it now sits in the right spot!

RyWire subharness, depinned on one end as I was going to start to extend the wires. But, there were some cut and resoldered wires that I wanted to check. And one thats cut but looks like it should be connected. I'm going to just call RyWire on Monday and see about having a longer subharness made/sent. I dont want one thats hacked up as much as this one...

Since the RyWire harness doesn't have the Alt cable in it I have to run one. The cut ITR harness that came with the swap had an uncut full length Alt cable in it. We cut the loom off, pulled it out and I ran shrink over it and then put expanding loom over it


April -
Well, I got the RyWire sub harness Thursday before leaving for NC for a few days. I packed up a kit to work on it in the hotel while the wife was at her conference. Get all things laid out in the room to prep for making cuts and solder...forgot the dang jewelers screw driver to depin the new connector harness! So, I made Friday a lazy day and did nothing.
Saturday, met up with some EM1Crew friends at a meet in Winston, about 1.5hrs west of where I was in Durham. Took the TSX out for the day while wifey was again in her conference
Sunday, pulled the new harness apart and got all the soldering done, HondaBond around the wires and then marine heat shrink sealed the wires for environmental controls Then to run full length shrink to clean up the look...easier said than done as it was like 4ft or so of wire to push though and wire doesnt exactly just push through shrink like that...lol. Sooooo, I took a coat hanger and tied fishing line to it, pushed it through the shrink to the other side. Depined the other side of the harness so all I had was a free wire and then tied the line to it. Then, I tied another line to it and pulled the wire through the shrink. Get to the end, tie the two ends of the fishing line together and pull back through to start over. I had to do it that way rather than just pull one way and then the other as one end the pins has rubber environmental seals that would hang up and tear. I didnt want to take a chance at damaging the seal or hurting the pins. In all before I had to quit to get some other stuff done I got 6 of the 8 wires pulled into shrink. I'll finish the last two tonight or tomorrow and then run it into the expandable loom to finish the harness off.
Getting started in the pull in...

Line tied off to go each way!

More Jan -
Got some small stuff done. Rerouted an EDFC cable off of the firewall and out of sight. Decided to keep the Civic cmc and use the ChaseBay tuck clutch line so all that mess came off and changed. Pulled off some brackets and painted them. Changed the fuel filter. New O-ring on the rad drain plug.
Feb -
Really been to busy to work on the car. Lots going on during the week and not really anyone that can come over after work to help. Traffic here doesnt make it worth trying to work after work...lol. Weekends have been rather busy since getting back from Cali as well. I'm hoping to get some work in the weekend though. I am going to try and get some stuff done this week that I dont need help with to help prepare.
I did this last week change the connector on the Rywire alternator side as it was broken (bought the harness second hand). Also pulled the oil pan off the ITR motor to swap on my old Moroso. Yeah, B16 and B18C oil pick ups are different...lol. AND the pan I have doesnt work work the ITR trans brace. So, back on goes the OEM pan. I was only changing it because I had it.
March -
I cleaned up the AC, PS and Alt brackets and prime/painted them and then put back on the engine. And as I plan on running the Rywire harness though the OEM harness location on the firewall I started pushing connectors thought the boot. I had to cut it back a little but it wont matter after I'm done and tape it back up. I'll have just 1 connector to de-pin I think and I'll get it all through
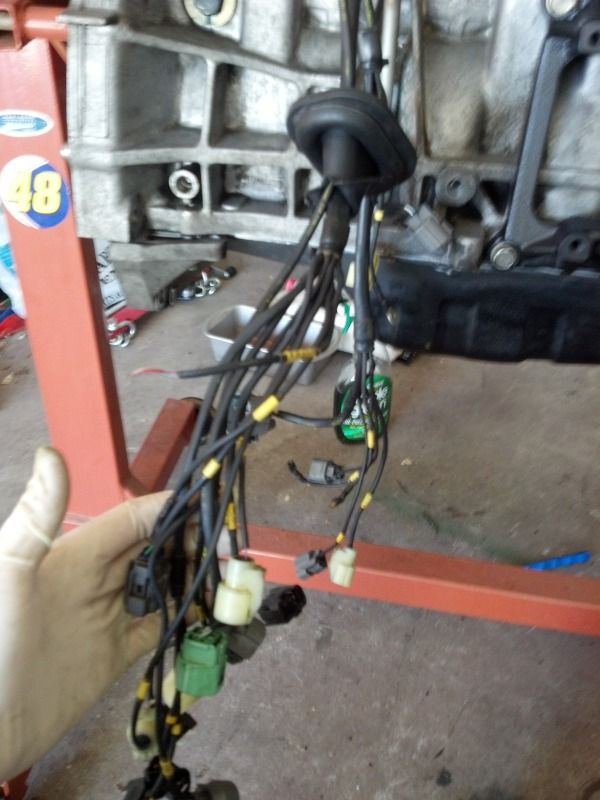
Got the last connectors through the boot I had to de-pin them to get them though. One pin wouldn't release as the lock lifter was already messed up. I got it out though...lol.
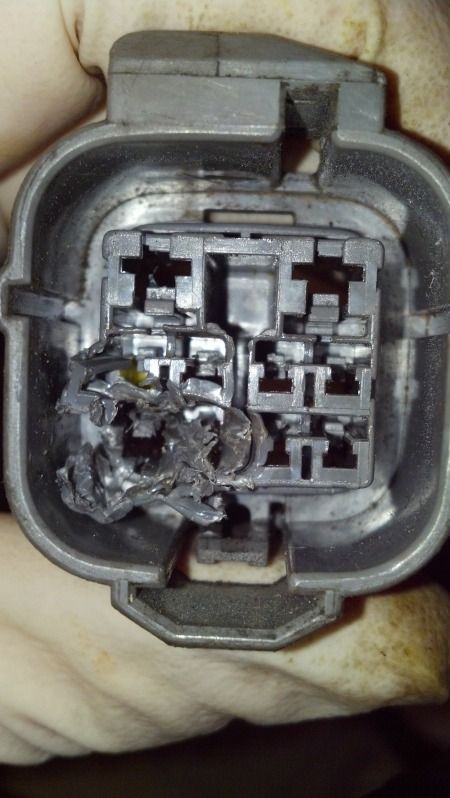
I've got spare "junk" harnesses that I can rob from though and I've replaced the connector. I've now got the Rywire harness with an OEM firewall boot
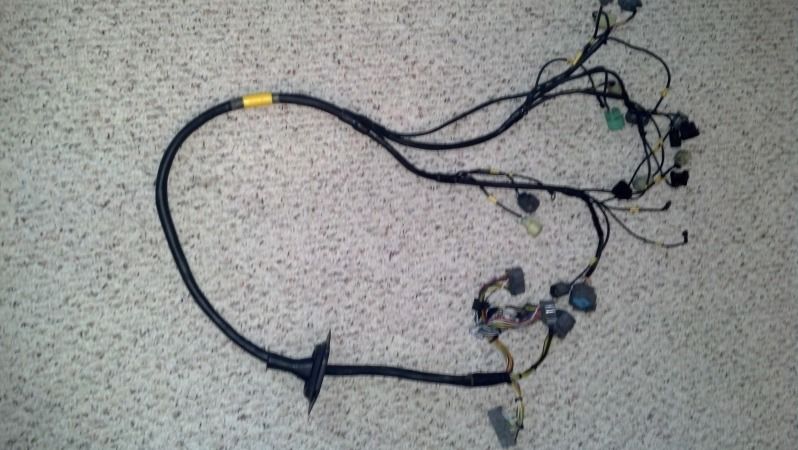
A friend and I took the day off and finally got the engine off the stand! Changed out the rear main seal, put on the Spoon heat barrier tape for the oil pan, Alt belt, put on the Rywire harness, flywheel, clutch/pressure plate, mounted the trans, and moved the whole deal over to the other bay and lowered the engine/trans into the bay!
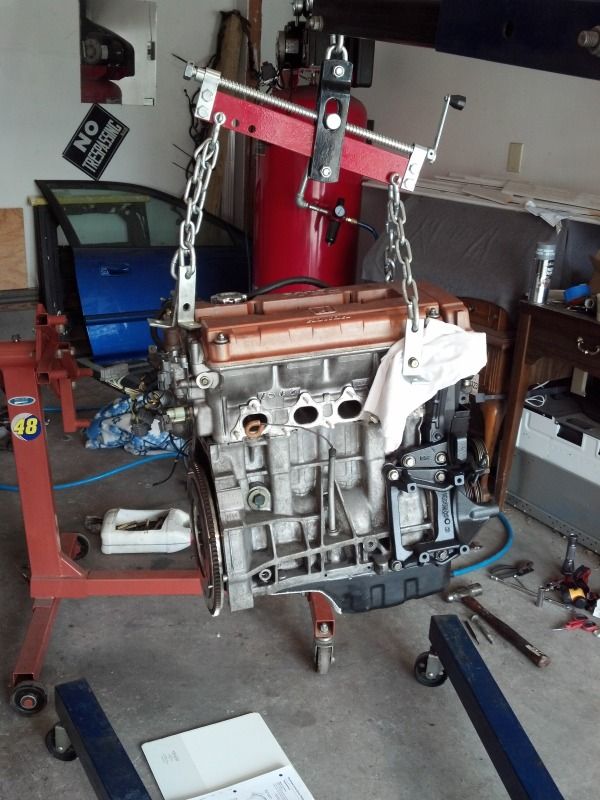
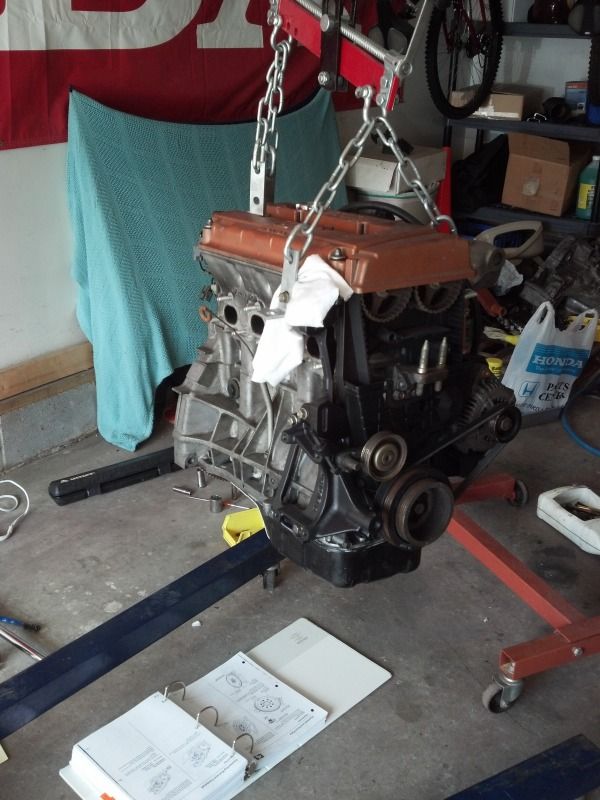
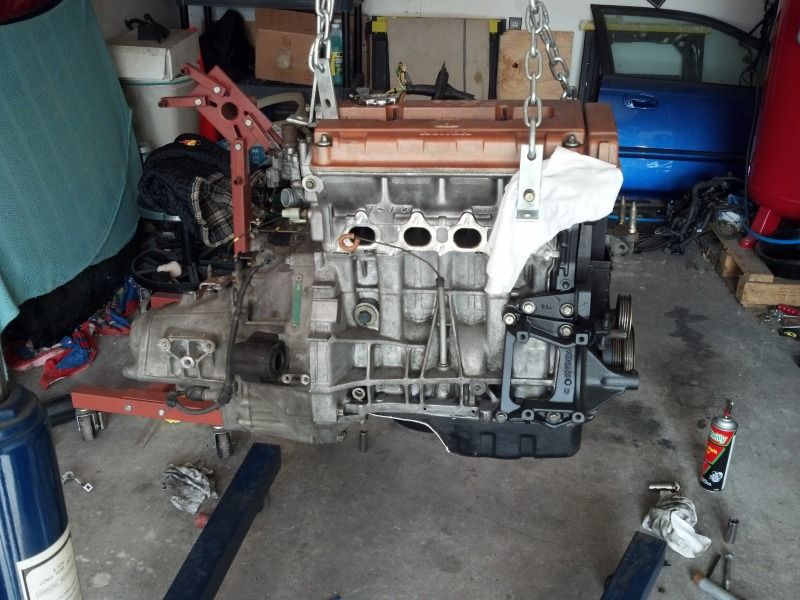
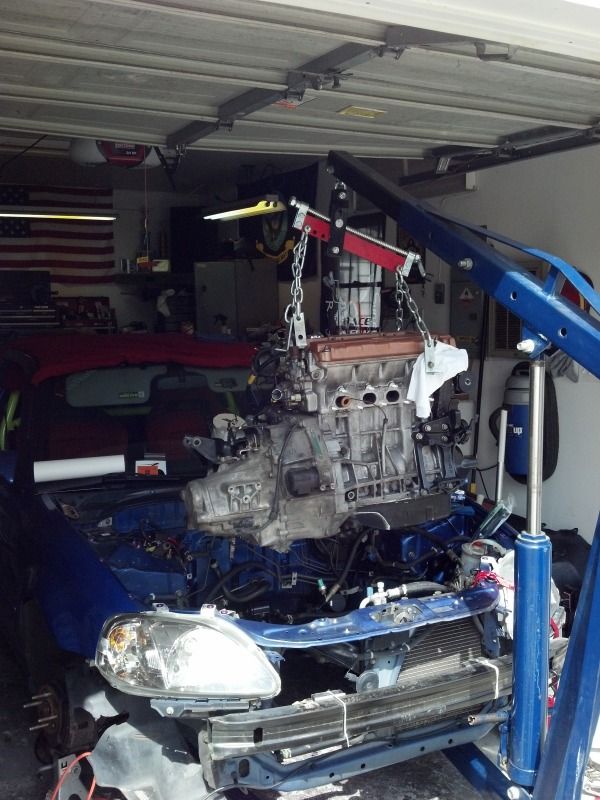
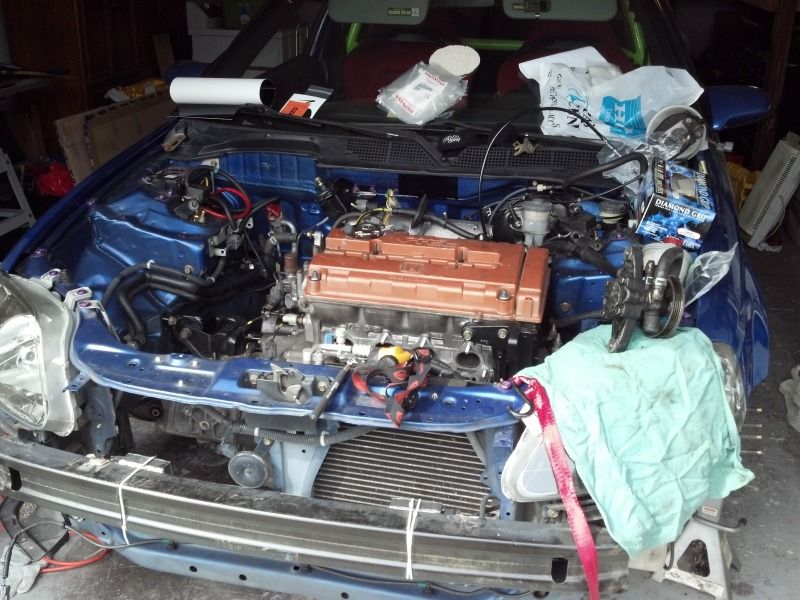
So the black series Hasport mounts I got from a friend have a larger driver bracket. My old silver ones I had no issues at all with PS/CC mounting.
Had to trim out the PS res to make the bracket fit. Also had to remove the bottom bracket of the CC unit.
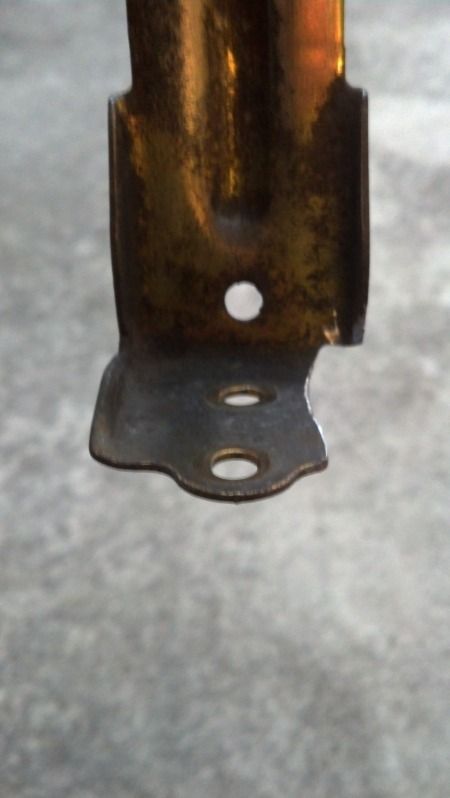
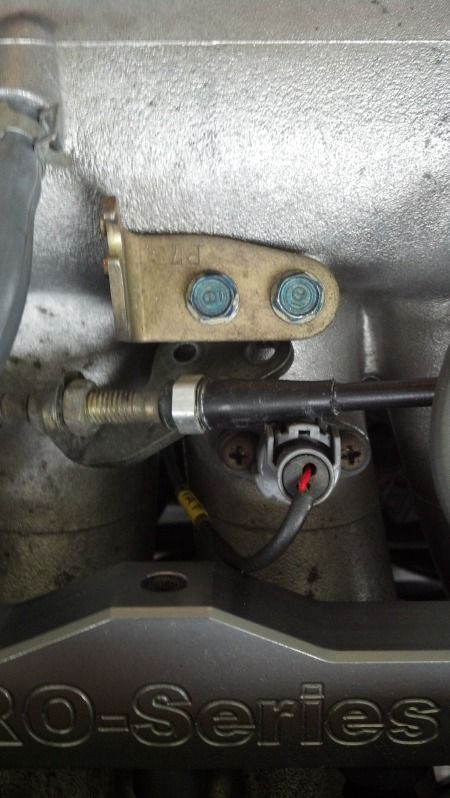
And the Si throttle cable bracket hits the ITR IAT sensor. And the way the ITR bracket sits the cable is off from the mounting. Serge said it would adjust ok to use but I just flipped the bracket and it now sits in the right spot!
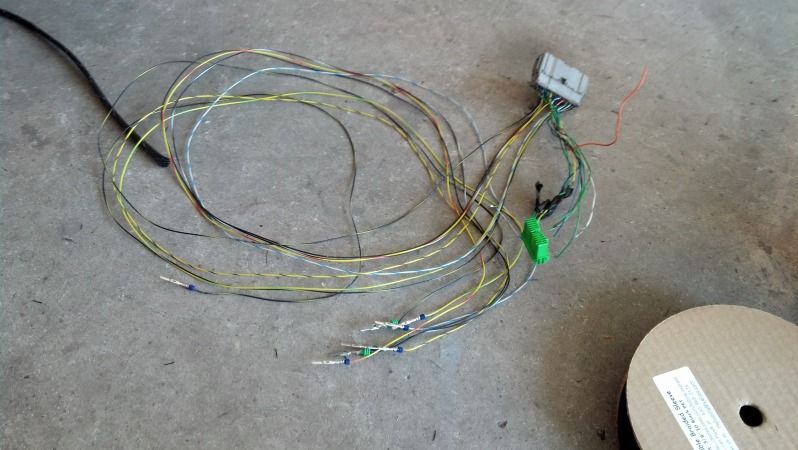
RyWire subharness, depinned on one end as I was going to start to extend the wires. But, there were some cut and resoldered wires that I wanted to check. And one thats cut but looks like it should be connected. I'm going to just call RyWire on Monday and see about having a longer subharness made/sent. I dont want one thats hacked up as much as this one...
Since the RyWire harness doesn't have the Alt cable in it I have to run one. The cut ITR harness that came with the swap had an uncut full length Alt cable in it. We cut the loom off, pulled it out and I ran shrink over it and then put expanding loom over it
April -
Well, I got the RyWire sub harness Thursday before leaving for NC for a few days. I packed up a kit to work on it in the hotel while the wife was at her conference. Get all things laid out in the room to prep for making cuts and solder...forgot the dang jewelers screw driver to depin the new connector harness! So, I made Friday a lazy day and did nothing.
Saturday, met up with some EM1Crew friends at a meet in Winston, about 1.5hrs west of where I was in Durham. Took the TSX out for the day while wifey was again in her conference
Sunday, pulled the new harness apart and got all the soldering done, HondaBond around the wires and then marine heat shrink sealed the wires for environmental controls
Getting started in the pull in...
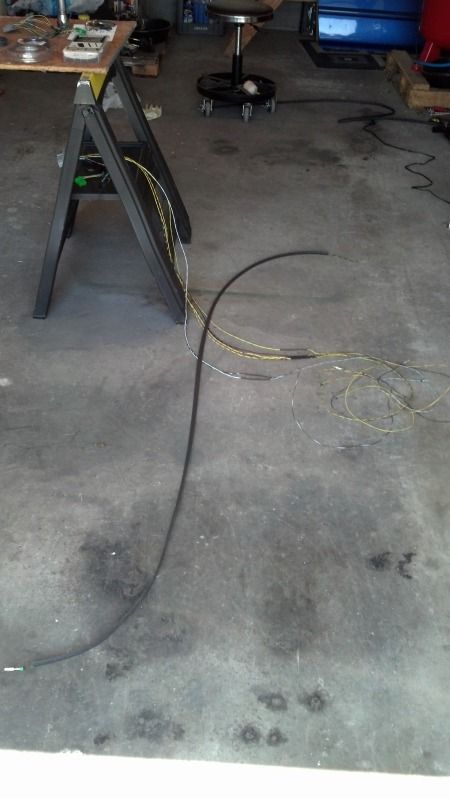
Line tied off to go each way!
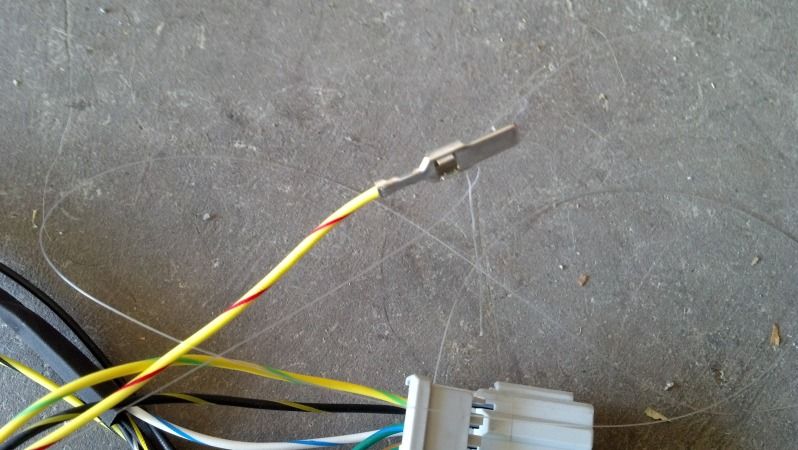
haha...yeah...I have trouble with this board and a couple others from my work computer so I dont always get to update.
Monday -
All wires in shrink and shrunk down!

And in expanding loom...

And got a little work done after work yesterday...
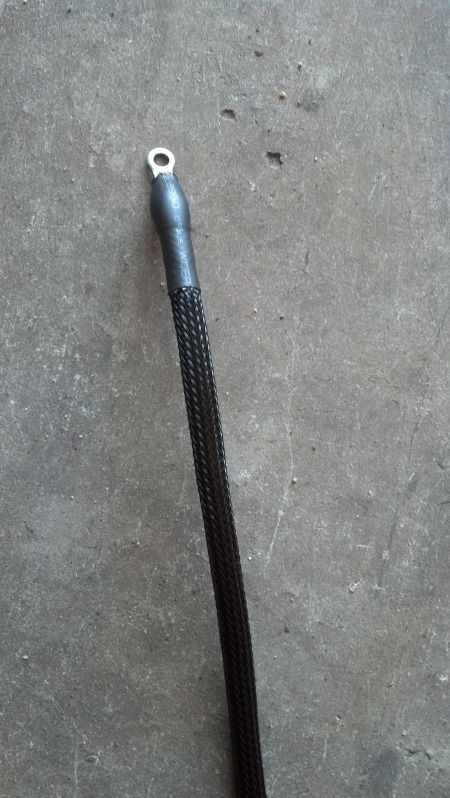
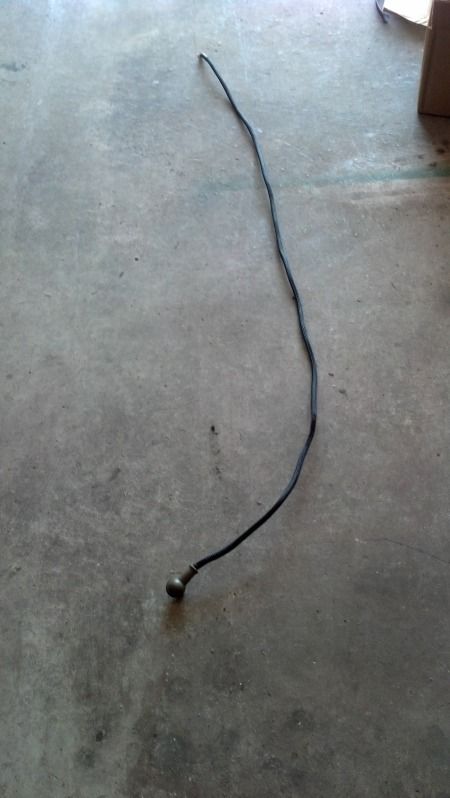
Took my OEM battery cables and put them in expanding loom as well. Just to make it all the same and ditch the plastic loom from Honda.
Left is what it looks like from Honda, right is after Both sides are done, and the Neg as well.

And I closed up the wire harness entrance finally too Just need to spray the new battery tray with some paint and I'll put it in.

Monday -
All wires in shrink and shrunk down!
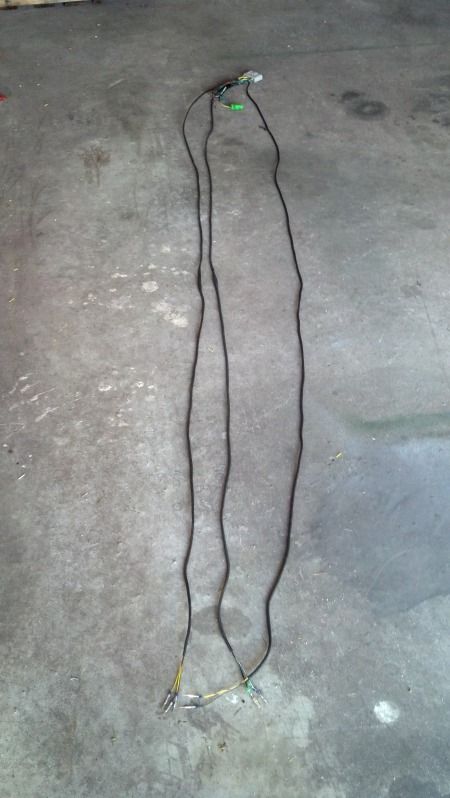
And in expanding loom...
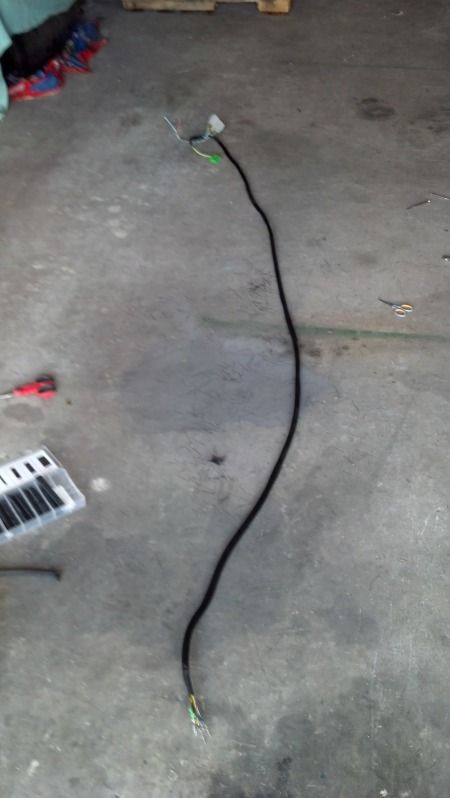
And got a little work done after work yesterday...
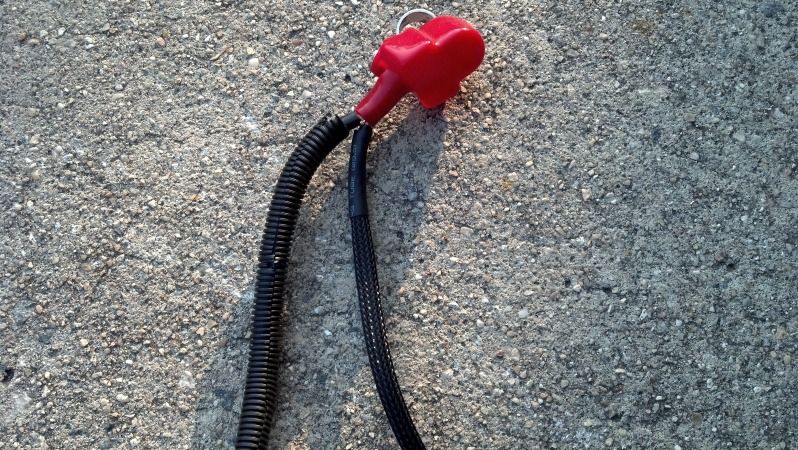
Took my OEM battery cables and put them in expanding loom as well. Just to make it all the same and ditch the plastic loom from Honda.
Left is what it looks like from Honda, right is after
And I closed up the wire harness entrance finally too
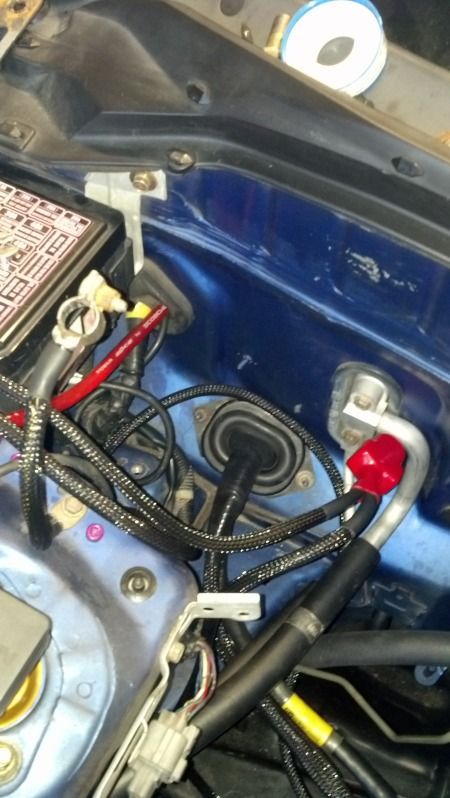
Looks great. Now u just need to organize that bay!
Thanks  Bay is coming together. I need to put the Spoon VC back on and get the beater VC off there. AC, PS, CC are all back in place. pretty much everything is connected in the bay other than the rad hoses, intake and battery. Then the header and its good to go. Make the splices inside the car per the instructions for the RyWire harness and I should be good to go. Not a lot left but I'm just trying to get things how I want them as they go back in. A little later I'll probably go on and tuck the headlight harness. I've got an extra bay side harness so I can fit it and redo to my liking.
Thanks bud. Its just a pain running that length no matter what...lol. Its my background so I'm good with doing it.
And I have the tools if I need them


And I have the tools if I need them


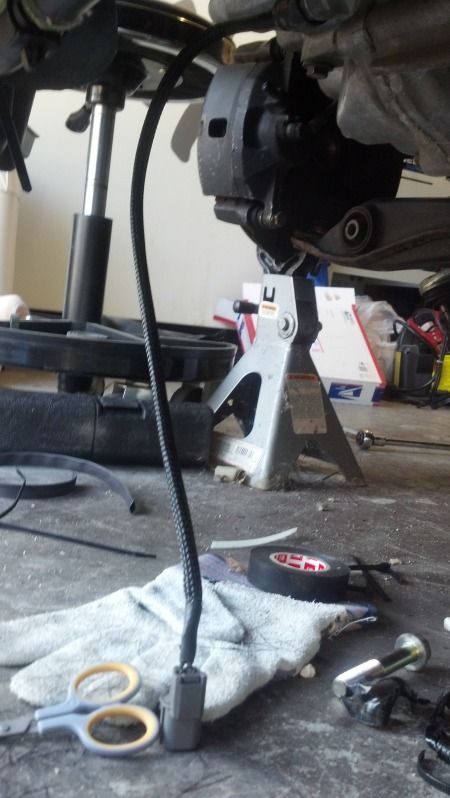
After work yesterday I sleeved the reverse sensor in place...didnt see the need to remove it...lol.

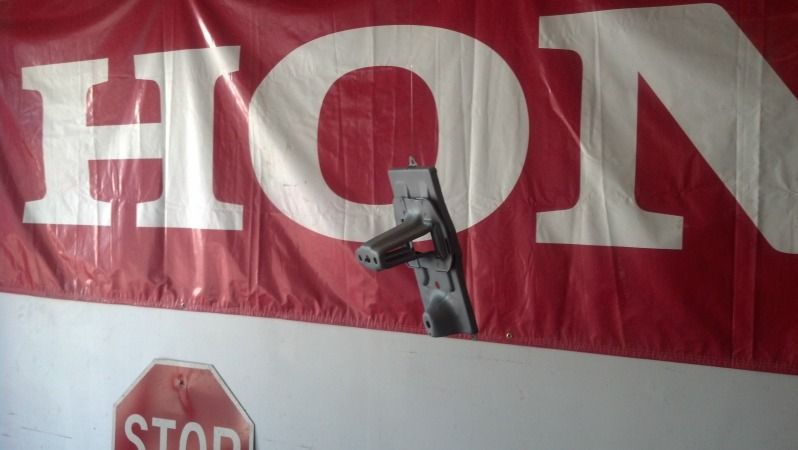
And the battery tray...


Also put the upper timing belt cover back on and got the parts rounded up to put on the VC
And the battery tray...
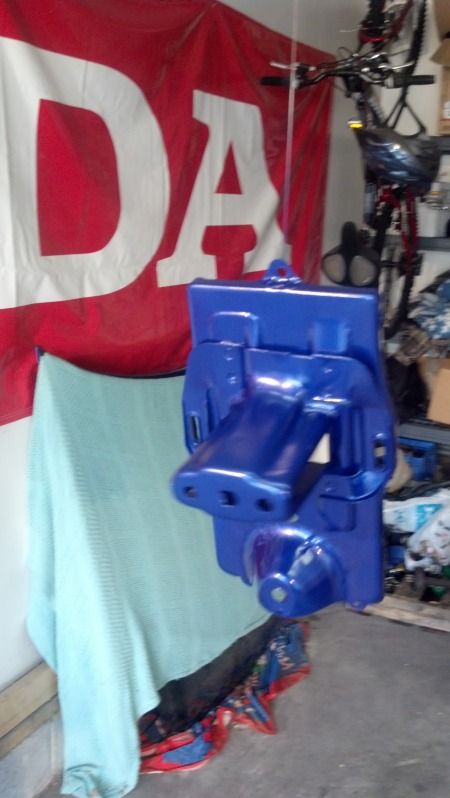
Also put the upper timing belt cover back on and got the parts rounded up to put on the VC
Last edited:
Nice man. Depending on how in depth I decide to go on my harness, I might hit you up to borrow those.Thanks bud. Its just a pain running that length no matter what...lol. Its my background so I'm good with doing it.
And I have the tools if I need them


I actually plan on doing a rebuild on the OEM harness. I have two complete Si harnesses. Going to strip them down and loom them up. I really didnt want a tuck harness but I didnt have the time to do what I wanted right now to a harness. I would rather have just a better looking and set up OEM harness. I really like how my buddy has shock tower disconnects from the factory on his ITR. Not sure it that is just how they did it for Integras or OBD2a or what but thats ideal. I may do something like that so you can retain your OEM boot but just disconnect under the battery tray. Kind of a quick disconnect but through OEM location and all. That was one thing I new I wanted with the RyWire harness...OEM boot and firewall location. Took some time but to me it was worth it to get all the connectors though it.

